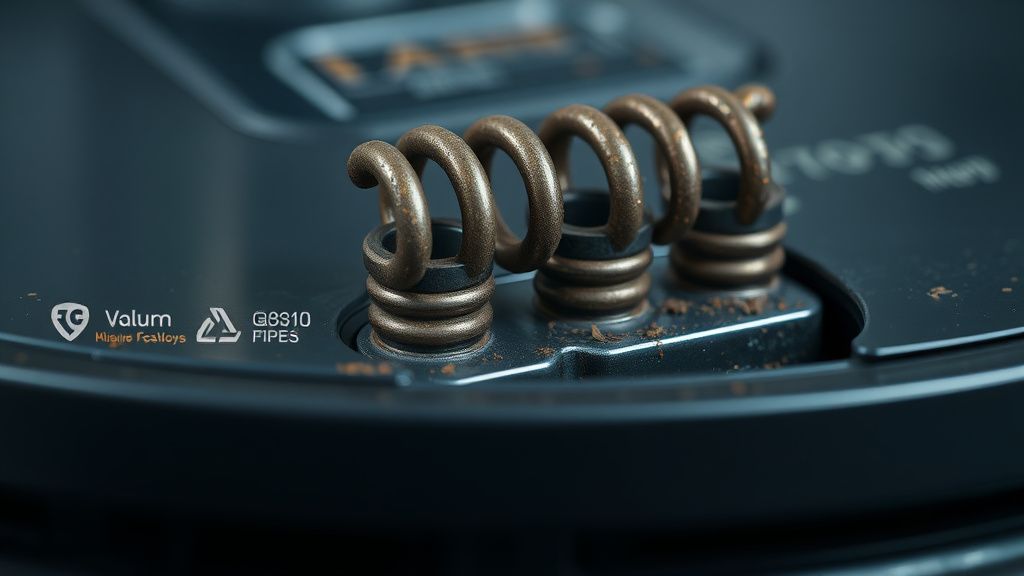
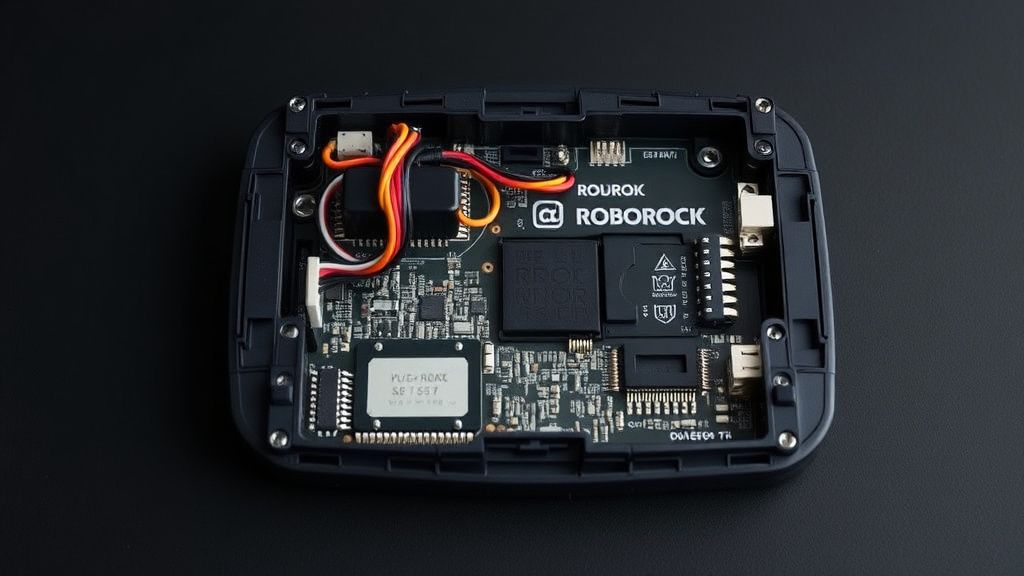
If your Roborock S7 MaxV is failing to charge at the Auto-Empty Dock, the culprit is almost certainly oxidation or debris on the spring-loaded charging pins, a common issue with similar troubleshooting steps required for devices like the Roborock Q Revo when its docking station contacts fail. Before declaring the motherboard dead or purchasing a $200 replacement dock, clean the contact points with 90%+ isopropyl alcohol and inspect the spring tension. If the error persists, you are likely facing a signal-path continuity failure rather than a hardware catastrophe.
The Reality of "Charging Error 10" and Contact Impedance
After 15 years in the trenches, I’ve learned one immutable truth about home robotics: manufacturers spend millions on pathfinding algorithms and LiDAR sensors, but they treat the physical charging interface as an afterthought. The Roborock S7 MaxV, a marvel of spatial awareness, is effectively neutered by two tiny brass springs; however, if your Roborock S7 MaxV Ultra is stuck in a water loop, that's another common, but distinct, issue requiring its own repair guide. When you see that dreaded "Charging Error" or the robot simply refuses to dock, you aren’t necessarily looking at a "broken" machine, a principle that applies to troubleshooting many other robot vacuums facing persistent errors, such as a stuck mop on the Roborock S8 Pro Ultra. You are looking at a system failing to complete a simple electrical circuit due to environmental degradation.
The charging pins on the Auto-Empty Dock are exposed to the same air as your kitchen, bathroom, or living room. They collect dust, humidity-induced oxidation, and the occasional film of floor cleaner residue. Every time the robot docks, a tiny arc of electricity is potentially generated, causing microscopic pitting on the brass. Over months, this buildup creates enough electrical resistance that the robot’s firmware—designed to be hyper-cautious about lithium-ion battery safety—aborts the charging sequence to prevent fire hazards. It’s not a bug; it’s a safety protocol that has effectively become a user-hostile feature.
Understanding the Signal Path: Why the Robot "Forgets" the Dock
A common point of confusion for users on forums like r/Roborock or the various Discord support servers is the assumption that the dock simply "provides power." It doesn't. The dock acts as a bridge. The internal circuitry of the S7 MaxV uses those pins to negotiate a handshake with the dock before the heavy current flows. If the resistance (measured in ohms) is too high due to grime, the robot senses an "unstable connection" and cuts the link.
This is where the user behavior loop begins:
- The Failure: The robot enters the dock, makes a sound, backs up, and tries again.
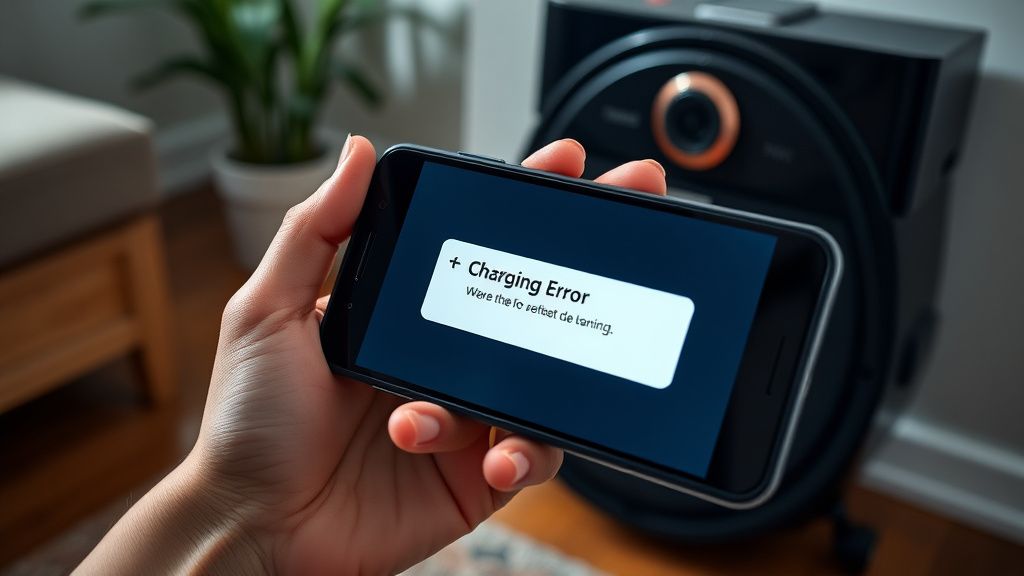
- The Confusion: The user checks the app, sees "Charging Error," and immediately assumes the battery is dead.
- The Misdiagnosis: Support forums are flooded with "I bought a new battery, and it still doesn't work!" threads.
- The Reality: The battery was fine. The contact logic was broken.
Field Report: The "Isopropyl Alcohol" Ritual and Why It Fails
I have seen hundreds of these units. Most users try to wipe the pins with a dry paper towel. This is ineffective. You need at least 90% isopropyl alcohol and a high-friction material like a melamine sponge (Magic Eraser) or a fine-grit abrasive pad—if you are careful. The goal is not just cleaning; it is removing the oxidation layer.
- The Pro-Tip: Do not use abrasive sandpaper. You will strip the gold/nickel plating and accelerate future oxidation. Use a fiberglass scratch pen if you have one, or a cotton swab saturated in high-percentage alcohol, held firmly against the pin while depressing it repeatedly to ensure the internal spring mechanics are moving freely.
Counter-Criticism: Is the Design Inherently Flawed?
There is a vociferous debate among veteran repair techs regarding Roborock's design choices. One side argues that the spring-loaded pin design is standard industry practice, derived from decades of power-tool charging logic. The opposing side, which I lean toward, argues that for a device marketed as a "set and forget" home appliance, the charging interface is grossly under-engineered.
Why is the dock not using inductive charging? Why is there no dust-sealing gaiter? The answer, unfortunately, is a blend of unit cost reduction and planned obsolescence. If these pins were modular and user-replaceable, the revenue from dock replacements would plummet. Instead, the company forces the user into a support nightmare: "Is it the robot? Is it the dock? Is it the power cable?" This fragmentation of the user experience is a deliberate barrier to entry for home repair.
Troubleshooting the "Hidden" Failure Points
If cleaning the pins didn't work, we need to go deeper. The issue often migrates from the pins to the internal dock wiring or the robot’s underside contact plates.
1. Checking the Robot-Side Contact Plates
The contact plates on the bottom of the S7 MaxV are prone to "micro-pitting." These are the two metal rectangles on the underside. If you see a dark spot, that is a hot spot. Use a clean eraser to polish these plates until they are bright and shiny.
2. The Internal Spring Continuity Check
If the pins on the dock feel "crunchy" or don't spring back with a crisp snap, the internal spring is likely rusted. This is a common issue in humid climates. If you are handy with a multimeter, set it to "Continuity" mode. Place one probe on the charging pin and the other on the back of the dock PCB. If the circuit is open, your dock is effectively a paperweight.
3. Power Supply/Brick Failures
Never overlook the AC adapter brick. The S7 MaxV dock has a proprietary power supply. I have encountered several cases where the charging pins were fine, but the brick was outputting fluctuating voltage, causing the dock to cycle power and freak out the robot’s charge controller. Before replacing anything, check the brick for any "coil whine" (a high-pitched buzzing sound).
The Role of Firmware in "Charging Drama"
In the last two years, we've seen a surge in "Charging Error" reports coinciding with OTA (Over-The-Air) firmware updates. This isn't coincidence. When a company updates the charging management algorithms to squeeze more life out of the battery, they often tighten the voltage tolerances. If your hardware is even slightly degraded, the new firmware will flag it as a fault, whereas the old firmware might have ignored the variance. This creates a scenario where users blame the update, when in reality, the update just exposed a latent hardware deficiency.
Scaling Issues and The "Support Nightmare"
When you scale a product to millions of homes, the "support bottleneck" becomes a massive economic factor. Roborock, like many appliance giants, relies on centralized support queues that are trained to follow a script: "Reset the robot," "Reboot the dock," "Send the unit in for repair."
The real-world frustration manifests in the GitHub Issue style threads we see on independent forums. Users are forced to become amateur electrical engineers. This "Workaround Culture" is not a testament to the community's brilliance, but an indictment of the manufacturer's failure to provide accessible service documentation. The lack of an official "Pin Replacement Kit" is the most glaring example of a dark pattern in the smart home industry.
Community Wisdom: The "Fixes" That Aren't
I’ve read the threads. I’ve seen the suggestions:
- "Use aluminum foil": Do not do this. It increases electrical resistance, generates heat, and is a fire hazard.
- "Bypass the dock and use a lab power supply": Only for those with advanced EE knowledge. If you get the polarity wrong, you fry the robot’s mainboard, which is a $300 mistake.
- "WD-40": Never. It is an insulator and will leave a film that attracts even more dust, essentially killing your connectivity permanently.
Final Technical Synthesis
The S7 MaxV charging issue is a symptom of a machine that bridges two worlds: the high-precision world of LIDAR/SLAM and the messy, dirty world of floor debris and hair. We expect these robots to perform complex tasks, but we ignore that the dock is a mechanical interface that requires periodic physical maintenance.
If you are facing this error:
- Stop: Don't buy a new dock yet.
- Clean: Use 90%+ Isopropyl and a melamine sponge.
- Inspect: Check the springs. If they don't bounce, the dock is functionally dead.
- Test: If the error persists, test the dock power supply with a multimeter.
Robotics is an iterative, often frustrating field. These machines aren't appliances—they're mobile computers that live in your filth. Treat them as such, and you’ll find that "Charging Error 10" is rarely an end-of-life event.