If your Cosori Pro II is sounding like a jet engine preparing for takeoff—or worse, a bag of marbles in a blender—the culprit is almost certainly a dry, seized, or misaligned convection motor bearing, much like when users wonder if their Ninja Foodi is getting too loud. To fix this, you’ll need a T15 Torx screwdriver, a spudger, and a steady hand. You are looking at replacing the brushless DC or AC induction motor assembly by bypassing the proprietary crimps that keep these units "consumer-sealed," a process often mirrored when trying to fix the fan motor on an Instant Pot Vortex Plus with E1 or E2 errors.
The Mechanical Reality of Forced Air Convection
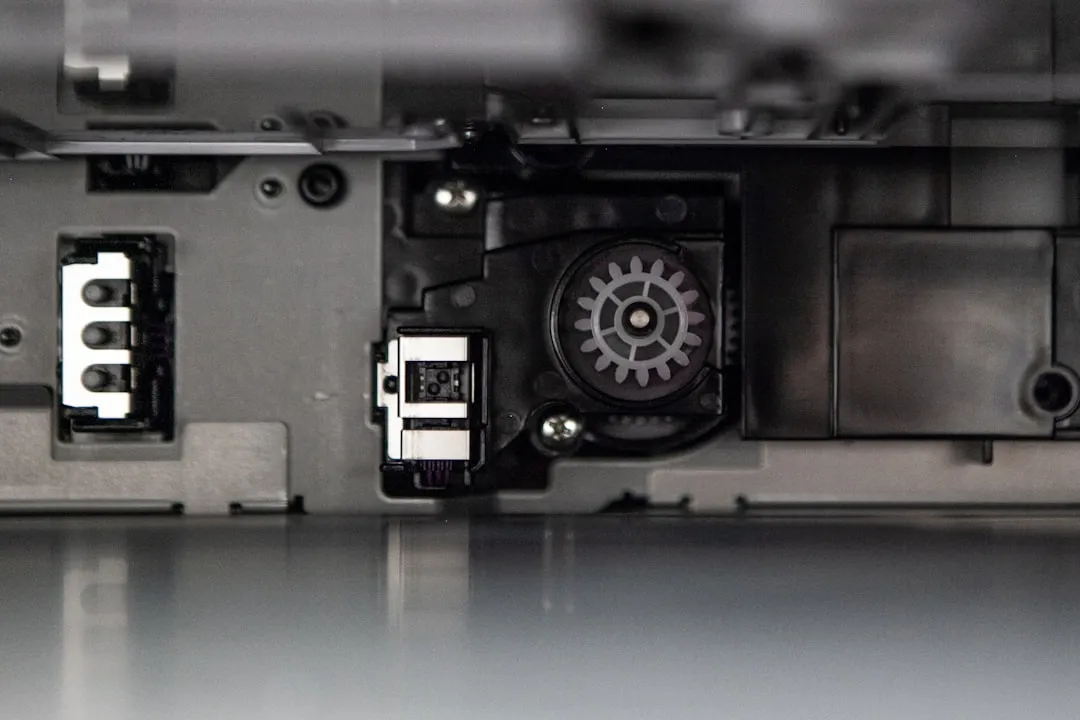
The Cosori Pro II isn't a complex piece of aerospace engineering; it is a thermal management box. At its core, it’s a high-wattage resistive heating element coupled with a high-RPM fan. When that fan starts grinding, screaming, or vibrating, it’s an indictment of the "planned obsolescence" cycle, often stemming from similar issues like those that cause a Cosori Dual Blaze E4 error and fan failure. Most users assume the noise is debris. It rarely is. The noise is friction—metal-on-metal wear caused by the breakdown of the high-temperature lubricant in the motor’s sleeve bearings.
In my 15 years at the bench, I’ve torn down dozens of these. The Cosori design relies on a press-fit fan blade assembly. Over time, the thermal expansion and contraction cycles of the internal chamber cause the motor shaft to develop "play." Once that play exceeds a few microns, the fan housing begins to vibrate against the rear chassis shroud.

Why Your Warranty Won't Save You (And Why You’re Here)
Most of you aren't here because you have a valid warranty. You’re here because Cosori support told you to "unplug and re-plug" the unit, or because you’re three months out of your protection period. The "Right to Repair" movement isn't just a political talking point; it’s a reality of the kitchen appliance graveyard. When a $120 machine stops working due to a $15 motor, the economic incentive for the manufacturer is for you to toss it and buy a newer model.
There is a distinct tension between the aesthetic design of modern air fryers—sleek, matte black, touch-sensitive—and the crude, industrial reality of the components inside. The fan motor is the "beating heart" that dies first.
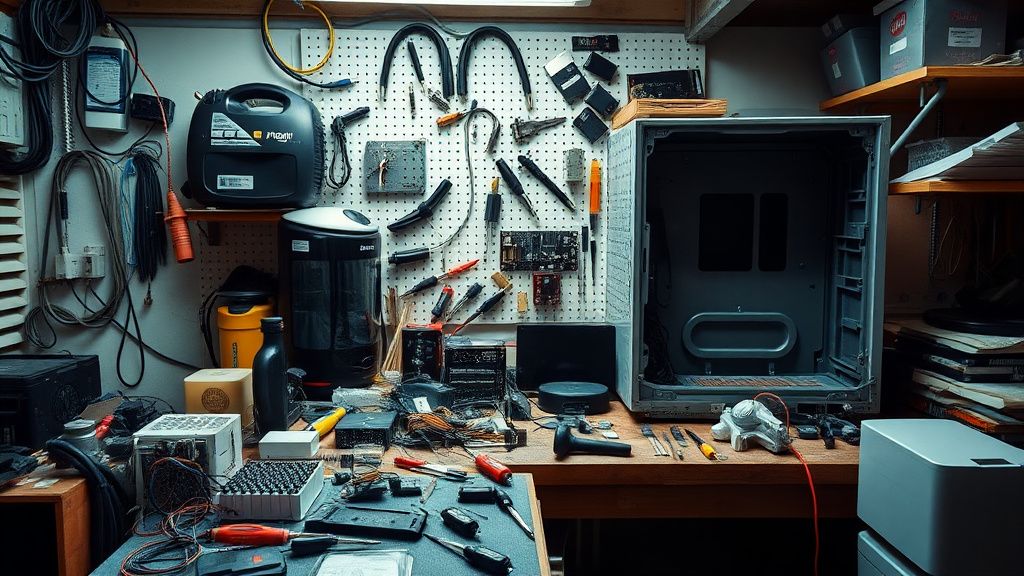
Step-by-Step: The Surgical Disassembly
Before you dive into this, understand that you are voiding any remaining safety certifications. Once you crack that chassis, the UL/CE listing effectively disappears.
- Isolation: Unplug the unit for at least 24 hours. The internal capacitors in these power supplies can hold a charge that will absolutely wake you up if you touch the wrong board trace.
- The Shell Game: Use your T15 Torx driver to remove the rear screws. You will find that some of these screws are hidden behind rubber feet or plastic "anti-tamper" plugs.
- The Ribbon Cable Trap: This is where most people fail. The display panel is connected to the base via a delicate ribbon cable. If you pull the shell apart like a barbarian, you will snap the data path, and your "fan noise fix" will become a "dead unit" brick.
- Motor Extraction: The motor is usually held by three hex-head standoffs. Unscrew them. You will likely find a "crimp-on" electrical connection. Most DIYers try to solder this; I recommend high-temp crimp connectors instead. Solder often reflows in the high-heat environment of an air fryer.

Technical Analysis: The Failure Points of Convection Fans
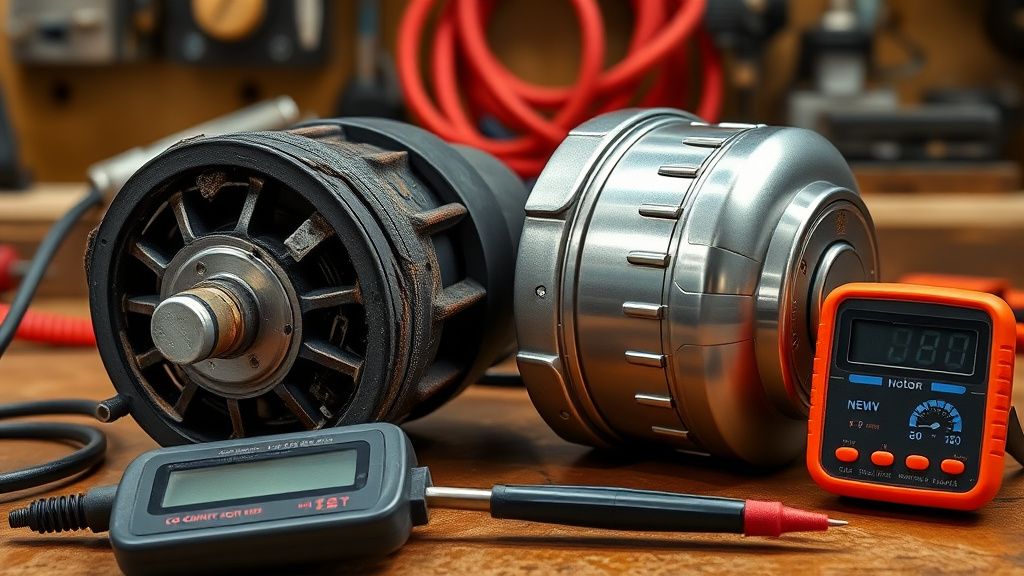
Why does the fan fail so prematurely? Let’s talk about thermal fatigue. These motors are operating in an environment that regularly exceeds 200°C (400°F). Cheap manufacturers use generic "standard grade" lubricants in the motor bearings. At high temperatures, this lubricant oxidizes and turns into a waxy paste. Once the lubricant dies, the bearing surface starts to abrade.
I’ve seen "fan noise" threads on Reddit (r/airfryer) and various home appliance forums that suggest "spraying WD-40" into the vent. Do not do this. WD-40 is flammable. Spraying it into a high-heat zone is a recipe for a grease fire. You need high-temp lithium grease or a full motor replacement. Period.
Field Report: The "Aftermarket Motor" Gamble
There is a massive market for "replacement parts" on AliExpress and eBay. Many of these are salvaged from broken units, while others are "compatible" knockoffs.
- The Reality: The Chinese-manufactured motors in the original units are often built to a price point, not a longevity standard. Replacing them with an "equivalent" part from a third-party seller is often a lateral move in quality.
- The Fix: Look for motors labeled with high-temperature ratings (H-class insulation). If you can find a motor with a double-sealed ball bearing, use it. It will outlast the rest of the fryer.
The Conflict of Design vs. Utility
There is an ongoing debate among repair technicians regarding the "cosmetic" focus of companies like Cosori. They prioritize the "User Experience" (UX) of the touch panel and the "shiny factor" of the basket coating over the durability of the thermal management system.
When you look at the forums, you’ll see two camps:
- The Minimalists: "It’s a disposable appliance, just buy a new one."
- The Tinkerers: "I’ve spent four hours fixing this $100 machine, and now it runs better than new."
The irony is that both are right. The appliance is designed to be disposable, but if you have the mechanical aptitude, it is entirely fixable. The friction point remains: the internal wiring is often too short to allow for easy maintenance, a classic "anti-repair" design pattern.
Identifying the Symptoms: Beyond the Noise
Is it definitely the motor? Before you strip the whole thing down:
- The "Spin Test": With the unit unplugged and cool, look through the rear vent. Can you spin the fan with a wooden skewer? It should spin freely and coast for a second. If it stops immediately or feels "gritty," the bearings are gone.
- The "Wobble Test": Grab the center hub of the fan. Push and pull it toward and away from the motor. Any discernible "click-clack" movement means the bearing housing is worn.
- The Electrical Hum: If the unit hums but doesn't spin, the motor capacitor has failed, not necessarily the motor. That’s a $2 fix rather than a $20 one.
Counter-Criticism: Why You Might Be Making a Mistake
Let’s be honest: if you aren't comfortable with high-voltage electronics, don't open the unit. The risk of re-assembling the unit incorrectly—specifically the thermal shielding—could lead to your countertop melting or, in extreme cases, a fire hazard. There is a reason the industry pushes for "replacement only." It limits their legal liability. If you fix it yourself, the liability is entirely on your shoulders.
Q: Why does my fan make a metallic grinding noise only when it first turns on?
That is a classic symptom of a "dry start." The lubricant has settled or evaporated. As the motor heats up, the internal components expand slightly, which can sometimes silence the noise temporarily. This is the "death rattle" of a sleeve bearing. It will eventually seize entirely.
Q: Can I use silicone spray to fix the squealing?
No. Silicone spray has a flash point far too low for the temperatures inside an air fryer chamber. It will create toxic fumes and presents a legitimate fire risk. Stick to replacing the motor or using specific high-temperature, food-safe synthetic lubricants if you know exactly how to apply them to the bearing seat.
Q: How do I find the correct motor part number for my specific Cosori Pro II model?
The part number is rarely in the manual. You must open the unit, remove the motor, and look for the silk-screened or stamped model number on the side of the motor casing. Look for values like "220-240V," "50/60Hz," and the wattage. Search these values on sites like DigiKey or specialized appliance parts databases.
Q: Is the fan motor assembly interchangeable between different Cosori models?
Generally, no. While the factory floor might use similar suppliers, the mounting bracket geometry, the shaft length, and the wattage are often specific to the chassis volume of the Pro II vs. the Lite or the dual-basket models. Always measure your existing motor before ordering.
Q: What is the most common mistake people make during this repair?
Overtightening the fan nut. The fan nut is often reverse-threaded. If you force it the wrong way, you snap the motor shaft. Once the shaft is snapped, the motor is trash. Always check the thread direction before applying torque.
Final Thoughts on the Operational Reality
The "Cosori Pro II" is a great machine while it lasts, but it represents the current era of consumer appliances: high performance, high utility, and low longevity. By repairing it, you aren't just saving $100—you’re participating in a necessary pushback against the "take-make-waste" culture.
Keep your tools clean, label your screws (seriously, buy a magnetic parts tray, don't be lazy), and document your internal wiring before you pull anything. If you’re at the point of ordering a new motor, you’ve already won half the battle. Just be patient with the reassembly. These things are designed to be built by machines in seconds, not by humans in hours. Take your time, or you’ll end up with a "leftover screw" that causes a rattle you’ll hear every single time you cook your fries.