
Quick Answer: The Ninja Foodi 6-in-1 Air Fryer fan noise issue is real, widespread, and usually caused by one of four things: a loose fan blade, food debris caught in the impeller housing, a worn bearing in the motor assembly, or thermal expansion warping the fan shroud. If you're experiencing a fan error in another air fryer model, such as the Instant Vortex Plus, many of these underlying mechanical principles often apply. Most cases are fixable without replacing the unit — but only if you know exactly where to look.
Let me be direct with you. I've pulled apart more Ninja Foodi units than I care to count, and the fan noise complaint is the single most common thing I see come through the bench. It shows up in Reddit threads under r/airfryer, it's buried in Amazon review reply chains, it floods Ninja's own support forums — and the official answer from Ninja customer service is almost always a variation of "reset the unit" or "register for a replacement." Neither of which fixes the actual mechanical problem.
This isn't a software glitch. This isn't a firmware issue. This is a physical machine with spinning parts that operate in a hot, greasy environment multiple times a week. Of course things go wrong. The question is what specifically went wrong in your unit, because the fix is completely different depending on the root cause.
So let's work through this properly.
Understanding What's Actually Spinning Inside: Fan Blade, Impeller, and Motor Bearing Dynamics
Before you touch anything, you need a basic mental model of the airflow system.
The Ninja Foodi 6-in-1 — whether you have the OP300 series, the OP301, OP302, or the slightly different OP400 variants — uses a centrifugal fan assembly mounted directly above the heating element. The fan blade is pressed onto a motor shaft. That motor sits inside a plastic shroud. The entire assembly pulls air in from the sides, blasts it over the heating coil, and forces it down through the cooking chamber in a high-velocity convection pattern.
This is not a gentle system. At max temperature, that fan is running fast, in hot air, with grease particles moving through it constantly. The tolerances on the Ninja Foodi fan assembly are… fine. They're not precision aerospace parts. They're injection-molded plastic components with a brushless DC motor that Ninja sources from a tier-two supplier. Which is completely normal for a consumer appliance at this price point — but it also means vibration tolerance, blade balance, and bearing quality are all going to be "good enough," not "excellent."
The failure modes I see most often, in rough order of frequency:
- Grease buildup on the fan blade causing rotational imbalance (most common)
- Small food particle — usually a crumb, a seed, or a fragment of breading — lodged in the impeller housing
- Worn or dry motor bearing producing a rhythmic grinding or buzzing sound
- Warped fan shroud from repeated thermal cycling, causing the blade to intermittently contact the housing
- Loose fan blade that has worked itself off the motor shaft slightly, creating wobble
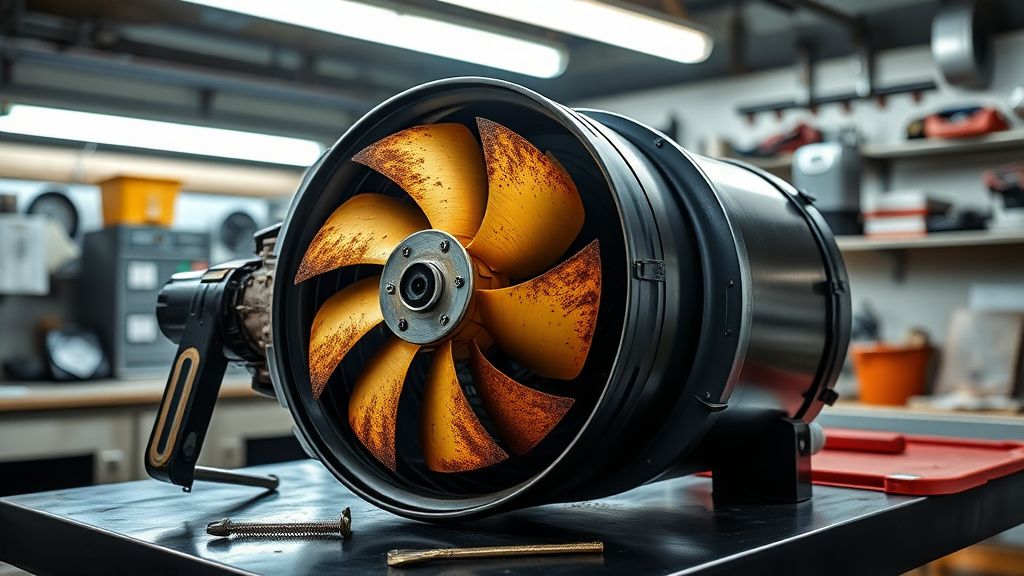
The Symptom Taxonomy: Matching the Sound to the Problem
This is where most guides fail you. They treat "fan noise" as one problem. It isn't.
Rattling or clattering sound: Almost always a physical obstruction. Something is in the fan housing that shouldn't be there. If it happens immediately when you start the unit and stops when you hit a certain temperature (or never stops), a debris fragment is touching the blade at some point in its rotation. This is the easiest fix.
Grinding or gravelly sound: This is the bearing. Specifically, either the bearing is dry (lubrication has evaporated or never existed in meaningful quantity) or the bearing is damaged. A worn bearing produces a low-frequency grinding that often gets worse as the motor heats up. On a cold start, it might sound almost acceptable. After 15 minutes at 400°F, it'll sound like a small rock in a blender.
High-pitched whining or whistling: Two possibilities. One: the fan blade is unbalanced — usually from grease accumulation on one side — and running slightly eccentric. Two: the fan shroud clearance has changed because the plastic warped, and you're getting turbulence noise from the blade tip passing close to the housing wall. These produce a frequency-specific whine that varies with fan speed.
Intermittent thumping: The blade has separated slightly from the shaft. It's wobbling. This is the most dangerous noise category because if the blade fully detaches at operating speed, you have a projectile situation inside your appliance. Stop using it immediately if you hear a rhythmic thump that wasn't there before.
General increase in ambient noise level (not a discrete sound): Honestly, this one is often just the unit aging. Fan efficiency decreases as the blade accumulates coating, and the motor has to work harder to move the same volume of air. The result is higher motor current draw and more noise. Still worth addressing.
What You'll Need Before You Start: Tool List and Safety Non-Negotiables
I'm going to give you the actual tool list, not the sanitized version.
Required:
- T10 and T15 Torx screwdrivers (most Ninja Foodi units use Torx, not Phillips — this trips up a lot of people)
- A plastic pry spudger or old credit card
- Isopropyl alcohol, 90%+ concentration
- Cotton swabs and small stiff-bristled brush (an old toothbrush works fine)
- Compressed air can or small compressor with blow-off nozzle
- Non-conductive dry lubricant spray (Teflon-based, NOT WD-40)
- Flashlight or headlamp
- Soft mat or towel to work on
Important safety reality check:
Unplug the unit. Wait 30 minutes minimum. The Ninja Foodi retains heat in the ceramic-coated components and the heating element for longer than most people expect. The capacitors in the motor control circuit also hold charge briefly after power loss. None of this is immediately lethal at the voltages involved, but getting burned by residual heat is genuinely unpleasant and I've done it too many times to count.
Secondly: opening the unit may void your warranty. If your unit is under warranty, call Ninja support first. Their support line is inconsistent — some reps will send a replacement no-questions-asked, others will make you jump through documentation hoops — but it costs you nothing to try before taking a screwdriver to it.
Step-by-Step: Disassembly and Fan Access on the Ninja Foodi 6-in-1
The Ninja Foodi 6-in-1 lid assembly is where the fan lives. You're not going into the base unit for noise issues unless you're diagnosing something very unusual.
Step 1: Remove the cooking pot and crisper basket. Set aside.
Step 2: Open the pressure lid fully and look at the underside. You'll see the heating element ring and, in the center recessed area, the fan blade. On most OP300-series units, the fan blade is visible without further disassembly. This is your first inspection point.
Step 3: Visual inspection of the fan blade from below. Use your flashlight. Look for:
- Visible debris (crumbs, seeds, any organic material)
- Uneven grease coating — one blade significantly darker or more coated than others
- Physical damage to any blade (a chipped or cracked blade causes persistent imbalance)
- Anything that looks like it doesn't belong
If you see obvious debris, compressed air and a cotton swab might resolve this without any further disassembly. Seriously — I've fixed "broken" Ninja Foodis with a can of compressed air and five minutes of work. Try this first.
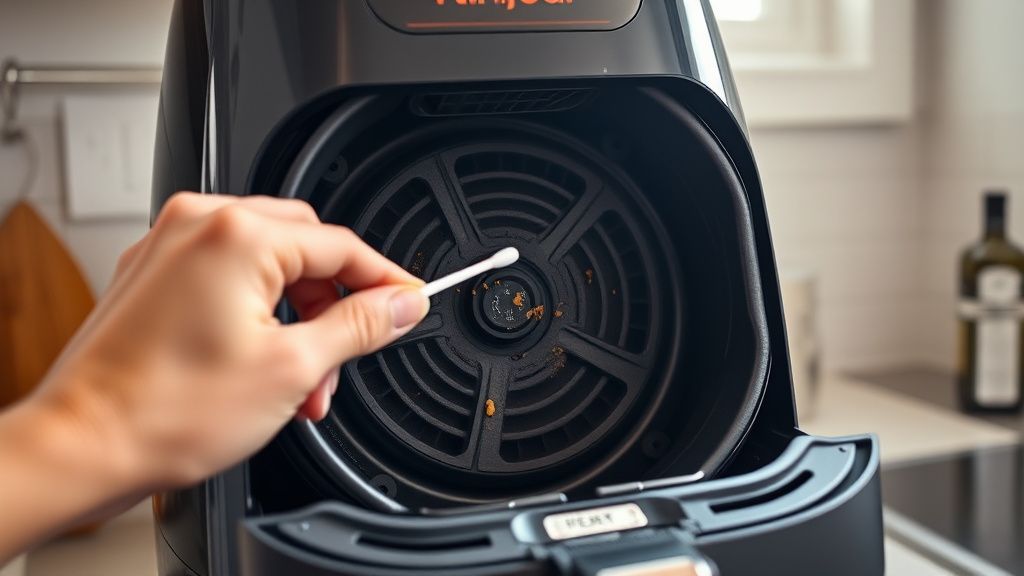
Step 4: If cleaning from below doesn't resolve the issue, you need to access the top of the lid.
This requires flipping the unit carefully — support the lid in the open position, or remove it if your model allows lid detachment. On OP300 series, the lid can be lifted free after disengaging the hinge pins by pressing inward simultaneously on both hinge tabs.
Step 5: Locate the screws on the top lid panel. These are usually under rubber feet or sticker covers. Peel them back carefully — you can re-stick them or replace with small rubber bumpers from any hardware store. The screws are typically T10 Torx, 3-4 total.
Step 6: Separate the top lid panel from the lower lid assembly. Use your spudger around the seam. There are plastic clips that will pop — go slowly and work around the perimeter. Don't force it.
Step 7: You now have access to the fan motor assembly. The fan blade is usually press-fit or secured with a single nut (reverse-thread on some units — lefty tighty, righty loosey on reverse thread. Test it before applying force). Remove the blade carefully.
The Actual Fixes: What to Do Once You're In
Fix 1: Deep-Clean the Fan Blade (Imbalance/Grease Issue)
Soak the blade in warm water with dish soap for 10 minutes. Use the stiff brush to clean every surface, especially the underside of each blade where grease accumulates asymmetrically. Rinse thoroughly. Let it dry completely before reinstalling. Moisture near the heating element is not something you want.
For stubborn carbonized grease, isopropyl alcohol on a cotton swab. Don't use abrasive cleaners — they scratch the blade surface and ironically make future grease buildup stick faster.
Fix 2: Clear the Impeller Housing (Debris Obstruction)
With the blade removed, inspect the housing interior with your flashlight. Look at every corner. Crumbs love to pack into the junction between the housing wall and the motor mounting plate. Compressed air first, then cotton swab, then compressed air again.
Run your finger around the interior circumference and feel for anything that shouldn't be there. You'd be surprised what hides in there. I once pulled out what was definitively a small pumpkin seed from a unit that the owner was convinced was "definitely broken beyond repair."
Fix 3: Lubricate the Motor Bearing (Grinding Sound)
This is more involved. The motor bearing on these units is usually a sealed ball bearing or a sintered bronze bushing, depending on the motor spec. You cannot easily replace the bearing without full motor replacement — the press-fit tolerances are too tight for bench work without a bearing press.
What you can do: Apply a small amount of non-conductive Teflon dry lubricant spray to the motor shaft where it enters the motor housing. Use a hypodermic oil applicator or the straw nozzle from the spray can to get it in precisely. Do not flood the area. A few drops is enough.
This extends bearing life but doesn't fix damaged balls or races. If the grinding persists or worsens, you're looking at motor replacement or unit replacement.
Fix 4: Adjust Fan Shroud Clearance (Warping Issue)
Honestly, this one is more of a workaround than a fix. If the shroud has warped enough to cause contact noise, you can sometimes manually flex it back to approximate correct geometry and hold it there with the reassembled housing. Sometimes this works for months. Sometimes it works for three cooking cycles.
The root cause here is thermal stress from high-frequency use at maximum temperature settings. There's no consumer-accessible fix that fully addresses this — Ninja uses a specific plastic formulation for the shroud that has known issues with sustained high-heat cycling. This is documented in multiple engineering teardowns that have been posted on iFixit and in a fairly thorough thread on the Ninja Foodi Facebook Group (search "fan shroud warp OP300" — it's a known thing in the community).
Fix 5: Re-seat the Fan Blade (Wobble/Thumping Issue)
If the blade is loose on the shaft, press it firmly back onto the shaft until it seats fully. There should be a tactile stop point. If the blade continues to work loose — meaning this isn't the first time — the shaft or the blade hub is worn. At this point the blade needs replacement.
Ninja sells replacement parts through their website and through third-party suppliers on Amazon. The blade assembly for OP300 series is typically available for under $20. Installing it is the reverse of removal.
Real Field Reports: What's Actually Happening Out There
Let me tell you what the community is actually reporting, because it paints a clearer picture than any official documentation.
On Reddit's r/airfryer and r/Cooking, the OP300-series noise complaints cluster around the 6-12 month mark of regular use. This is consistent with what I'd expect from a plastic-housed fan operating in a thermal cycle environment. The bearing noise complaints tend to appear later — typically 18+ months in with heavy users.
One thread from r/NinjaFoodiCommunity (currently has hundreds of upvotes) documents a user who went through three warranty replacements for fan noise before a technician friend told them to just clean the blade. All three replacement units had the same noise return within weeks because the cooking habits — specifically, cooking very fine-particulate foods like panko breading without a liner — were the actual root cause.
The Amazon review section for the Ninja Foodi OP300 has a notable cluster of one-star reviews specifically citing "loud fan noise after a few months." What's interesting, and what Ninja doesn't publicly acknowledge, is that the one-star reviews citing fan noise spike noticeably in reviews from users who report using the unit daily or near-daily. Casual users who cook 2-3 times per week report the problem far less frequently.
There's also a persistent GitHub-adjacent discussion happening in the Home Assistant community around smart Ninja Foodi integration, where users building automations have noted that fan noise correlates with higher-than-expected vibration sensor readings — suggesting the noise is accompanied by real vibration transmission to the countertop that could potentially affect other appliances over time. This hasn't been formally studied, but the observation pattern is consistent enough to be credible.
Counter-Criticism and Honest Debate: Is This Worth Fixing or Just Replace It?
Fair question. Let's not pretend otherwise.
The case for DIY repair: The Ninja Foodi 6-in-1 retails between $150-250 depending on configuration and sale timing. A fan blade replacement costs $15-20. Bearing lubrication costs a few dollars in supplies you probably already own. If the fix works, you've saved $130-230 and kept a functional appliance out of a landfill. The repair is not particularly difficult if you're comfortable with basic disassembly.
The case against: If you're outside warranty and the noise is bearing failure, you're potentially chasing a problem that will resurface. A reconditioned motor costs as much as some replacement units on sale. And Ninja's build quality has actually improved slightly on newer production runs — the OP400 and DZ series use better motor specifications according to teardown comparisons posted on iFixit.
There's also a legitimate argument that the time cost of DIY repair, for someone who isn't comfortable with appliance disassembly, exceeds the cost of just buying a new unit — especially when Ninja frequently runs 30-40% discount sales.
The warranty grey area: This is messy. Ninja's warranty terms technically prohibit user disassembly for warranty claims. However, community reports suggest that Ninja support rarely asks probing questions about unit condition when processing warranty claims for noise complaints. Several users in support threads have reported receiving replacements after describing the noise symptoms accurately without mentioning any disassembly attempts. I'm not advising you to misrepresent your unit's condition, but I'm also noting what the actual reported experience has been.
Preventing Recurrence: Operational Changes That Actually Matter
This section matters more than most people realize.
Use perforated parchment liners for any fine-particulate cooking — breaded items, seasoned foods with loose spice coatings, anything that generates crumbs. The parchment catches debris before it gets sucked into the fan path. This is the single highest-impact prevention measure.
Run a clean cycle monthly. Remove the basket, run the air fryer empty at 400°F for 5 minutes with the lid closed (pressure lid latched). This burns off grease that has accumulated on the fan blade before it builds up to imbalance-inducing levels.
Don't run at max temperature settings for extended periods unnecessarily. I