Quick Answer: Jura E8 Error 8 means the internal brew group is stuck, misaligned, or mechanically seized — the machine cannot complete its initialization cycle. In most cases, the fix involves a manual brew group removal, deep cleaning with Jura-specific tablets, lubrication with food-safe grease, and careful reinstallation. This is a fixable DIY repair if you're not squeamish about opening the machine.
If you've owned a Jura E8 long enough, you already know the feeling. You press the button in the morning, the grinder whirs, and then — nothing. The display blinks Error 8 and the machine just sits there, quietly judging you. No coffee. No explanation beyond two characters on a small OLED screen. When you're facing a similar 'not brewing' crisis, you might also find solutions for issues like a Philips 5400 LatteGo not brewing.
Error 8 on the Jura E8 is one of those faults that sounds catastrophic but is, in the overwhelming majority of cases, a mechanical problem with a mechanical solution, much like issues found when a DeLonghi Magnifica S grinder isn't working. It does not mean your machine is dead. It does not mean you need to spend $300 at an authorized service center. What it does mean is that the internal brew group — the heart of how this machine produces espresso — has either seized, shifted out of alignment, or is so caked with coffee residue that it can no longer move freely through its full range of motion.
Let me walk you through what's actually happening inside that chassis, why this specific error is more common than Jura's service literature would have you believe, and what the real-world fix looks like from someone who has had their hands inside dozens of these units.
What Error 8 Actually Means: Inside the Jura E8 Brew Group Architecture
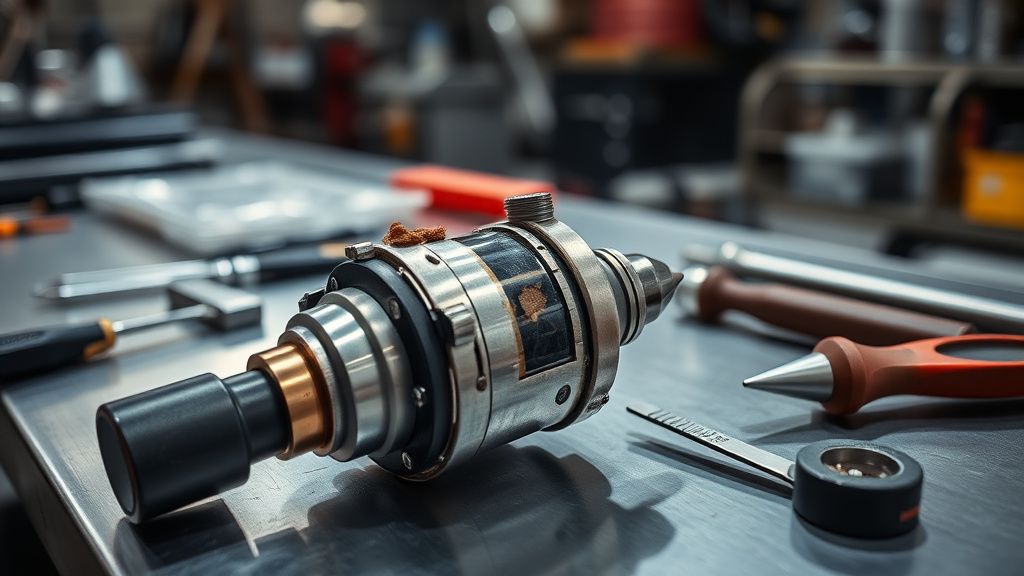
The Jura E8 uses a removable, spring-loaded internal brew group — the core piston-and-cylinder assembly responsible for compacting coffee grounds, injecting pressurized hot water, and then ejecting the spent puck into the dreg drawer. This critical water flow is essential, and sometimes problems arise, such as when a Breville Bambino Plus won't pump water. Unlike some machines where the brew group is fully external and user-accessible (like many Delonghi units), Jura's design integrates it deeper into the chassis, surrounded by the thermoblock, pump lines, and the dispensing unit.
When the machine powers on, it runs an initialization cycle — the brew group motor attempts to drive the piston assembly through a full range of motion to confirm it's unobstructed and properly seated. If the motor encounters resistance beyond a certain torque threshold — or if the position sensor doesn't register the expected transition — the machine throws Error 8 and stops everything.
The specific failure modes that trigger this:
- Coffee oil buildup on the piston shaft and seals — over time, oils from espresso grounds polymerize into a varnish-like coating. This is the most common cause. The piston literally cannot slide freely anymore.
- Worn or swollen O-rings — the brew group uses multiple rubber seals that degrade with heat cycling. A swollen O-ring creates enough mechanical resistance to stall the motor.
- Misalignment from improper reinstallation — if someone has serviced the machine before and didn't seat the brew group correctly, the motor tries to initialize against a mechanically impossible geometry.
- Broken plastic tabs on the brew group frame — the E8's brew group is largely polycarbonate with glass fiber reinforcement, and the locking tabs that secure it in position can crack, especially if the machine has been dropped or the group has been forced.
- Motor failure — rare, but real. The small DC gear motor driving the brew group can fail, particularly in older units or machines that have run hard for 5+ years without servicing.
The error code itself is deliberately vague. Jura's official documentation doesn't publish detailed error code tables for end users — this is intentional, part of a service model designed to funnel users toward authorized service partners. Which is a legitimate business decision, but also genuinely frustrating when the fix is something a careful person can do in an afternoon.
Field Reality: How Common Is This Actually?
Go look at the Jura subreddit (r/jura), Home-Barista forums, and the long-running CoffeeGeek threads on automatic espresso machines. Error 8 on E-series Jura machines — particularly the E6, E8, and the older Impressa E-series — comes up repeatedly. It's not a niche edge case.
The pattern that emerges from community reports is consistent: machines that haven't had their brew group physically removed and cleaned in 12+ months are the most vulnerable. Jura's own maintenance prompts push users toward tablet-based cleaning cycles, but those cycles cannot replace physical removal and manual cleaning. The tablets dissolve coffee oils from the water-contact surfaces but don't address mechanical binding on the piston shaft or the grease degradation on the slide rails.
One thread on Home-Barista from a user named "grindcoffee_42" captures this well: "Three Error 8s in six months. First two times I ran the cleaning cycle and it came back. Third time I actually pulled the brew group out and the amount of compacted gunk inside was embarrassing. Cleaned it properly, re-greased, been fine for eight months."
That's the operational reality. The cleaning program is not a substitute for physical maintenance. This is a machine designed with more complexity than most users are willing to engage with.
The Actual Fix: Step-by-Step Brew Group Removal and Service
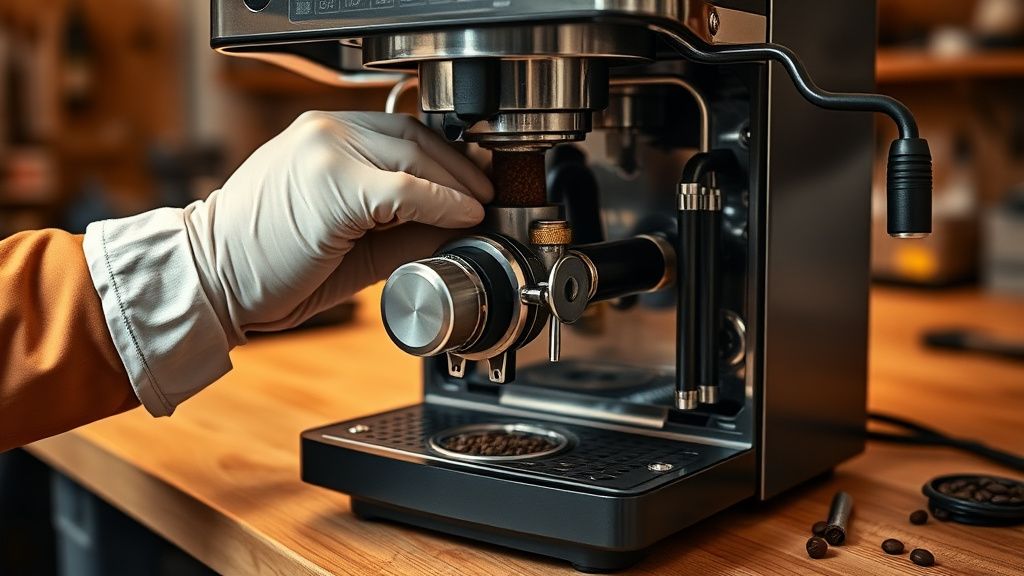
Before anything else: power the machine off completely and unplug it. Leave it for 10 minutes. The thermoblock runs hot and there's residual pressure in the system after use.
Step 1: Access the Brew Group
The Jura E8's brew group is accessed through the left side panel (when facing the machine). Remove the dreg drawer and water tank first — this gives you clearance. The side panel is held by two Torx T20 screws on most E8 variants; some early production units use Phillips. Remove those, then slide the panel rearward and lift.
You'll now see the brew group sitting in its housing. It should have a red or grey lever/button depending on production year — this is the manual release. Press it and turn the brew group handle (if present) to unlock it from the drive shaft coupling.
Step 2: Remove and Inspect
Slide the brew group straight out — it should come out with moderate resistance. If it doesn't move at all, that itself confirms the diagnosis. Don't force it; work it gently side to side while pulling.
Once out, look at:
- The piston face: Is it coated with dark brown/black residue? That's your problem.
- The seals: Are the O-rings cracked, swollen, or flattened? Feel them. A healthy O-ring has some elasticity. A degraded one feels hard or gummy.
- The slide rails: These should have a faint film of food-safe grease. If they're dry or tacky with old oxidized grease, that's contributing to binding.
- The locking tabs: Look carefully for stress fractures. These are often hairline cracks you'll miss unless you hold it up to light.
Step 3: Cleaning Protocol
This is where people make mistakes. Use Jura cleaning tablets dissolved in lukewarm water (not hot — hot water accelerates O-ring swelling during the cleaning process). Soak the brew group for 20-30 minutes.
Then use a soft nylon brush to physically work the piston shaft, seals, and all internal channels. Don't use metal tools. Don't use abrasive pads. The polycarbonate housing scratches easily and those scratches become nucleation sites for future buildup.
Rinse thoroughly with lukewarm water. Multiple passes. Coffee oil residue has a characteristic slickness — keep rinsing until the water runs clear and the surfaces feel clean rather than slippery.
Dry it. Do not reassemble a wet brew group — trapped moisture inside the piston bore leads to faster O-ring degradation and, in hard-water areas, scale deposits in places you really don't want them.
Step 4: O-Ring Inspection and Replacement
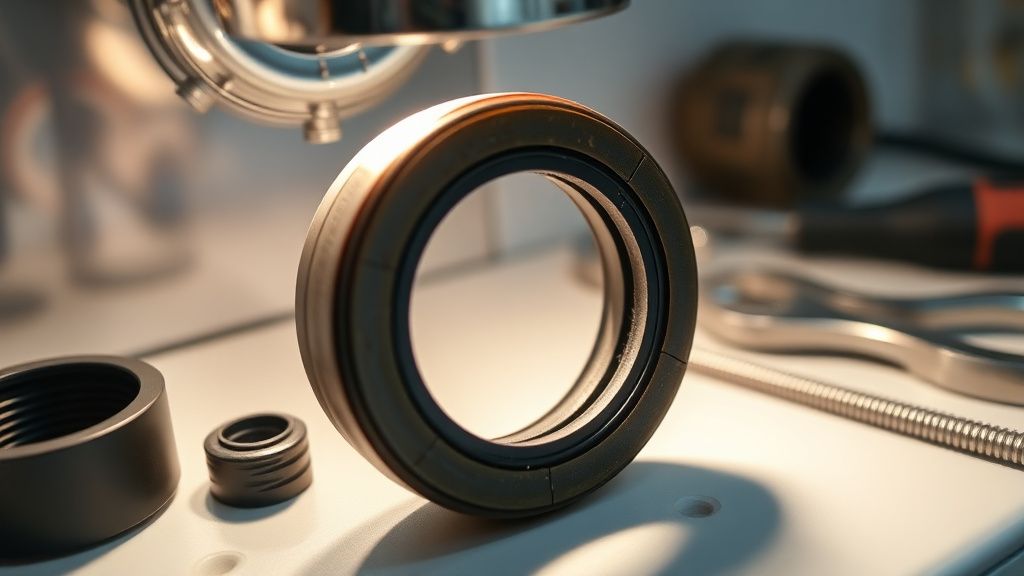
This is the step most DIY guides skip over, and it's critical. The main piston O-ring on the Jura E8 brew group is a standard size (approximately 35mm inner diameter, 2mm cross-section, but verify against your specific unit before ordering). Jura-branded O-ring replacement kits exist on Amazon and through third-party service suppliers like Espresso Parts, CoffeePartsDirect, and various European eBay sellers.
If the O-ring is showing any deformation, replace it. The cost is negligible — usually under $10 for a kit — compared to the alternative of reassembling the machine with a degraded seal and triggering Error 8 again in three weeks.
Food-safe silicone O-rings are preferable over standard NBR (nitrile) rubber for this application because they tolerate the thermal cycling better. But OEM NBR replacements will work fine if silicone spec equivalents aren't easily available.
Step 5: Lubrication
Use Molykote 111 food-safe grease or an equivalent FDA-compliant food-grade lubricant. Apply a thin, even film to:
- The piston shaft
- The slide rails
- The O-ring seats (a thin coating, not packed)
Do not over-grease. Excess grease migrates into the brew path and will appear in your coffee as an unpleasant slick film. A thin, visible coating is correct. If grease is visibly pooling or dripping, you've used too much.
Step 6: Reinstallation
Align the brew group carefully with the housing guides before sliding it in. You should feel it click into positive engagement with the drive shaft coupling before attempting to lock it. If it doesn't click — stop. Don't force it. Pull it back out and re-examine the alignment.
Lock it, reinstall the side panel, reconnect power, and run the machine through its initialization cycle without inserting a coffee cartridge. Watch for the sequence: the motor will drive the brew group through its full range of motion, the machine will confirm position, and then prompt for the next step.
If the machine initializes cleanly — no error — run two blank hot water cycles before making actual coffee. This clears any lubricant trace from the brew path.
When the DIY Fix Doesn't Work: The Harder Diagnosis
If you've done everything above and Error 8 persists, the failure has moved beyond a maintenance issue into a component failure issue. At this point you're looking at:
Motor failure: The drive motor for the brew group can be tested with a multimeter. It's a small DC gearbox motor — if it's drawing current but not rotating, the gearbox has failed mechanically. If it's not drawing current, the motor windings are open or the controller board isn't signaling it.
Position sensor failure: The E8 uses an optical or magnetic encoder to confirm brew group position. If the sensor is dirty, misaligned, or failed, the machine will throw Error 8 even with a perfectly functional brew group because it never receives the confirmation signal it's looking for. Cleaning the sensor window (there's usually a small transparent window near the sensor) with a cotton swab and isopropyl alcohol resolves this more often than you'd expect.
Controller board failure: Rare, and expensive. If the board isn't driving the motor or isn't reading the sensors, no amount of mechanical servicing will fix it. Board replacement for E8-series machines runs $150-250 depending on source, and the labor to replace it at a service center will typically cost more than the part.
Cracked brew group housing: If a locking tab has broken and the brew group is physically wobbling in its housing, it won't complete the initialization sequence reliably. Jura sells replacement brew groups, or they can be sourced from parts machines on eBay. This is usually a $60-100 part depending on condition.
Counter-Criticism: Is the Jura E8 Worth Repairing?
This is where it gets uncomfortable to discuss honestly.
The Jura E8 retails for roughly $1,200-$1,500 new. That's a significant investment. But it's a machine with a thermoblock rated for a certain number of thermal cycles, a grinder with a defined lifespan, and plastic components that age regardless of how carefully you maintain them.
The counter-argument you'll see in forums: "Why am I spending time on Error 8 repairs on a $1,200 machine when a $200 Nespresso just works?" It's a legitimate point. The Jura promises a high-end, fully automatic specialty coffee experience, and Error 8 — particularly when it recurs — is a genuine failure of that promise.
The pro-repair argument is also legitimate: these machines are extraordinarily repairable compared to sealed capsule systems, the coffee quality when they're working properly is genuinely excellent, and the repairability is an environmental and economic positive. A properly maintained Jura E8 can run for 10+ years. That's a meaningful lifespan for a kitchen appliance.
But the tension is real. Jura's maintenance requirements are higher than their marketing communication implies. The "maintenance in minutes with cleaning tablets" message sets expectations that the mechanical reality of these machines doesn't fully support. The brew group should be physically removed and cleaned every 3 months under normal use — this is what service technicians will tell you, even though it's not prominently featured in the user manual.
That gap between what Jura communicates and what the machine actually needs is where Error 8 lives.
Preventive Protocol: Not Getting Here Again
Once you've fixed Error 8, the protocol to prevent recurrence is straightforward but requires actual commitment:
- Physical brew group removal and cleaning: Every 3 months, or every 500-600 brew cycles, whichever comes first.
- Tablet cleaning cycle: Monthly, as the machine prompts.
- Grease refresh: Every 6 months. You don't always need to replace O-rings this often, but the grease should be inspected every removal.
- Water filter: Use the Jura Claris filter appropriate for your water hardness. Hard water accelerates scale deposits in ways that compound mechanical problems.
- Descaling: Follow the machine's prompts seriously. Calcium scale on the thermoblock increases operating temperatures and pressures, which stresses seals and accelerates their degradation.
None of this is complicated. All of it requires that you treat this as a machine that needs maintenance rather than an appliance you use and forget.
Parts Sourcing and Cost Reality
Jura authorized service is expensive and geographic — not everyone has an authorized service center within reasonable distance. The good news is that the E8's parts ecosystem is reasonably well-supported by third parties.
Sources that field technicians and active hobbyists use:
- Espresso Parts (US): Stocks Jura brew group seals, O-rings, and some mechanical components
- CoffeePartsDirect: Decent inventory, variable lead times
- eBay parts machines: Searching "Jura E8 for parts" frequently surfaces machines with intact brew groups but failed electronics — useful if your housing is cracked
- AliExpress: Jura-compatible O-ring kits exist but quality consistency is poor; verify dimensions against OEM specs before using
- Jura directly: Will sell some parts direct; call before assuming they won't
For a full brew group service (O-rings, cleaning tablets, fresh grease), budget approximately $20-40 in materials. For a replacement brew group unit, $60-120 depending on source. For motor or board replacement, $150-300 plus labor if you're not doing it yourself.
The math still favors repair over replacement in most scenarios, but that calculation shifts as machines age past 7-8 years and begin accumulating multiple failure modes simultaneously.