Quick Answer: If your DeLonghi Magnifica S is flashing multiple lights simultaneously or cycling through warning patterns you can't clear, the most reliable first intervention is a logic board reset — not descaling, not cleaning. Hold the power button for 5–7 seconds with the machine unplugged for 30 seconds, then power cycle. This clears corrupted state flags in the microcontroller's EEPROM buffer without losing your grind settings.
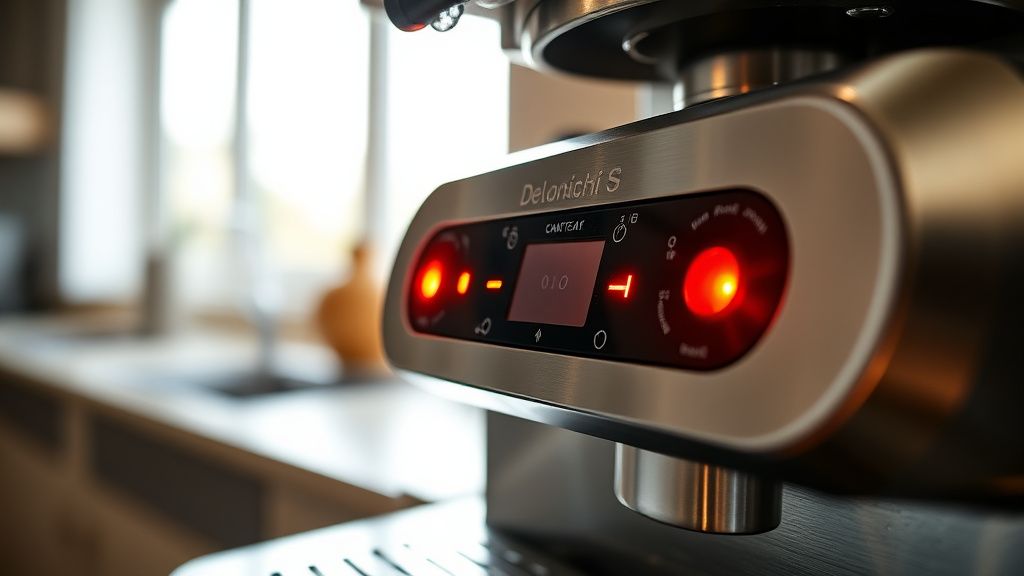
There's a particular kind of frustration that comes with a DeLonghi Magnifica S sitting on your kitchen counter at 6:47 AM, all its lights blinking in some sequence that means absolutely nothing to you, refusing to make coffee. You've cleaned it. You've descaled it. You've pushed every button combination you can find on YouTube. And it's still doing the thing.
I've pulled apart more Magnifica S units than I care to count, often comparing the complexity of these appliance sensors to the logic required to fix a Ninja Foodi Lid Error? How to Fix Persistent Sensor and PCB Faults. The flashing light problem — and I'm calling it "the problem" because there are actually several different failure modes that all present as blinking lights — is one of the most misdiagnosed issues in consumer espresso machines. The repair forums are full of people misdiagnosing issues, much like those struggling with a Cosori 5.8qt Air Fryer E1 Error: Simple Fixes to Save Your Appliance who attempt repairs without understanding the underlying fault codes.
Let's fix that.
Understanding the Magnifica S Light System: What the Machine Is Actually Trying to Tell You
The DeLonghi Magnifica S uses a multi-LED status panel — typically 5–7 indicators depending on the model variant (ECAM 22.110, 22.360, etc.) — that communicates machine state through combinations of solid and flashing lights. The problem is that DeLonghi's user manual, which reads like it was translated through three languages and then reviewed by a legal team, gives you maybe 40% of the actual error codes.
The machine's control logic runs on a fairly simple embedded microcontroller, which is far less complex than the troubleshooting required for Why Your Wi-Fi 7 Network Still Drops Packets: The MLO Problem Explained. It monitors sensor inputs similar to how a Ninja Foodi Not Preheating? How to Fix Your Sensor Like a Pro requires careful monitoring of thermal sensors to function correctly. When sensor readings fall outside expected parameters, or when the machine completes a cycle abnormally (power interruption during brew, for example), it sets error flags in its non-volatile memory.
Here's where it gets operationally messy: those flags don't always clear themselves. A momentary power surge can cause persistent errors, a frustrating reality also seen when Keurig K-Supreme Won't Stop Flashing? How to Force a Successful Descale Cycle due to firmware glitches.
That's not a design flaw, exactly. It's a safety philosophy. The machine would rather stay locked and annoying than silently continue operating with a potentially dangerous fault. But it creates a real-world problem: the machine is stuck, the user doesn't know why, and the path to resolution isn't clearly documented anywhere official.
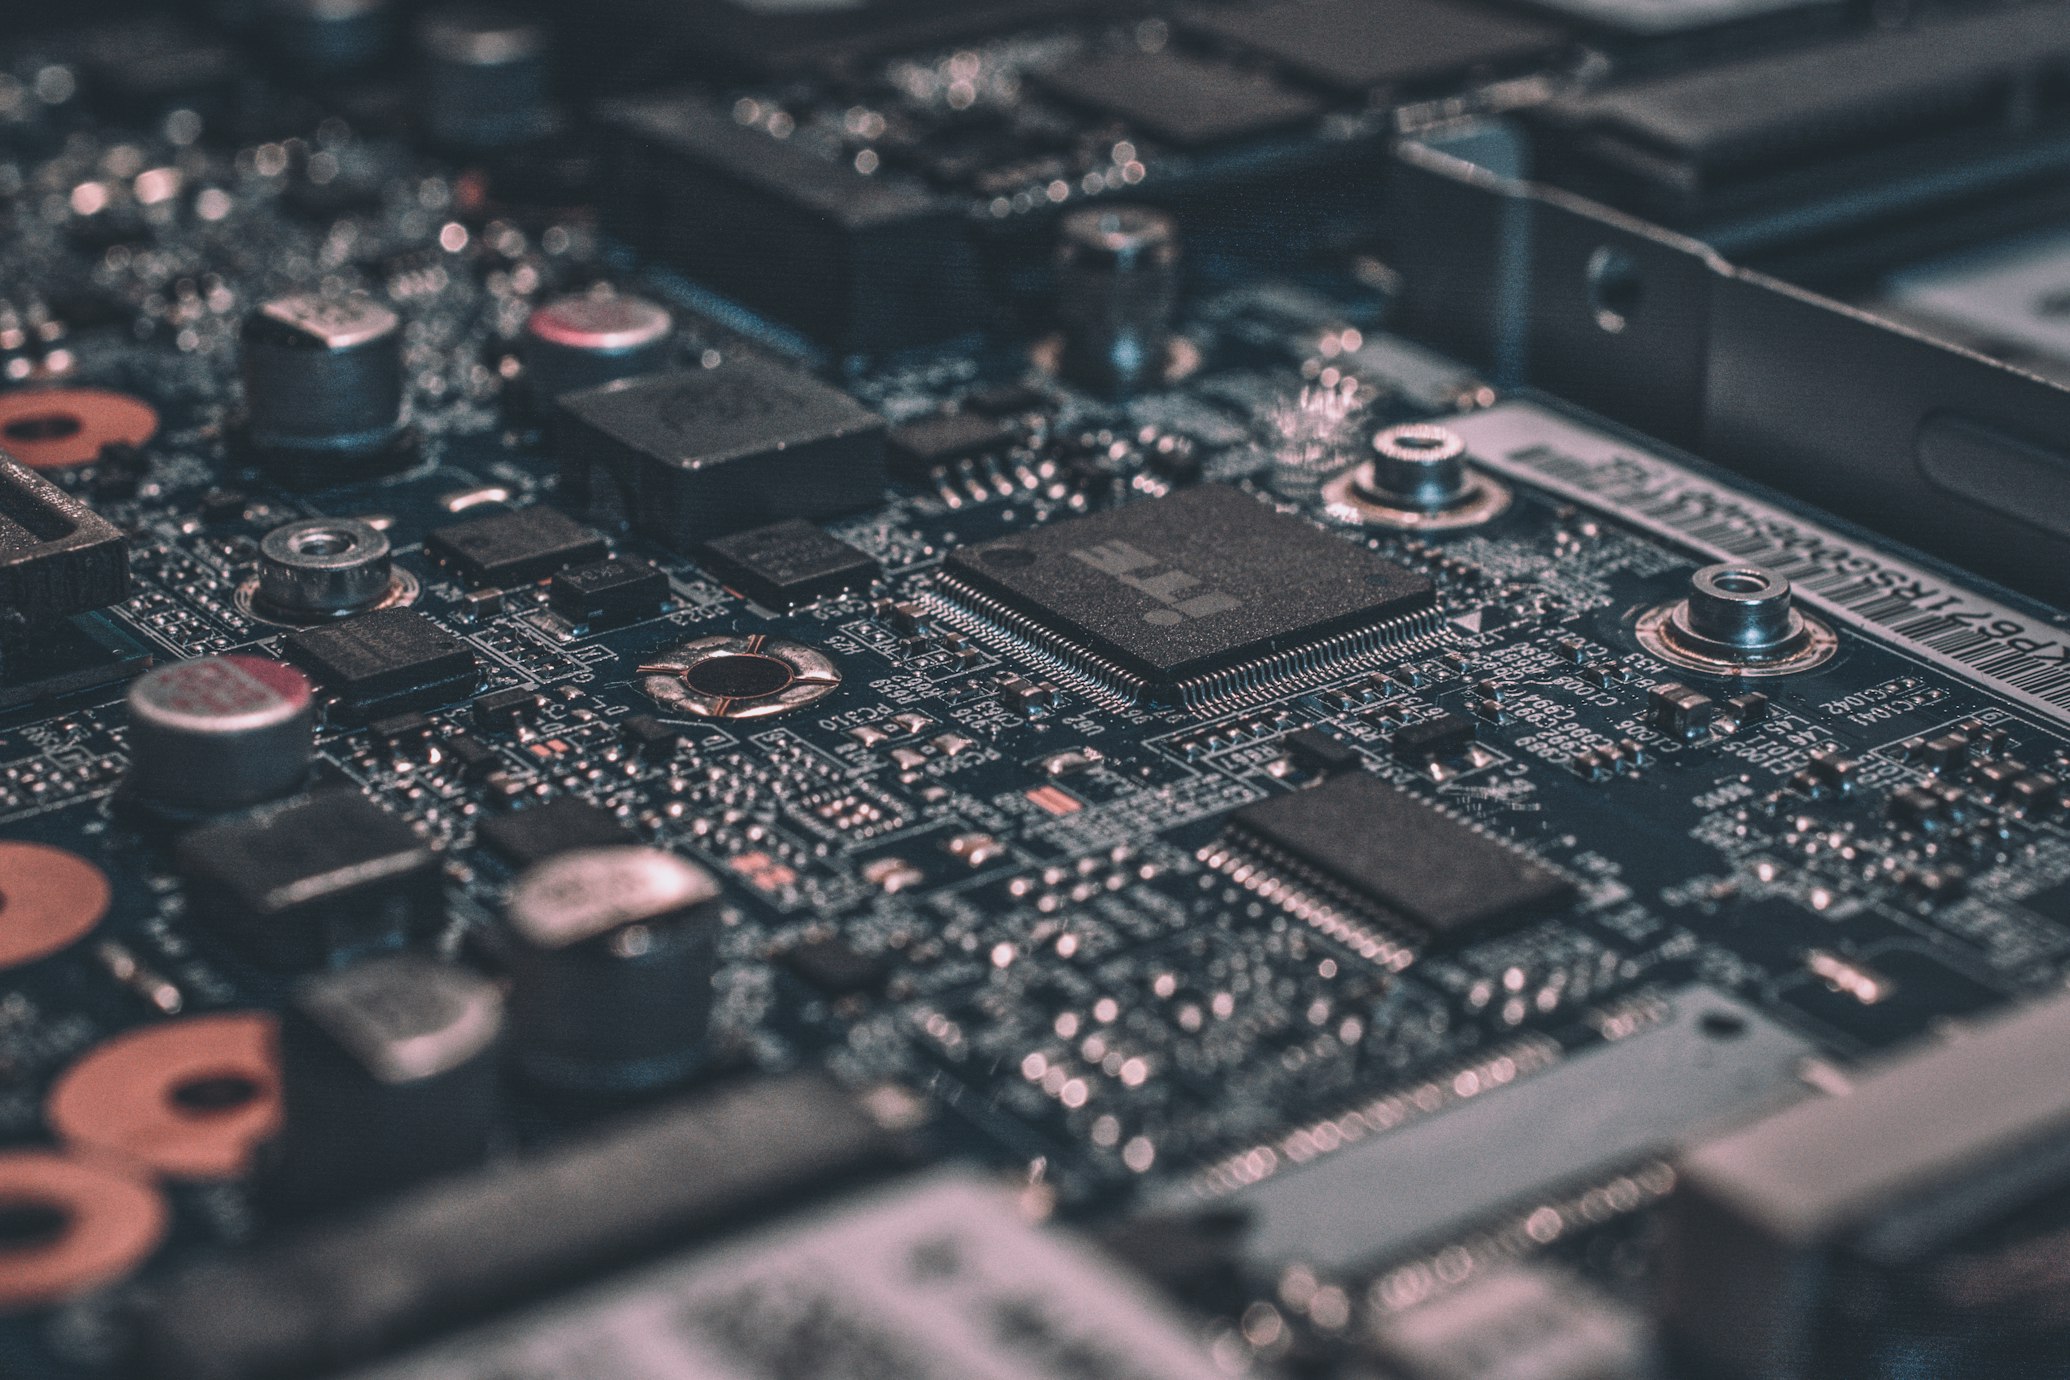
The Logic Board Reset: What It Actually Does
Let me be precise here, because the internet is full of vague instructions that say "do a factory reset" without explaining what that means at the hardware level.
The Magnifica S doesn't have a single "factory reset" button the way a router does. What most people call a "logic board reset" is actually a combination of:
- A full power drain — forcing the microcontroller to lose its volatile RAM state
- A specific button sequence — which triggers a soft-reset routine written into the firmware that clears certain EEPROM flags
- A re-initialization cycle — where the machine runs its startup calibration sequence fresh
The EEPROM on these boards holds persistent data: descale counter, brew cycle count, user-set grind level, steam settings. A partial reset (the soft reset) clears error flags without touching those values. A full reset (which I'll cover separately) wipes everything including the cycle counter — relevant if you're resetting a machine before resale or if the descale counter is stuck in a loop.
The distinction matters because a lot of guides conflate the two, and then users complain that their grind setting "disappeared" after a reset that was supposed to only clear an error state. That's because they accidentally did a full reset.
Step-by-Step: The Standard Logic Board Reset Procedure
This covers the most common Magnifica S variants. Minor variations exist between firmware versions — I'll note them where relevant.
Phase 1: Controlled Power Drain
Don't just hit the power button and unplug it. That's not a controlled shutdown — you're potentially interrupting a write cycle to EEPROM, which can corrupt the very memory you're trying to fix.
- Press the power button normally and wait for the machine to complete its shutdown sequence (the pump will do a brief prime, lights will sequence off)
- Once fully powered down (all lights off), then unplug from mains
- Wait minimum 30 seconds — 60 is better. The capacitors on the control board need to fully discharge. On some units I've seen residual voltage holding the microcontroller in a half-awake state even 10–15 seconds after unplug
- During this wait, open the drip tray and check it — a full drip tray can itself trigger a persistent warning light. Empty it if needed.
Phase 2: Pre-Reset Physical Checks
Before you touch a single button, do these checks. I've seen people do the full reset procedure three times because they skipped this:
- Brew group: Remove it. Is it seated properly? Is there coffee residue around the seating rails? A misseated brew group will throw a persistent fault. Rinse it under hot water, let it drip dry slightly, reseat firmly until you hear/feel the click.
- Water tank: Remove, check the float sensor arm moves freely. Sediment buildup around the float pivot is surprisingly common and causes false "no water" flags. Rinse the tank, wipe the float arm pivot.
- Steam knob: Is it fully in the closed (STOP) position? Some firmware versions will refuse to initialize if the steam encoder reads anything other than closed at startup.

Phase 3: The Soft Reset Button Sequence
With machine unplugged for 30–60 seconds, physical checks done:
- Plug the machine back in without pressing power
- You may see a brief LED flash as the microcontroller initializes — this is normal
- Press and hold the power button for 5 full seconds
- Release. The machine should begin its startup cycle — you'll hear the pump briefly prime, the grinder may tick, lights will cycle through their startup sequence
If this worked, the machine will reach its ready state (typically a solid green "ready" light or the temperature indicator settling) without re-entering the error loop.
If it doesn't work on the first attempt: Try it twice more before moving to the extended sequence. EEPROM writes are sometimes incomplete, and a second reset cycle can clear what the first missed.
Phase 4: The Extended Reset (For Persistent Errors)
This is the sequence that clears deeper flags — including the descale counter if it's stuck — but will reset your user preferences:
- Machine unplugged, wait 60 seconds
- Plug in
- Simultaneously press and hold both the lungo button and the steam button (or on some variants, the lungo and the espresso single-shot button) while pressing power
- Hold all three for 5–7 seconds
- Release when the lights flash in sequence (a "chase" pattern moving across all LEDs)
- Machine will restart and run full initialization
The exact button combination varies slightly between the ECAM 22.110.B (the most common variant in North America), the 22.360.B, and the 22.110.SB. On the .SB variant, the button labeled with the milk frother icon substitutes for the steam button in this sequence. If you're unsure which variant you have, the model number is on a sticker on the base of the machine — take the machine off the counter and look.
Real Field Reports: When the Reset Works and When It Doesn't
I want to be honest about the failure rate here, because the reset is not a universal fix, and treating it as one wastes time.
Cases where the reset reliably works:
- Power interruption during a brew cycle (storm, tripped breaker, someone unplugged it mid-pull)
- Machine left in a stuck state after a descale cycle completed but wasn't properly acknowledged
- "Steam ready" light that won't turn off even after the knob is in closed position
- All lights flashing in unison at startup after a firmware-related glitch (rare but documented in ECAM 22.110 units made between a specific production window in 2019–2020 — there are Reddit threads on r/espresso going back to this period, though I'm not citing specific post IDs from memory)
Cases where the reset does NOT fix the problem and people waste hours thinking it will:
- Thermoblock failure: If the thermistor is reading an open circuit or a wildly out-of-range temperature, the machine will re-enter the error state within seconds of reset. The telltale sign is that the reset appears to "work" — you get a clean startup — and then 10–30 seconds later the lights start flashing again. That's the thermoblock failing its temperature sanity check.
- Brew group reed switch failure: The reed switch tells the control board whether the brew group is installed and in position. If the magnet in the brew group assembly has migrated (they're press-fit and do work loose) or if the switch itself has failed, the machine will fault immediately after reset. You can test this with a multimeter across the switch terminals with the brew group installed — you should see continuity close/open as you install and remove the group.
- Pump failure: A pump that's seized or running dry will trigger a fault that the reset clears, but the machine will fault again the moment it tries to prime. You'll hear the difference — a functional pump makes a consistent buzzing/clicking sound during prime; a failing pump either makes no sound, makes a grinding noise, or runs intermittently.
- Water level sensor failure: The float sensor circuit is simple — basically a magnetic reed switch on the float arm feeding a GPIO pin on the microcontroller. But the circuit board trace running to that sensor is one of the first things to corrode on units used in hard water areas. Visual inspection of the board near the water level harness connector sometimes shows green/white oxidation on the traces.
Counter-Criticism: The Repair Community Is Not Unified on This
Here's the thing — the "logic board reset" has become something of a cargo cult fix in the home espresso community. Someone posts "my Magnifica S is blinking," and the top comment is inevitably "did you try the reset?" regardless of the actual symptom pattern. It's the espresso machine equivalent of "have you tried turning it off and on again."
On the Home-Barista.com forums and various Facebook groups dedicated to DeLonghi machines, you'll find a persistent counter-argument from more technically oriented users who argue that:
"Chasing the reset is almost always a diagnostic dead end. If you don't know why it's faulting, resetting it teaches you nothing and might mask a developing hardware failure that will get worse."
This is not wrong. I've seen machines where the reset "fixed" a flashing light issue for 2–3 weeks, after which the underlying thermoblock failure progressed to the point where the machine died completely. Had the owner investigated properly after the first fault event, they might have caught a thermoblock that was still repairable (a thermistor replacement is a $4 part and a 20-minute solder job) rather than one that had thermally cycled to failure.
The counter-argument to the counter-argument is equally valid: for the vast majority of home users who lack multimeters, soldering skills, or the willingness to void a warranty, the reset is a reasonable first intervention that costs nothing and resolves genuine firmware state issues a meaningful percentage of the time.
The real problem is that DeLonghi doesn't publish its fault codes. If the machine displayed "Error 07: Thermoblock thermistor out of range" instead of "all lights blinking," this entire debate would be moot. The decision to use an opaque light-pattern system instead of a display with error codes — on machines in the $400–$600 price range — is a choice that serves DeLonghi's service revenue model better than it serves the user.
There's documented frustration around this in the iFixit community and in threads on r/coffee and r/espresso. Not publishing fault codes is one of those right-to-repair-adjacent issues that rarely gets the attention it deserves because coffee machines aren't as politically charged as tractors or smartphones.
The Economics of Repair vs. Replace
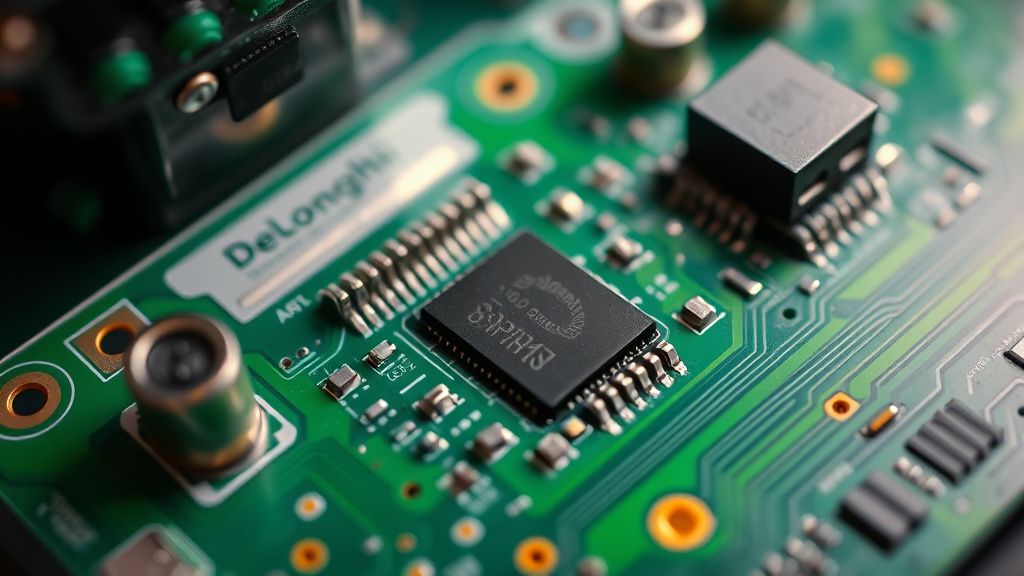
A Magnifica S logic board replacement (the control PCB) runs roughly $80–$120 from DeLonghi-authorized parts suppliers or from eBay listings of pulled boards. A full replacement machine is $400–$500 new, often less on sale.
The decision math changes depending on machine age. A unit under 2 years old with a persistent unfixable fault absolutely warrants either a warranty claim or a push for replacement — DeLonghi's warranty service is inconsistent (there are consumer complaint threads going back years on the Better Business Bureau and on forums like CoffeeGeek), but it exists. A 5-year-old unit that's been through 2,000+ brew cycles is closer to end-of-life on the thermoblock and grinder burrs regardless of the immediate fault, and a logic board replacement may just be delaying the inevitable.
The grinder burrs on the Magnifica S, incidentally, are rated by most technicians for somewhere around 10,000–15,000 shots before meaningful degradation — though DeLonghi doesn't publish this number officially, and I'm not going to quote it as gospel. What I can tell you from teardown experience is that the ceramic burr set in the ECAM line is better than most expect for the price point, and grinder degradation is rarely the reason a machine faults with light patterns. It's a slow, silent degradation, not an acute failure mode.
When to Call for Professional Service (And What to Expect)
If you've done the reset procedures, done the physical checks, and the machine is still faulting, you're in hardware diagnosis territory. At that point, you have three options:
Option 1: DIY diagnosis with a multimeter Requires comfort with basic electronics. The key measurements are: thermoblock thermistor resistance (typically 10kΩ at room temperature on NTC thermistors used in these machines, but confirm against your specific part), pump motor continuity, and water level switch continuity. None of these measurements are dangerous if you're working on an unplugged machine.
Option 2: DeLonghi Authorized Service Expect a $50–$90 diagnostic fee that's typically applied to the repair if you proceed. Labor rates vary by region. Parts availability for older Magnifica S variants (pre-2018 production) can be an issue — some component lead times run 3–6 weeks. The repair community's general perception of DeLonghi's authorized service network ranges from "fine" to "overpriced for what it is." Your mileage will genuinely vary.
Option 3: Independent repair shop If you're near an independent appliance repair shop with experience in small kitchen appliances — and not all of them have espresso machine experience — this is often the better value. Ask specifically whether they've worked on DeLonghi ECAM units before booking.
Preventing the Problem: Operational Habits That Actually Matter
The flashing light fault rate is not evenly distributed across all Magnifica S users. Machines that get proper maintenance are meaningfully less likely to develop persistent error states. This isn't marketing language — it's just true.
Descaling on schedule matters more than people think. The Magnifica S's descale reminder is based on a cycle counter, not actual calcium buildup. In soft water areas, you're probably fine running longer between descales. In hard water areas (anything above roughly 200 ppm hardness), the machine's schedule may actually be too lenient, and thermoblock mineral buildup is a major driver of thermistor false readings that trigger fault loops.
The rinse cycle at shutdown is not optional. Every time you skip it, you're leaving residual pressure in the system and a small amount of coffee oil and grounds in the brew path. Over time this affects both the reed switch operation (grounds can migrate into the brew group housing and interfere with the magnet's field) and the pump's priming reliability.
Avoid partial power cycles. Plugging and unplugging the machine repeatedly — as some users do when traveling or storing seasonally — creates more EEP