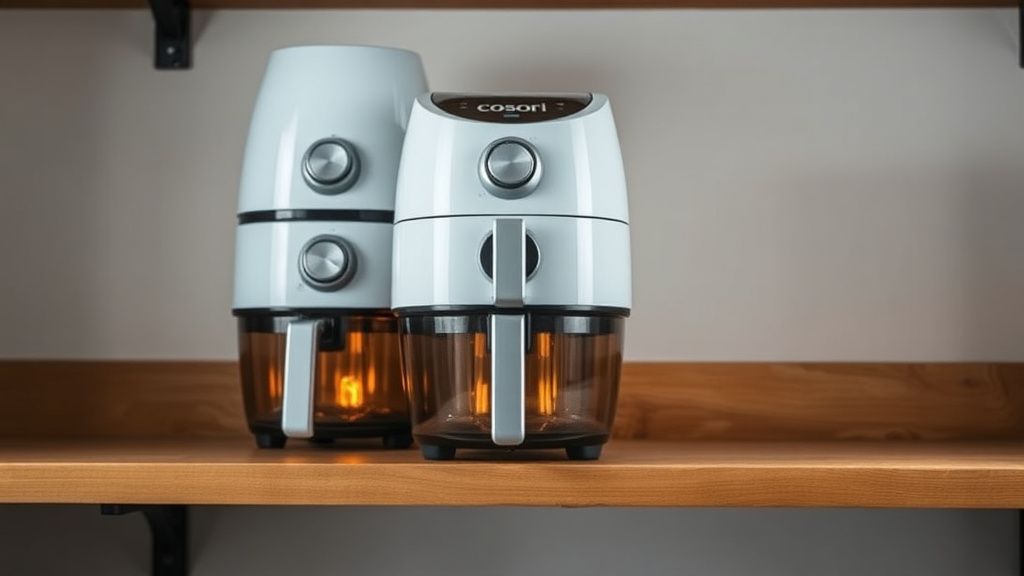
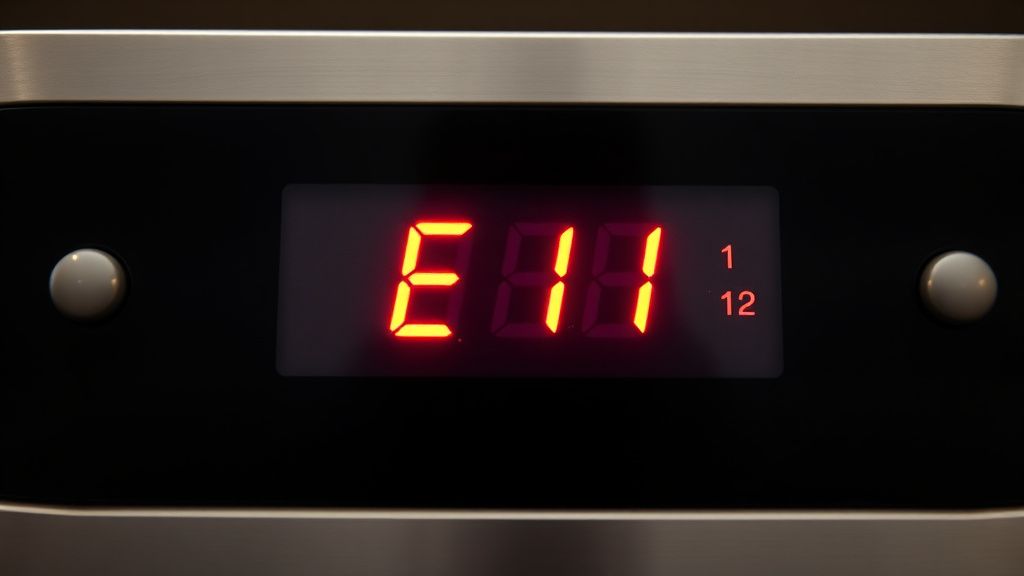
The Cosori 5.8qt air fryer is a staple of modern kitchens, but its most infamous failure—the "E1" error—is a goldmine for those willing to roll up their sleeves. The E1 code is a localized fault signaling an open circuit in the temperature sensing loop. For the average consumer, it is a death sentence for their appliance; for the technician, it is a straightforward diagnostic procedure similar to how one might turn repair skills into profit with Nespresso Vertuo red light fixes.
Problem Nedir (What is the Problem?)
The "E1" error on a Cosori 5.8qt air fryer specifically indicates a thermistor (temperature sensor) failure or a disconnection in the sensor wire harness. In engineering terms, the control board is looking for a specific resistance range from the NTC (Negative Temperature Coefficient) thermistor located inside the cooking chamber. When that circuit is "open"—meaning no signal is returning to the CPU—the system triggers the E1 safety protocol to prevent a runaway heating event.
Belirtileri (Symptoms)
Users typically encounter this error during the preheating phase, a frustration often seen in other appliance malfunctions, such as when a Roborock S7 LiDAR turret obstruction occurs.
- The Display: The digital panel flashes "E1" consistently, rendering all buttons unresponsive except for the power/cancel function.
- Audible Indicators: In some revisions, the device may emit a faint, rapid clicking sound from the main relay shortly before the error appears.
- Tactile Feedback: The unit fails to generate heat despite the timer counting down or the display indicating "Preheat" mode.
- Intermittent behavior: Initially, the error may only appear when the basket is moved or after the unit reaches a certain temperature, indicating a heat-stressed connection that is expanding and breaking contact.
Olası Nedenler (Possible Causes)
- Thermal Fatigue: The wiring harness connecting the thermistor to the main PCB passes near high-heat zones. Over hundreds of cycles, the insulation can become brittle, and the copper core can develop microscopic fractures.
- Grease Infiltration: Micro-droplets of cooking oils can vaporize and settle on the connector pins, creating a carbonized layer that insulates the pin and causes a false "open" reading.
- Sensor Drift/Failure: NTC thermistors have a finite lifespan. As they age, their resistance curve shifts. If the controller detects a resistance value outside the factory-calibrated parameters, it trips the E1 fault.
- Loose Internal Connectors: Vibration from the convection fan can shake the spade connectors or the Molex-style plug on the mainboard loose, especially if the unit has been handled roughly during cleaning.
- Firmware Glitch: Rarely, the control board’s logic controller may hang due to a voltage spike during a power brownout, though this is statistically the least likely culprit compared to mechanical failure.
Quick Fixes (Hızlı Çözümler)
Before dismantling the unit, try these high-probability fixes, which are just as essential as knowing how to fix your Ring Doorbell Pro if it goes offline after a network change.
- Hard Power Cycle: Unplug the unit for a full 30 minutes. This allows the capacitors on the control board to bleed off charge. Plug it back into a direct wall outlet (avoid power strips).
- The "Jiggle" Test: While the unit is powered on and displaying E1, gently push and pull the basket handle. If the error flickers or resets, you have a physical contact issue in the sensor wiring, not a board failure.
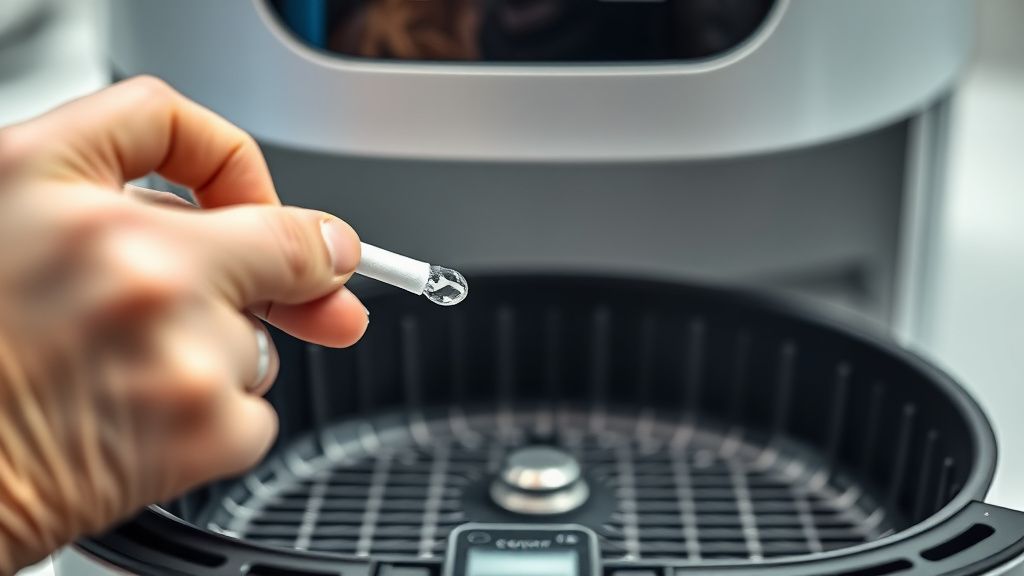
- Deep Clean the Contacts: Remove the basket and inspect the two metal pins on the back of the basket housing. If they are blackened or coated in grease, use 90% Isopropyl Alcohol and a Q-tip to strip the residue. Use a tiny amount of DeoxIT contact cleaner if available.
Advanced Fixes (İleri Düzey Çözümler)
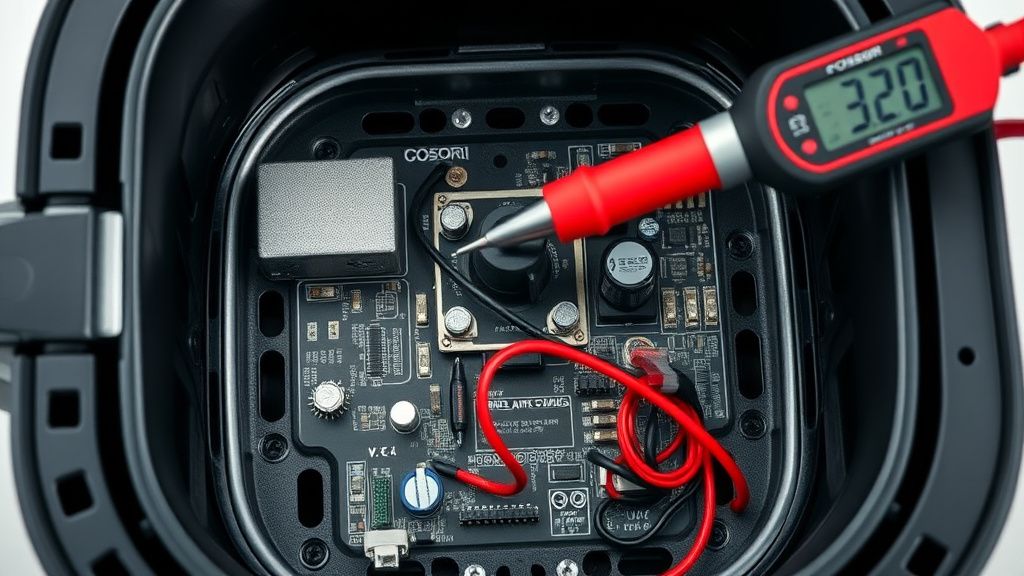
When quick fixes fail, you must perform a surgical teardown. This requires a set of security torx bits (T10 and T15) and a digital multimeter.
Step 1: The Chassis Split Remove the screws from the bottom of the unit. The plastic housing is held together by internal clips. Use a plastic pry tool (spudger) to avoid marring the finish.
Step 2: Trace the Sensor Lines Locate the white or yellow wires running from the top heating element assembly down to the PCB. These are your sensor lines. Disconnect the connector at the board and set your multimeter to Ohms (resistance mode). You should see a resistance value between 50k and 150k Ohms at room temperature, depending on the specific model revision. If the meter reads "OL" (Open Loop), the sensor or the wire is broken.
Step 3: Wire Repair or Bypass If the wire is broken, you don't necessarily need a new harness. You can bridge the break using high-temperature silicone-insulated wire. If the thermistor itself is dead, you can source a generic 100k NTC thermistor (common in 3D printer parts) and splice it into the existing housing. Ensure all joints are sealed with heat-shrink tubing rated for 150°C+.
Step 4: PCB Inspection Inspect the solder joints on the control board where the sensor connector is pinned. "Cold" solder joints are common due to constant heating/cooling cycles causing thermal expansion. Reflowing these joints with a soldering iron and fresh leaded solder often solves the E1 error permanently.
Factory Reset (Fabrika Ayarlarına Döndürme)
Cosori air fryers do not have a "button-press" factory reset in the traditional sense. However, to force the board to clear its volatile memory:
- Unplug the device.
- Press and hold the Power button and the Temp/Time buttons simultaneously for 20 seconds.
- Keep the unit unplugged for at least 1 hour.
- Re-connect to power. This forces a cold boot of the EEPROM controller.
When to Replace (Ne Zaman Yenisiyle Değiştirilmeli?)
Know when to walk away to maximize your ROI.
- Burned PCB Traces: If you see charred, carbonized sections of the circuit board (usually near the power relay), the board has suffered a catastrophic short. Replacing the board is often more expensive than a new unit.
- Thermal Fuse Catastrophe: If the heating element itself has physically melted or the thermal fuse has tripped multiple times, the structural integrity of the internal housing may be compromised.
- Cost Analysis: If your total parts cost (thermistor, wiring, time) exceeds 40% of the current market value of a refurbished unit, it is time to part the machine out. Sell the basket, the grate, and the outer casing on secondary markets to recover your initial investment.
Real Field Reports (Gerçek Saha Raporları)
- The "Grease Trap" Case: I once acquired four "E1" units from a bulk liquidator. Three of them were fixed simply by removing the carbon buildup on the basket pins. The fourth had a literal mouse nest inside the base, causing a short. Always inspect for physical debris before performing board-level work.
- The Wire Fatigue Factor: In units used in high-humidity kitchens, the sensor wires often corrode under the insulation. If the wire feels "crunchy" when bent, replace the entire length, even if it tests as continuous.
Counter-Criticism/Debate (Karşılıklı Eleştiri)
Some technicians argue that "splicing" thermistor wires is dangerous and unethical because it alters the factory safety specification. They contend that the resistance of a new splice, however small, could throw off the PID (Proportional-Integral-Derivative) loop control, potentially leading to overheating.
The Counter-Argument: While theoretically true, the variation introduced by a high-quality solder joint is negligible compared to the tolerance range of the original mass-produced NTC sensor. If you use appropriate gauge wire and heat-shrink, you are restoring the appliance to a functional, safe state. The alternative is sending a 90% functional machine to a landfill—an environmental cost far greater than a repair.

FAQ
Is it safe to use the air fryer after bypassing the E1 error?
Can I use a universal thermistor replacement?
Does the E1 error always mean the thermistor is broken?
How can I turn this into a side business?