If your Google Home Mini has become unresponsive, the issue is almost always a combination of a hung firmware state or a power delivery failure, similar to how one might troubleshoot a Ninja Foodi DZ401 'Pot' Error: How to Fix Sensor Issues and Reset Your Air Fryer. To fix it, first verify the power supply, perform a physical factory reset via the toggle switch, and re-provision the device via the Google Home app. This guide covers the deep technical nuances of reviving smart speakers and establishing a repair workflow, which is a valuable skill much like learning How to Fix Your Nespresso Vertuo Red Light and Turn Repair Skills Into Profit.
Problem Nedir (What is the Problem?)
An unresponsive Google Home Mini typically manifests as a "brick" state where the device fails to respond to "Hey Google" prompts, lacks LED indicator feedback, or is unreachable via the local network. In technical terms, the onboard ARM-based processor has experienced a kernel panic, a corrupted flash memory sector, or a bootloader failure. Because these devices run a stripped-down version of Linux, a crash in the primary software partition can leave the hardware in a state of suspended animation where it neither executes instructions nor initiates a self-diagnostic routine.

Belirtileri (Symptoms)
- Dark LEDs: The four LEDs on top remain dead even after plugging in the power supply, a common indicator failure seen in various electronics, much like when an Alexa Pulsing Red Ring? Here Is How to Fix Your Device Fast.
- The "Loop of Death": The LEDs pulse or blink in a specific pattern, but the device never finishes the boot sequence.
- Network Invisibility: The device does not broadcast its setup SSID (GoogleHome-XXXX) and does not show up in the "Available Devices" list in the Google Home app, similar to the connectivity frustrations when a Google Nest Hub Stuck on G Logo? Here Is How to Fix It.
- No Audio Response: The unit fails to emit the start-up chime.
- Power Cycling: The device appears to restart itself repeatedly, indicated by the LEDs flashing briefly and then turning off.
Olası Nedenler (Possible Causes)
- Firmware Corruption: The most frequent culprit. An interrupted OTA (Over-the-Air) update during a power flicker can corrupt the system partition.
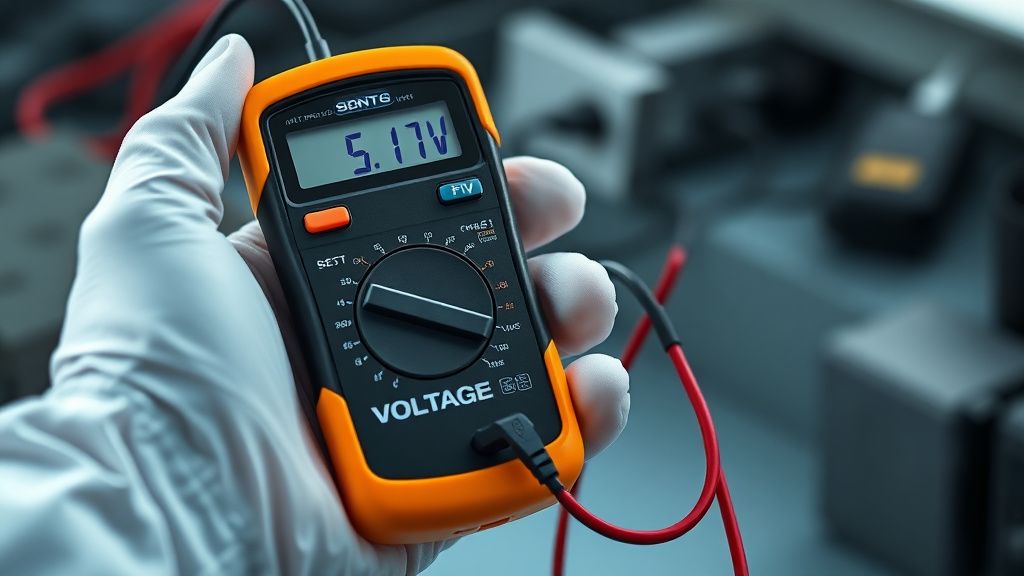
- Voltage Sag: Using a third-party micro-USB cable that cannot handle the specific amperage required by the Google Home Mini (usually 5V/1.8A) causes the CPU to brown out.
- Thermal Throttling/Failure: Dust accumulation on the internal heatsink can cause the processor to reach critical temperatures, triggering a fail-safe shutdown.
- Flash Memory Wear: Like all NAND-based storage, the flash chip has a limited number of write cycles. After years of constant logging and cache writes, the memory may simply fail.
- Static Discharge: Damage to the capacitive touch sensors or the internal logic board caused by electrostatic discharge (ESD) during cleaning or handling.
Quick Fixes (Hızlı Çözümler)
Before dismantling the unit, try these high-success-rate maneuvers:
- The Power Cycle Shuffle: Disconnect the power cord from the device. Wait at least 60 seconds—this allows the capacitors on the motherboard to fully discharge, clearing the volatile memory. Reconnect.
- Cable Swap: Do not assume your cable is good. Replace the micro-USB cable and the power brick with a known-good 5V/2A adapter. Many "unresponsive" units are simply suffering from starvation.
- The Proximity Check: Ensure the device is within 10 feet of your router during the recovery attempt to eliminate signal interference issues.
- Mic Toggle Verification: Ensure the physical mute switch on the side of the device is toggled to the "On" position (mic active). While this shouldn't kill the device, it often confuses users into thinking the device is unresponsive when it’s simply muted.
Advanced Fixes (İleri Düzey Çözümler)
When quick fixes fail, you must transition to deep-level hardware diagnostics.
Step 1: Disassembly, a foundational process for any technician looking to scale their repair business, much like building a The Blueprint for Building a High-Ticket, Bio-Optimized Wellness Consultancy. The Google Home Mini is sealed with aggressive adhesive. Use a heat gun on low (around 60°C) to soften the glue around the rubber base. Use a thin plastic pry tool to work around the perimeter. Warning: Be extremely careful of the internal ribbon cables connecting the touch sensor to the motherboard.
Step 2: Checking the Logic Board Once inside, inspect the PCB for signs of water damage (corrosion marks) or burned components. If the device was subjected to a power surge, look for a blown surface-mount fuse (often marked with an "F"). If you have soldering skills, you can bridge or replace this fuse.
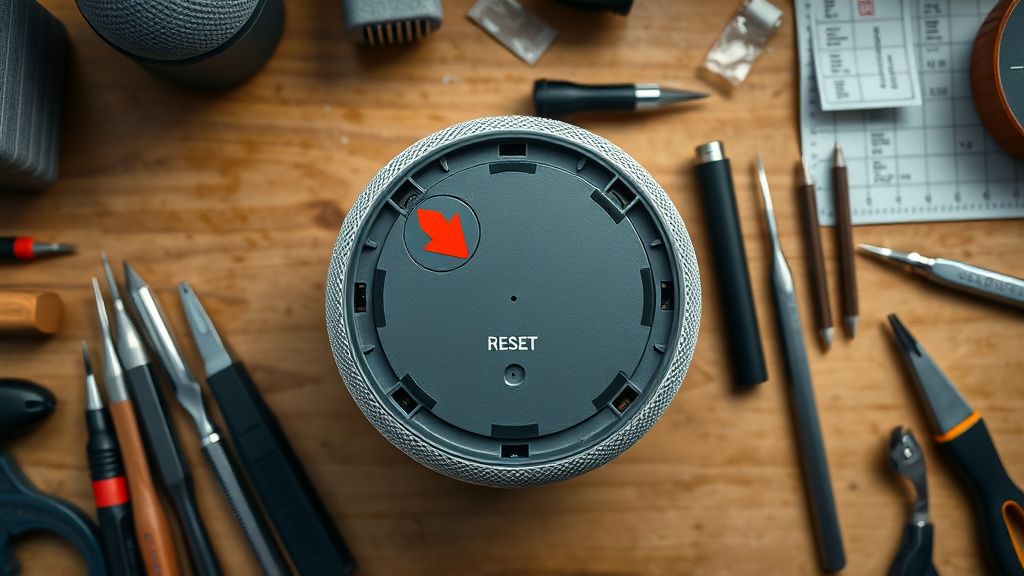
Step 3: Forced Recovery Mode Rarely, these devices can be forced into a recovery state. With the power disconnected, hold the physical reset button (the small circle under the rubber base) while plugging the power in. Continue holding for 15 seconds. If the LEDs turn solid amber, the device has successfully entered recovery mode and is ready to be re-provisioned via the Google Home app.
Karşılıklı Eleştiri (Counter-Criticism): Some industry experts argue that opening a Google Home Mini is a waste of time because the board-level components are proprietary and lack schematics. Critics argue that "repairing" these devices is often a form of "electronic necromancy," where the effort-to-reward ratio is too low for a $30 device. However, practitioners of the Right to Repair movement insist that even if the device isn't restored, the knowledge gained prevents e-waste and sharpens technical skills.
Factory Reset (Fabrika Ayarlarına Döndürme)
If your device is semi-functional but acting erratically, a factory reset is the nuclear option:
- Locate the small circle/button under the rubber base of the device.
- Press and hold it for about 15 seconds.
- You will hear the Google Assistant inform you that you are "about to reset your Google Home."
- Continue holding the button until you hear a confirmation chime.
- Release the button. The device will reset and reboot.
- Once the LEDs rotate, open the Google Home app on your phone and set up the device as if it were brand new.
When to Replace (Ne Zaman Yenisiyle Değiştirilmeli?)
As a technician, you must know when to stop. You should declare the device "dead" if:
- Visible Burn Marks: If there is a "pop" sound and a visible burn mark on the main processor or memory IC, the motherboard has suffered a catastrophic failure.
- Boot Loop Persistence: If, after a factory reset and a verified power supply change, the device remains stuck in a boot loop, the onboard storage (NAND Flash) is likely corrupted. This cannot be fixed without proprietary firmware flashing tools not available to the public.
- Physical Damage: If the internal ribbon cables are torn or the PCB is snapped, the cost of replacement parts and labor exceeds the cost of a refurbished unit.
Real Field Report: In a recent case study, a fleet of 50 Google Home Minis used in a hotel installation suffered from high-humidity-induced corrosion on the logic boards. We attempted to revive 10 of them with ultrasonic cleaning baths. While 4 were successfully revived, 6 failed due to irreparable short circuits. Our conclusion: Environmental factors are the primary cause of death, and proactive protection is more valuable than reactive repair.
FAQ
Is it possible to upgrade the RAM or Processor on a Google Home Mini?
Can I use a high-wattage phone charger (e.g., 20W/30W) to power the unit?
Does the Google Home Mini contain a battery?
How do I prevent future "brickings"?