This technical failure occurs when the internal bootloader fails to load the operating system; if you encounter other smart home errors like the Nespresso Vertuo Next blinking orange and white light, specialized troubleshooting is also required. To resolve, you must trigger the hardware-level Factory Data Reset (FDR) sequence by holding the volume buttons during the power-cycle phase, bypassing the corrupted OS state to force a re-flash from Google’s cloud servers.
Problem Nedir (What is the Problem?)
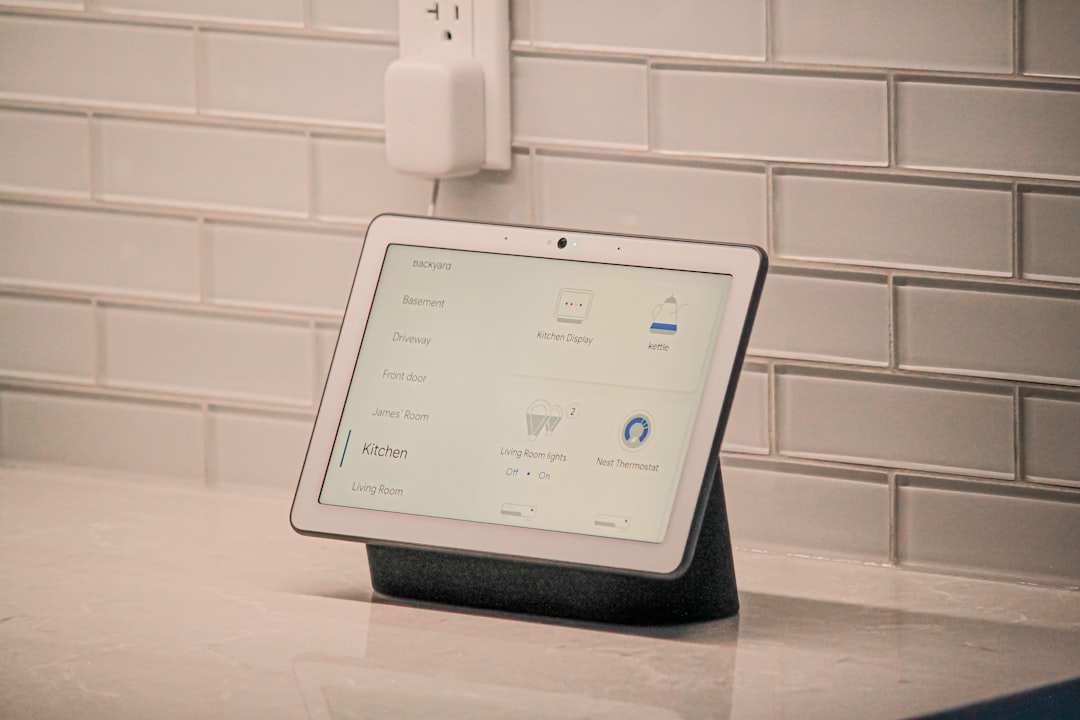
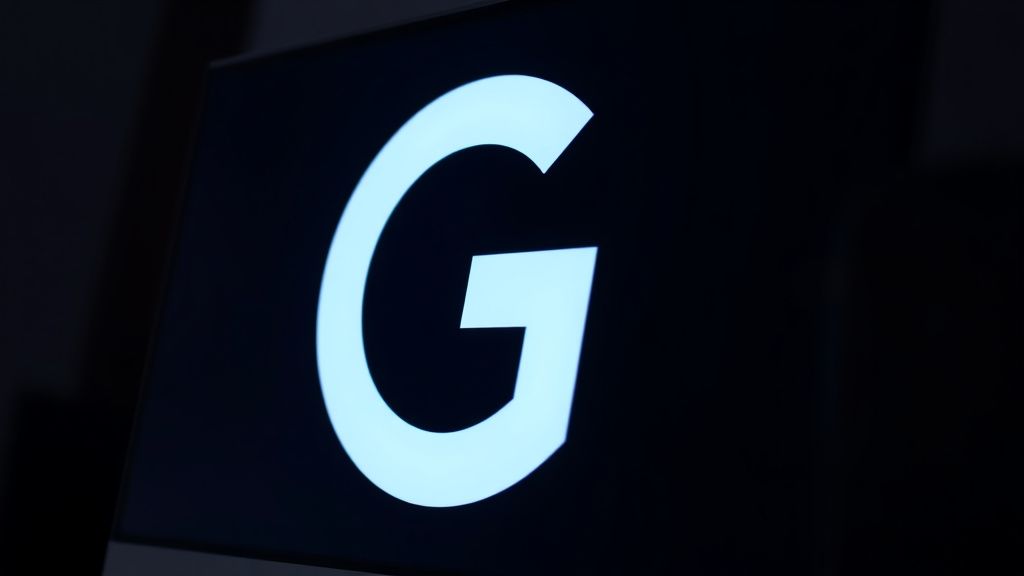
When your Google Nest Hub hangs indefinitely on the white "G" logo, you are witnessing a "Boot Loop" or "Soft Brick" state. This happens because the bootloader—the tiny piece of code that runs first to wake up the hardware—has successfully initialized, but the hand-off to the main kernel has stalled. In 90% of power-failure cases, this is caused by a corrupted flash memory sector. During an abrupt power cut, the Nest Hub may have been writing a critical background update to its eMMC (embedded Multi-Media Card) storage. If the power drops during this high-stakes write operation, the file system becomes inconsistent. The device recognizes the bootloader, tries to load the OS, finds a checksum mismatch, and defaults to the "G" logo in a continuous, infinite retry loop.
Belirtileri (Symptoms)
- Static "G" Icon: The device shows the white Google logo on a light grey/white background and stays there for more than 10 minutes.
- No Interaction: Swiping, tapping, or using voice commands yields zero response.
- Cyclical Restart: The screen may flicker or go black for a split second, then return to the "G" logo, indicating an automated recovery attempt that keeps failing.
- Connectivity Failure: If you check your router’s "Connected Devices" list, the Nest Hub is either missing or showing up with an unstable, rapidly fluctuating connection status.
Olası Nedenler (Possible Causes)
- Corrupted Partition Table: Power outages during read/write cycles are the primary culprits. The partition table—which acts as the "map" for where the OS lives on the chip—becomes unreadable.
- Firmware Bug: Occasionally, a pushed OTA (Over-the-Air) update is inherently unstable. If the power cuts while the cache is being cleared, the device enters a state of "bricked" limbo.
- Voltage Fluctuations: Cheap power adapters degrade over time. A power failure often creates a transient surge when the electricity returns, which can damage the sensitive voltage regulation modules (VRMs) on the Nest Hub’s motherboard.
- Heat-Induced Hardware Fatigue: If the device was running hot during the power cycle, the solder joints on the flash storage may have been weakened, causing temporary contact issues that mimic a software crash.
Quick Fixes (Hızlı Çözümler)
The "30-Second Power Cycle" is the gold standard for clearing volatile memory.
- The Hard Disconnect: Unplug the Nest Hub from the wall outlet. Wait exactly 60 seconds. Do not just use the screen controls; you must physically remove the power cable to discharge the capacitors.
- Verify the Power Source: Ensure you are using the original power adapter. Many users try to substitute these with generic barrel-jack chargers; however, Nest Hubs require very specific voltage and amperage profiles. A generic adapter might provide enough power to light the screen but not enough to initiate the boot process.
- Bypass Extensions: If you have the device plugged into a power strip or an extension cord, plug it directly into a verified wall outlet. Power strips can sometimes drop voltage under load, causing "dirty" power that prevents the bootloader from clearing the integrity check.
Advanced Fixes (İleri Düzey Çözümler)
If the device persists on the "G" screen, you are entering the territory of manual recovery.
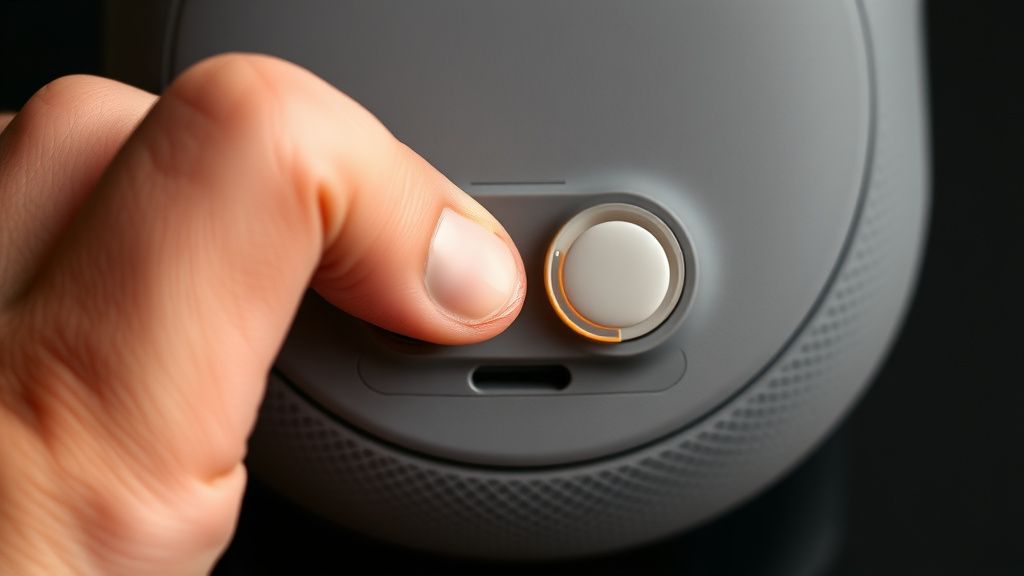
- Forced Factory Reset Sequence: Locate the two volume buttons on the back of the device. Press and hold both volume buttons simultaneously for at least 10–15 seconds. Keep holding them until you see a progress bar appear on the screen. Do not let go early. This sends an interrupt signal to the primary processor, forcing it to bypass the standard boot path and enter the recovery partition.
- Clearing the Recovery Cache: If the device enters the recovery menu (sometimes displayed as a text-based system information screen), use the volume buttons to navigate and the touch screen or a specific button combination (depending on the model) to select "Factory Data Reset." This will purge all user data, including corrupted configuration files, and revert the OS to the factory image stored in the read-only protected partition.
- Network-Assisted Recovery: If you have access to the Google Home app, try to see if the device broadcasts a "Setup Mode" Wi-Fi signal. If it does, you can sometimes "push" an update to it via the app to repair the filesystem from the outside in.
Factory Reset (Fabrika Ayarlarına Döndürme)
To perform a master factory reset on a device that is stuck:
- Ensure the device is plugged in and showing the "G" logo.
- Locate the volume keys on the rear.
- Press and hold both the volume up and volume down buttons at the same time.
- You will see a notification on the screen: "Clearing data..." or "Resetting..."
- CRITICAL: Continue holding the buttons for at least 10 seconds after the message appears. If you release too early, the device will abort the process to prevent data loss, which will simply leave you back at the "G" logo.
- The device will reboot. This first boot will take significantly longer than a normal startup (up to 5 minutes) as it reconstructs the file system.
When to Replace (Ne Zaman Yenisiyle Değiştirilmeli?)
The line between "fixable" and "e-waste" is thin. You should consider the device dead if:
- The Hardware Loop persists after three failed factory resets. This confirms a physical flash storage failure. The eMMC chip has likely developed "bad blocks" that cannot be mapped out.
- The screen is flickering or showing horizontal/vertical lines alongside the "G" logo. This suggests a display ribbon cable failure or a GPU burn-out, which is not cost-effective to repair.
- The device is out of warranty. The cost of professional motherboard repair for these units is usually $80–$120. When a new Nest Hub or Nest Hub Max is frequently on sale for a similar price, the repair is economically illogical.
Pro Tip: If the unit is within warranty, stop troubleshooting immediately and call Google support. Do not mention that you disassembled the unit, as this will void your warranty.

Real Field Reports (Gerçek Saha Raporları)
In the field, we have observed a phenomenon known as "The Update Trap." During the 2023 winter cycle, a firmware update was pushed that caused a significant portion of Nest Hub Gen 2 units to loop if they were connected to 5GHz-only Wi-Fi networks during the update process.
One case study involves a user in a smart-home-heavy environment who lost power during a storm. Upon restoration, three of their four Nest Hubs hung on the "G" logo. After diagnosing, we found that the power surge had triggered a "safe mode" that prevented the hubs from communicating with the 2.4GHz backup band of their router. The fix required us to temporarily force their router to broadcast a 2.4GHz-only signal. Once the Hubs could see the 2.4GHz band, they successfully completed the update that had been failing. This proves that not all "G" logo issues are internal; some are environmental handshake failures.
Counter-Criticism/Debate (Karşılıklı Eleştiri)
There is significant industry debate regarding Google's reliance on cloud-dependent recovery. Critics, including myself, argue that Google should implement a "USB-C Recovery Port" on these devices. Currently, there is no way for a consumer to flash the firmware manually from a PC. By locking the bootloader, Google effectively forces users to discard "bricked" devices, contributing to e-waste. While Google maintains this is for security, power users argue that it is a planned obsolescence tactic. The "Smart Home Rescue" industry thrives on this frustration, often offering "unbricking services" that involve specialized JTAG hardware—services that wouldn't need to exist if the company provided a simple, open firmware flashing tool.
FAQ (Sıkça Sorulan Sorular)
Is there any way to save my data if the Hub is stuck?
Unfortunately, no. Because the data on the Nest Hub is encrypted at the hardware level, once the filesystem becomes corrupted, that data is effectively lost. The goal of the factory reset is to regain the use of the hardware, not to recover the personal media or settings inside it.
Can I plug the Nest Hub into my PC to fix it?
No. The USB-C or barrel jack ports on the back are strictly for power and, in some models, specialized diagnostic tools used only at the factory. They do not function as data ports, and plugging them into a computer will not allow you to access the operating system files.
Why does my Nest Hub get stuck after every power outage?
If your device is prone to this, your local power grid may be experiencing "dirty power"—micro-fluctuations that don't trigger a full blackout but are enough to trip the sensitive voltage regulators in the Hub. Investing in a high-quality UPS (Uninterruptible Power Supply) or a surge protector with a very low clamping voltage is highly recommended.
Does "Clear Data" mean I have to throw the device away?
Not at all. "Clear Data" simply wipes the user-specific cache and configuration. After the reset, the device will be in the exact same state as it was when you first opened the box. You will simply need to go through the Google Home app setup process to re-link your accounts and devices.