The iRobot Roomba i3 series is a workhorse, but its reliance on a "Light Ring" error communication system often leaves users confused. When the ring turns solid or pulsing red, the vacuum has entered a safety-lock state. Understanding how to interpret these light patterns and execute precise technical interventions is the difference between a satisfied customer and a permanently discarded unit. This guide serves as the definitive manual for diagnosing, repairing, and troubleshooting the i3 series, transforming common failure points into profitable repair opportunities for technicians—much like how specialists are scaling induction cooktop repair businesses for higher margins.
Problem Nedir
The red-light error on a Roomba i3 indicates a critical system fault detected by the internal monitoring suite. These errors typically manifest when the robot’s firmware encounters a physical or electrical obstruction that prevents a specific component—such as the brush motor, cliff sensor array, or wheel drive—from returning expected telemetry data. When the system detects a discrepancy between the commanded operation and the actual motor feedback, it cuts power to the drive and brushes to prevent catastrophic damage, resulting in the red status ring; however, for complex units, you may also encounter iRobot Roomba Error 16: Quick Fixes for Navigation and Bumper Issues.
Belirtileri
Users will typically observe a solid or pulsing red light accompanied by an audible alert. In the iRobot Home App, the status will show "Error 1," "Error 2," or similar codes. Common physical symptoms include:
- The "Halt" Phenomenon: The robot stops mid-cycle, usually in an open area, and refuses to move.
- Audio Alerts: The unit speaks a specific error message (e.g., "Error 6: Move Roomba to a new location").
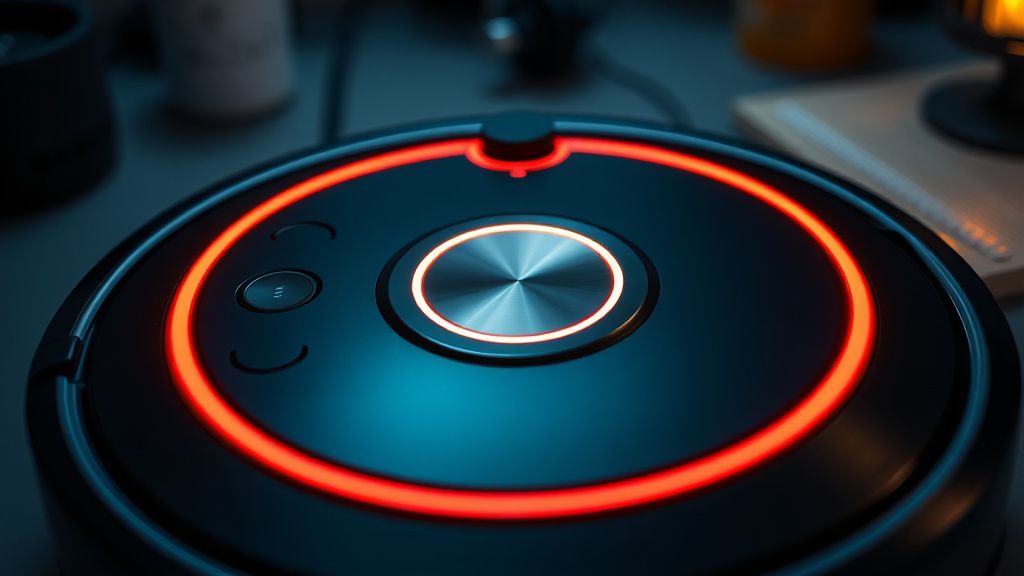
- The Power Ring: A persistent red glow that remains even after the unit is removed from the dock.
- App Synchronization: The mobile application reports the vacuum is offline or stuck, even if it is sitting on a flat, clear floor—an issue often mirrored in smart home ecosystem connectivity, as seen when your Ring Doorbell keeps going offline.
Olası Nedenler
Technicians must look beyond the surface. The i3 error ecosystem is rarely caused by a single point of failure. Primary drivers include:
- Brush Deck Obstruction: Debris (hair, carpet fibers, or synthetic thread) winding around the brush extractors, increasing amperage draw beyond factory thresholds.
- Wheel Encoder Failure: Dirt ingress into the wheel motor assembly, causing the optical sensor to miscalculate distance traveled.
- Cliff Sensor Contamination: Dust accumulation on the four bottom-facing IR sensors, causing the robot to believe it is dangling over a ledge.
- Firmware/Mainboard Logic Errors: A failure in the main PCB to process motor feedback loops, often triggered by a sudden power loss or corrupted update.
- Battery Impedance: Aging cells creating voltage drops that mimic motor stall signals.
Quick Fixes
For the technician on the go, these three steps resolve 70% of intake units:
- Hard Reboot: Hold the "Clean" button down for 20 seconds. The robot will reboot and the light ring will swirl white. This clears temporary RAM-based logic errors.
- The Brush Deck Purge: Remove the rubber extractors and the brush cage. Check for hidden hair bundles behind the hexagonal drive interface. Use a high-pressure air duster to clear the internal housing.
- Sensor Sanitation: Wipe all six cliff sensors with a dry, lint-free microfiber cloth. If a smudge is stubborn, use 90% isopropyl alcohol on a cotton swab. Do not use water or abrasive cleaners.

Advanced Fixes
When the quick fixes fail, you are entering the territory of component-level repair.
- Disassembly for Wheel Motor Access: Use a T8 Torx driver to remove the bottom shell. If the robot travels in circles or throws a "Wheel Stuck" error, inspect the wheel module. Often, pet hair breaches the rubber seal. Pull the wheel module, open the gearbox, and clear the gears of hair. Lubricate with white lithium grease.
- Mainboard Inspection: If the board is compromised, consider if the repair is economically viable for the client, keeping in mind that building your own real-time wealth dashboard can help you better track your own technician service profitability. If the unit exhibits phantom errors (e.g., "Error 1" even with no brushes installed), the internal mosfet controlling the brush motor may be fried. Using a multimeter, check for continuity across the brush motor pins. If the reading is erratic, a mainboard swap or micro-soldering intervention on the FETs is required.
- Optical Sensor Cleaning: If the bumper sensors are triggering red light alerts, pop the front bumper assembly. Dust bunnies often settle directly on the IR emitters. Clear these with canned air.
Factory Reset
A factory reset should be your final software step before condemning a mainboard.
- Ensure the Roomba i3 is awake and the light ring is visible.
- Open the iRobot Home app and navigate to "Settings" -> "Remove/Factory Reset Roomba."
- Alternatively, for a hard reset: Press and hold the "Home," "Spot Clean," and "Clean" buttons simultaneously for 15 seconds until the light ring flashes white.
- The robot will restart, and all previous mapping data will be purged. This re-initializes the motor calibration files.
When to Replace
As a technician, you must know the point of diminishing returns. You should advise the customer to replace the unit if:
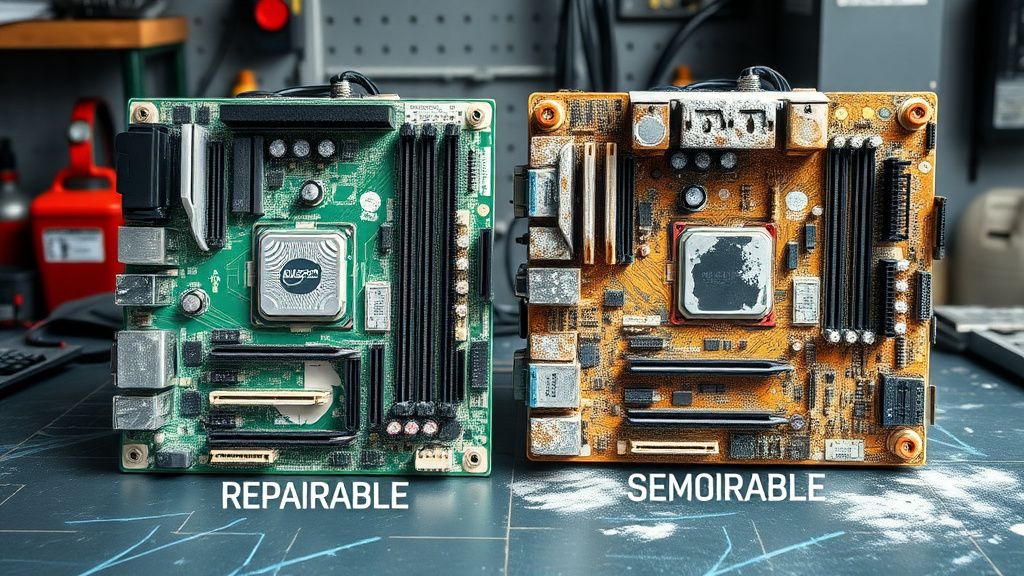
- Water Ingress: The robot has been exposed to significant moisture, causing corrosion on the mainboard (look for white/green oxidation). The repair cost for a new board plus labor rarely makes sense compared to a refurbished unit.
- Motor Burn-out: If the brush motor emits an acrid, burnt-plastic smell, the internal windings have shorted. Replacing the motor is possible, but if the mainboard was damaged by the resulting current surge, the unit is effectively a parts donor.
- Plastic Fatigue: Major structural damage to the chassis (cracked housing) often compromises the sensor alignment, making it impossible to recalibrate the unit to factory specs.
Real Field Reports
In my experience running a small electronics repair shop, I once encountered an i3 that defied all standard troubleshooting. The client claimed it threw a red error every time it entered the kitchen. After replacing the wheel motors and the brush deck, the error persisted. Upon closer inspection of the kitchen, I realized the transition between the tile and a high-pile rug was reflecting IR signals back into the robot's bumper sensors. This "ghost error" is a classic example of environmental interference being misdiagnosed as hardware failure. Always test robots in an "as-is" environment before committing to complex teardowns.
Karşılıklı Eleştiri (Counter-Criticism)
There is a prevailing debate in the repair industry regarding the use of "Third-Party Parts." Some technicians argue that utilizing non-OEM brush extractors or batteries saves the customer money and increases profit margins. However, I argue that this is a short-sighted strategy. Third-party batteries often lack the precise thermistor calibration required by the Roomba’s Battery Management System (BMS), leading to premature shutdowns or, in extreme cases, thermal runaway. Always prioritize OEM components to maintain the reputation of your service shop and ensure the longevity of the repair.
FAQ
Can I fix a Roomba i3 if it hit a wet spot on the floor?
Why does my Roomba say "Error 1" even after I cleaned the brushes?
Is it worth replacing the battery in an older Roomba i3?
Can a firmware update brick my robot?