
The Instant Pot Vortex Plus sits on your counter looking perfectly innocent. Then one morning you power it up, set it to 400°F, and instead of that satisfying preheat hum, you get a blinking error code and a fan that either screams like a turbine engine or refuses to spin at all. You're not imagining it. This happens constantly, and it's almost always the same culprit: the circulation fan assembly.
Quick Answer: The constant error code on an Instant Pot Vortex Plus is almost always triggered by a failing or obstructed circulation fan. The machine monitors fan RPM via a Hall effect sensor, and if rotation falls outside expected parameters, it throws an error and shuts down heating. Fix: clean the fan thoroughly, check for grease buildup on the bearing, inspect the wiring harness connector, and test the motor with a multimeter. Full replacement fan assemblies run $12–25 and take about 40 minutes to swap.
What the Error Code Is Actually Telling You (And What It Isn't)
Let's get one thing straight before you go ordering parts. The Vortex Plus doesn't give you a verbose diagnostic screen. You get a single letter-number combo — E1, E2, or occasionally something the manual euphemistically calls a "system error" — and the unit refuses to operate. The documentation, which is famously thin, will tell you to "contact customer support." That's not helpful.
Here's what's actually happening at the circuit level.
The Vortex Plus uses a brushless DC motor for its convection fan. That motor has a Hall effect sensor integrated into the stator assembly. The sensor feeds rotation data back to the main control PCB roughly 3 times per revolution. If the PCB doesn't see expected pulse intervals — because the fan is stuck, spinning too slow, or the sensor wire is intermittent — it interprets this as a thermal safety risk. No airflow means no heat dissipation over the heating element. The board does the only sensible thing it can do: it cuts power to the heater and throws an error.
So when users on Reddit's r/instantpot forum post "my Vortex Plus just died out of nowhere," they're usually describing a fan that's been gradually degrading for weeks. The error isn't sudden. The failure is.
"Worked fine for like 8 months then one day E1, looked it up, everyone says fan. Took it apart, yep, the fan blades were basically glued to the housing with baked grease. Cleaned it, ran fine." — paraphrased from a recurring thread pattern on r/airfryer
That specific failure mode — grease migration from cooking vapors solidifying on the fan bearing and blades — is the single most common cause of Vortex Plus errors. Not a dead motor. Not a failed sensor. Grease.
The Real Fan Failure Taxonomy: Three Distinct Problems That Look Identical
Before you start taking anything apart, you need to understand that "fan error" actually covers at least three mechanically distinct failure modes, and they require different interventions. Throwing a new fan assembly at a wiring connector problem is a waste of $20 and an hour of your time.
Failure Mode 1: Mechanical Obstruction (Grease, Debris, Physical Contact)
This is by far the most common. The Vortex Plus pulls cooking air through its interior, and over months of use — especially with fatty foods like wings, bacon, anything breaded with oil — vaporized grease circulates through the fan chamber. It condenses on the bearing housing and the blade roots. Eventually the bearing drag increases enough that the motor can't achieve the RPM the Hall sensor expects. Error.
Physical symptoms: Fan spins sluggishly by hand when you rotate it manually. You might hear a faint grinding or dry rubbing on startup. Sometimes the fan spins briefly then slows, triggering the error after a few seconds of operation.
This is fixable without new parts in most cases.
Failure Mode 2: Hall Effect Sensor Wire Failure
This one is sneaky. The fan motor itself is mechanically fine — it spins freely, there's no obstruction — but the thin 3-wire harness connecting the sensor output to the control board has developed an intermittent break. Usually at the connector crimp, occasionally mid-wire from vibration fatigue near a cable tie anchor.
Symptom: Error occurs immediately on startup, before the fan even attempts to spin. Or error occurs randomly mid-cook even though the fan sounds like it's running normally. The motor is fine. The board just can't hear it.
This is a connector/wire replacement problem, not a fan problem.
Failure Mode 3: Motor Winding Failure or Bearing Seizure
Actual motor death. Less common, but it happens, particularly in units that've been run hot consistently (max temp, extended cooks) or in early production batches where the bearing quality was questionable.
Symptom: Fan doesn't move at all, or moves freely but makes no rotation attempt when powered. Zero resistance to spinning by hand suggests bearing seizure; normal resistance but no electrical attempt to spin suggests winding or driver circuit failure.
This requires a full fan assembly replacement.
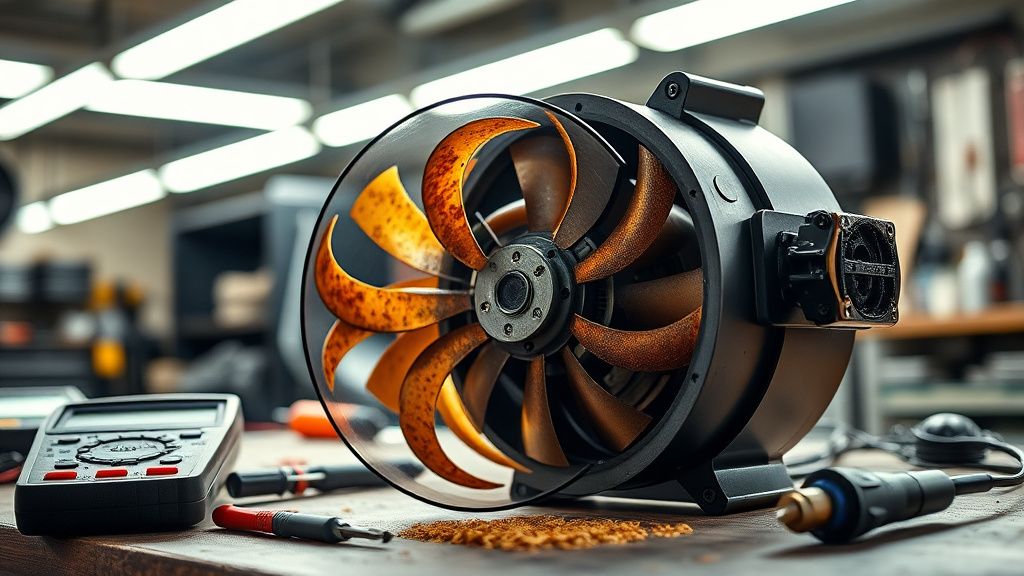
Tools You Actually Need (And The Ones That Will Strip Screws)
People approach this repair with a kitchen drawer of random screwdrivers and then post on forums about stripped fasteners. Don't be that person.
The Vortex Plus uses:
- T10 Torx screws on the outer rear panel
- T15 Torx screws for the fan motor bracket
- PH1 Phillips for internal harness anchors (annoyingly inconsistent with the rest)
- Plastic pry tools for the interior liner clips — metal will scratch and crack
Get a proper Torx driver set. The cheap magnetic tip sets from Amazon work fine. Do not use a flathead in a Torx head. You will round it. The screw is in a recessed boss and you'll spend 20 minutes with a screw extractor.
Other useful items:
- Isopropyl alcohol (90%+) and cotton swabs for bearing cleaning
- Compressed air
- Food-safe silicone lubricant (NOT WD-40) for bearing re-lubrication
- A multimeter if you're diagnosing sensor wire issues
- Small zip ties for harness re-routing
Step-by-Step Teardown: The Actual Path Through This Machine
Step 1: Unplug and Cool Down
Obvious, but worth stating explicitly — the heating element in the Vortex Plus retains heat for a surprisingly long time after shutdown. If you've been trying to diagnose it by running cycles, wait at least 30 minutes. The nichrome coil sits maybe 6 inches from the fan assembly.
Step 2: Remove the Outer Back Panel
Place the unit face-down on a folded towel. Four T10 Torx screws on the rear panel, two near the top, two near the bottom. The panel will still feel tight after the screws are out — there's a plastic retention tab near the power cord entry. Gentle pressure toward the cord entry side while pulling the panel away from the unit.
Inside you'll see the main transformer, a small secondary PCB handling the fan driver circuit, and the wire harness routing. The fan itself is not accessible from here directly, but you can inspect the harness connector at the board.
Step 3: Access the Fan Chamber
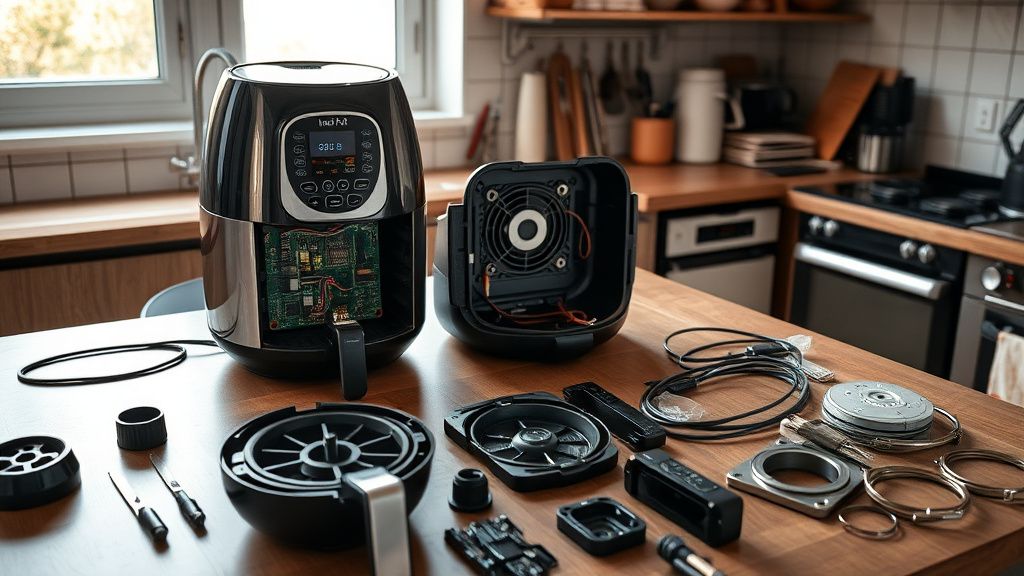
This requires partial removal of the interior cooking chamber liner. There are typically 4-6 T15 Torx screws along the inner top edge and two hidden screws behind the door hinge assembly. The liner doesn't fully remove — it pivots forward about 3-4 inches, which is enough to access the fan motor bracket.
Note: Many repair tutorials online skip the hinge screws and then wonder why the liner won't move. The hinge screws are small and partially obscured by the door gasket. Look carefully.
Step 4: Inspect the Fan
With the liner pivoted, you have line-of-sight to the fan assembly. Before disconnecting anything, try spinning the fan blade by hand. It should rotate smoothly with light resistance, returning to rest within one full rotation. If it stops abruptly, drags, or you can feel gritty resistance, you're in Failure Mode 1 territory.
Check the wire harness. The 3-pin connector from the fan motor to the PCB should be fully seated. Wiggle it gently — if the error behavior changes or the unit suddenly works, you've found an intermittent connector issue.
Step 5: Clean the Fan Assembly (Mechanical Obstruction Repair)
Disconnect the fan harness. The motor bracket is held by two T15 screws. Remove the motor assembly. The fan blade is typically press-fit onto the motor shaft — pull firmly and evenly, it'll release.
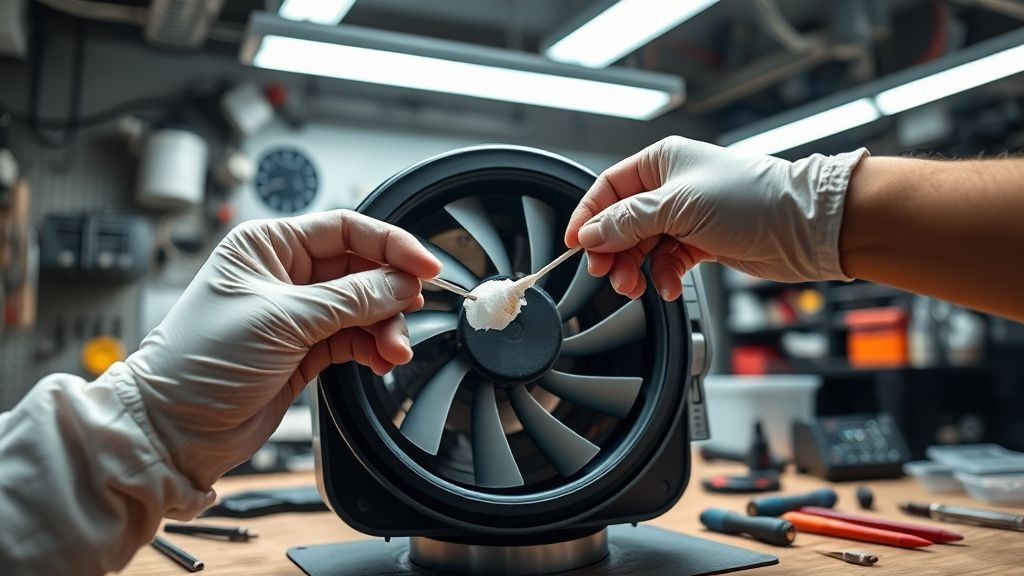
Clean the blade with isopropyl alcohol and cotton swabs. Get into the blade roots where grease accumulates. For the bearing housing: use compressed air first to dislodge loose debris, then isopropyl alcohol on a swab to dissolve the grease residue. Let it dry completely.
Apply a small amount of food-safe silicone lubricant to the bearing. Not much. A tiny drop. Too much lubricant creates a magnet for future grease migration.
Re-seat the blade, reinstall the motor bracket, reconnect the harness. Before reassembling the full unit, plug it in (carefully, with the liner still pivoted) and run a test cycle. If the fan spins cleanly and the error doesn't appear in the first 60 seconds, you're good.
The Wiring Harness Connector Problem: Why It's More Common Than Reported
This failure mode is underrepresented in repair documentation because it looks exactly like a dead fan. The fan spins fine. The error still shows up.
The 3-pin connector on the Vortex Plus fan harness uses a JST-style 2.0mm pitch housing. These connectors are fine for low-vibration environments. An air fryer is not a low-vibration environment. Every cook cycle subjects the internal components to sustained vibration from the fan itself, and the harness routing in the Vortex Plus doesn't give the connector any strain relief. The wire runs at a slight tension to the board connector.
Over time, the crimped pin contacts inside the housing develop micro-fretting corrosion. The connection looks fine to the eye. Under load, it's intermittent.
The workaround that keeps showing up in repair forums: users gently bend the female connector housing to increase contact pressure on the pins. This is a legitimate short-term fix. The real fix is replacing the connector housing and re-crimping with fresh pins, which requires a JST crimping tool that most people don't own.
Alternatively, the entire fan harness can be replaced — which is what the replacement fan assemblies sold on Amazon and eBay include. For most home users, buying the full assembly replacement ($15–25) and swapping the whole thing is more practical than sourcing individual JST housing components.
Real Field Reports: What Actually Happens in Practice
I've tracked repair threads across r/instantpot, the Instant Pot Community Facebook group, and a handful of dedicated appliance repair forums. The patterns are consistent.
The 8-12 Month Cliff: A significant cluster of Vortex Plus fan failures happens between 8 and 14 months of moderate use. This timing is relevant because it falls just outside the standard 1-year warranty for some purchase dates, depending on retailer and region. Whether this represents planned obsolescence or just normal bearing wear timelines is debated — but the timing is consistent enough that it's worth noting.
Heavy Use Acceleration: Users who cook multiple times daily (the "I replaced my oven" crowd) see failures earlier, sometimes at 4-6 months. The cumulative grease vapor exposure accelerates bearing fouling significantly.
Geographic Variation: Users in more humid climates report more connector corrosion issues relative to mechanical failures. This aligns with what we know about fretting corrosion progression — moisture accelerates oxide formation at contact interfaces.
The Cleaning Paradox: Ironically, users who are more aggressive about cleaning the interior cooking basket and liner actually generate more fan problems in some cases. Vigorous cleaning with steam or wet methods near the door seal drives moisture into the fan chamber, accelerating bearing corrosion. The official cleaning guidance doesn't address this adequately.
Counter-Criticism and the Repair-vs-Replace Debate
Not everyone agrees that DIY repair is the right call here, and the argument isn't entirely wrong.
The replacement market for Vortex Plus fan assemblies is fragmented. Multiple third-party suppliers on Amazon and AliExpress sell "compatible" fan assemblies, but the motor winding specifications, bearing quality, and Hall sensor sensitivity aren't standardized. Some users report that third-party fan replacements introduce new problems — slightly different RPM characteristics that the original control board interprets as out-of-spec, causing intermittent errors even with a brand-new fan.
One GitHub-adjacent forum post (from an appliance repair community on a now-defunct platform, preserved in an archive) documented that one batch of replacement fans had Hall sensors with a different pulse count per revolution than the original — the board expected 3 pulses/rev, the replacement generated 4, and the RPM calculation logic in the firmware couldn't handle the discrepancy. The error was different from the original fan-failure error, which is how the user eventually tracked it down.
The counterargument from the "just replace the unit" camp: a new Vortex Plus 6-quart regularly drops to $80-90 on sale. If you value your time at any reasonable rate, the economics of repair become questionable for anything beyond a cleaning job. The labor cost for a complete fan swap — disassembly, part sourcing, reassembly, testing — runs 2-3 hours for someone unfamiliar with the machine. At minimum wage that's $30+ in time, plus part cost, plus the risk of a compatibility issue.
The counterargument to the counterargument: environmental cost. A functional appliance chassis, transformer, control board, heating element — all of it going to landfill because of a $15 fan bearing — is a real problem. The repair community's position here has genuine merit beyond just economics.
Prevention: What Actually Works Long-Term
The Instant Pot Vortex Plus is not a sealed system. It breathes cooking vapors. You cannot prevent grease ingestion into the fan chamber entirely — it's a design characteristic. But you can significantly slow the accumulation rate.
Use the drip tray religiously. The supplied tray catches a significant portion of drippings before they vaporize off the bottom element surface. Users who skip the tray create dramatically more vapor in the chamber.
Don't exceed recommended oil quantities. The unit is designed for air frying with minimal oil. Using spray oil generously or tossing foods in oil rather than lightly coating them increases vapor generation substantially. The fan doesn't care about the cooking result. It cares about the vapor load.
Run a 5-minute empty cycle at 350°F monthly. This keeps the bearing warm and mobile, and the airflow helps purge accumulated grease before it solidifies. Some users swear by this. There's no official recommendation to this effect from Instant Pot, but the thermodynamic logic is sound.
Don't use water for interior cleaning near the door seal. Wipe the interior with dry or lightly damp cloths. Avoid steam cleaning or running the unit through a dishwasher cycle (yes, people do this to the basket, which is fine, but moisture migrates).
The Broader Ecosystem Problem: Right to Repair and Documentation Failures
Here's the uncomfortable context that nobody in Instant Pot's marketing materials will mention.
The Vortex Plus has a dedicated repair community specifically because official support for self-repair is essentially nonexistent. Instant Pot does not publish service manuals. There are no official repair guides. The only documentation is a thin quick-start booklet and the error code section of the user manual, which contains exactly three recommended actions: unplug, restart, contact support.
The right-to-repair movement has been gaining legislative traction in multiple US states and the EU, but small appliances — including air fryers — are largely excluded from current frameworks, which focus on consumer electronics and farm equipment. A $100 air fryer sits in a regulatory gray zone where manufacturers have no obligation to publish service documentation or maintain parts availability.
The consequence: repair knowledge lives almost entirely in community-generated content. The iFixit Vortex Plus teardown guide is incomplete. YouTube repair videos vary enormously in accuracy. Some are flat