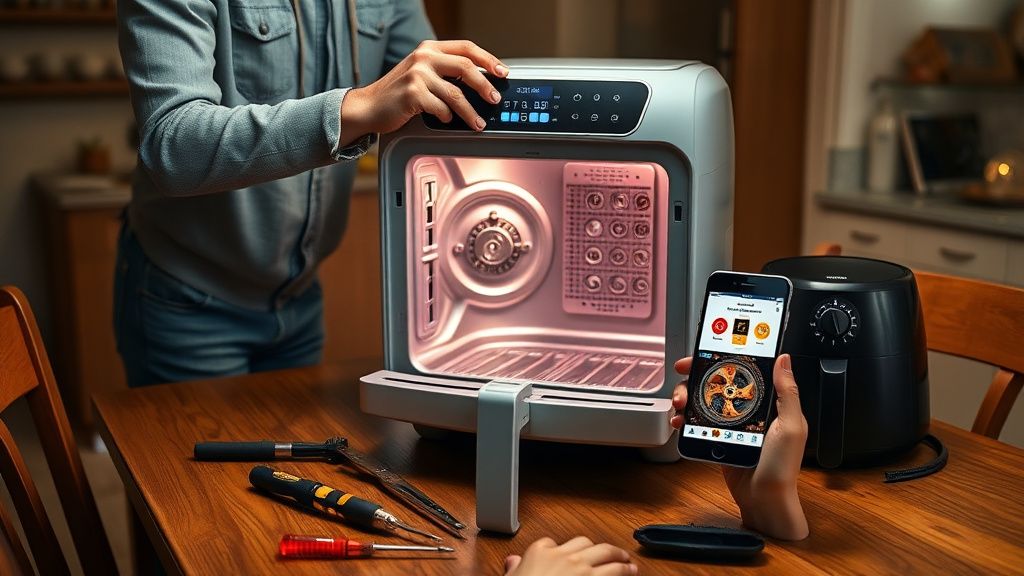
You pop open the Instant Vortex Plus, stare at the display, and there it is — that fan error. Maybe it's blinking, maybe it's a persistent code, maybe the unit just stopped mid-cook and started screaming a digital protest at you. Either way, welcome to the club nobody wanted to join.
Quick Answer: The Instant Vortex Plus fan error ("Replace Convection Motor" or fan fault code) means the internal convection fan has either seized, disconnected electrically, or its control circuitry has failed. In most cases, the motor bearing has locked up due to grease buildup or thermal stress. Cleaning the fan assembly is the first diagnostic step. Full motor replacement is required when the shaft won't spin freely or the motor shows no electrical continuity.
Let me be direct with you: this is one of the most misdiagnosed errors in the consumer air fryer space, much like the common technical issues users face with PS5 Error CE-108255-1. People see "fan error" and immediately assume the worst — total motor death, expensive part, unit is trash. Sometimes that's true. But in my experience pulling apart these machines on a workbench, a disturbing percentage of "dead" convection motors are just impacted with polymerized cooking grease and couldn't spin if you offered them a cash incentive.
The Instant Vortex Plus uses a fairly standard brushless DC convection motor, but the design tolerances on the cooling path are... optimistic. Instant Brands (before and after their 2023 bankruptcy proceedings reshaped their service infrastructure) made engineering decisions that prioritized compact footprint over serviceability. Which is a polite way of saying they made a machine that's annoying to fix.
What the Fan Error Code Actually Means — And What It Doesn't
The error itself is triggered by the main control board monitoring motor feedback. The firmware expects a specific RPM range — usually confirmed through a Hall effect sensor or back-EMF signal from the brushless motor winding — within the first few seconds of operation. If that signal doesn't arrive, or arrives outside acceptable parameters, the board cuts power to the heating element (smart, actually — running a heating element without airflow is a fire risk) and throws the fault.
Here's where it gets operationally messy:
- The fault can be intermittent. Motor starts fine when cold, fails when hot. This is classic bearing degradation — thermal expansion causes a marginal bearing to seize at operating temperature.
- The fault can be persistent from day one. Rare, but I've seen units where the motor connector seated poorly at the factory. Literally just needed reseating.
- The fault can appear after a cleaning cycle. Someone steam-cleaned the interior, moisture got into the motor housing, winding resistance changed, feedback signal dropped below threshold. Unit throws error until it fully dries out — sometimes 48 hours.
- The fault can be board-side, not motor-side. The MOSFET or driver IC responsible for motor control on the PCB fails, and the motor itself is perfectly fine. You'd replace the motor, it still errors, and now you've wasted money.
That last scenario is the one nobody in the DIY repair community talks about enough. The r/instantpot subreddit is full of threads where people bought a replacement motor, installed it, and got the same error, a frustration familiar to those troubleshooting a Bosch Dishwasher E15 Error. The diagnosis was incomplete from the start.
The Grease Problem Nobody Puts in the Manual
Let's talk about what actually causes most of these failures in units that are two to four years old.
The convection fan on the Vortex Plus sits above the cooking chamber, a design complexity reminiscent of addressing Roomba i7 Error 31 when hardware stops communicating properly. During operation, vaporized cooking oils, rendered fats, and moisture cycle through the air path. The fan housing is not sealed. Over time—and "over time" in a busy kitchen means faster than you think—grease accumulates, causing mechanical resistance similar to the Shark Ion Robot Error 7 where obstruction issues prevent smooth operation.
This isn't unique to Instant Pot products. It's a physics problem. Hot air rises, carries aerosolized fat, and deposits it on every surface it contacts. But the Vortex Plus design has a particular issue: the fan blade assembly sits relatively close to the upper heating element, which means the grease deposits get thermally cycled repeatedly — softening, re-hardening, accumulating into progressively thicker layers.
When that buildup reaches the motor shaft or bearing race, you get:
- Increased rotational drag → motor works harder → more heat → bearing degrades faster
- Unbalanced fan blade → vibration → accelerated bearing wear
- Complete shaft seizure → motor stalls → control board sees no feedback → error code
The first sign is usually noise. A slight grinding or wobble that owners often ignore for weeks before the full fault appears. By the time the error code shows up, the bearing is usually already toast.
Disassembly Reality Check — What the YouTube Videos Skip
The Vortex Plus is not a user-serviceable appliance in any meaningful corporate sense. There are no published service manuals from Instant Brands. iFixit has partial teardown documentation but the motor assembly section is incomplete. The repair community has reverse-engineered this through collective pain.
Here's the actual disassembly sequence for the convection motor access (based on documented community teardowns — your specific model variant may differ):
Step 1: The Top Panel
The top of the unit is secured by a combination of visible Torx screws (typically T15 or T20) and friction-fit plastic clips that are not obvious until you've already broken two of them. The clips are integrated into the seam along the rear edge. Apply gentle upward pressure while using a plastic spudger along the rear seam. Metal pry tools will scar the housing.
Step 2: Heating Element Frame
The upper heating element is connected to two quick-connect terminals and sits in a pressed-metal frame. This frame partially obstructs motor access. You do not need to remove the heating element itself in most variants, but you need to swing the frame upward — it's usually held by two small screws that are accessed from above once the top panel is off.
Do not disconnect the heating element wiring unless you are specifically replacing the element. Those terminals are crimped, not soldered, and re-crimping them in the field rarely achieves factory contact quality.
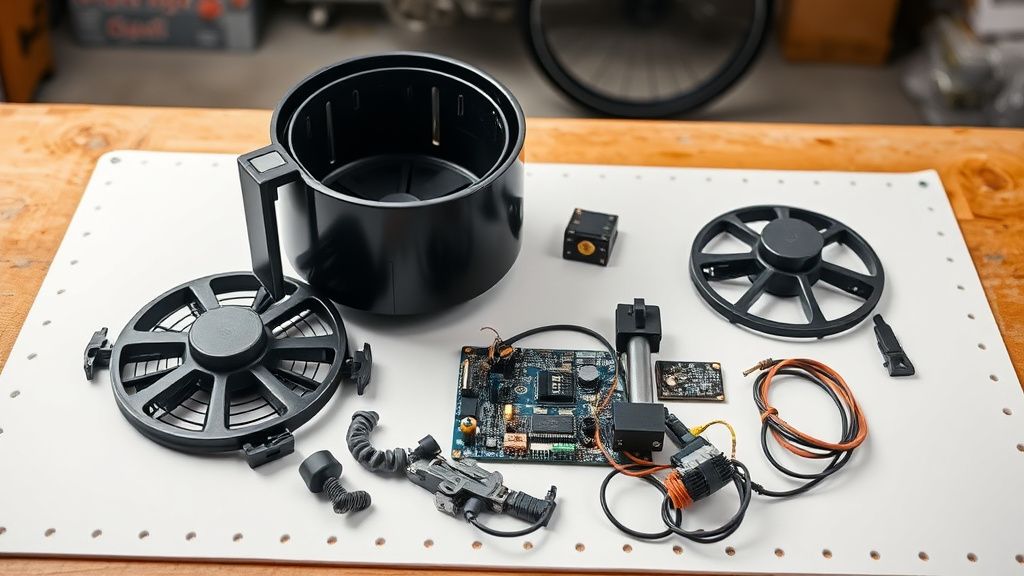
Step 3: Motor Assembly
The motor itself is typically held to the chassis by three or four screws in a bracket. The fan blade is press-fit to the motor shaft with a friction hub — some variants add a small set screw. The blade must be removed before the motor can be extracted because the blade diameter exceeds the clearance through the mounting hole.
The set screw, if present, will be stripped. I say this not as speculation but as statistical certainty. It's a soft-metal set screw in a high-thermal-cycle environment, and whoever assembled it at the factory used an impact driver. You'll need to drill it out.
Step 4: Electrical Connections
The motor has a JST-style connector going back to the main board — usually a 3-pin for brushless DC (power, ground, Hall sensor feedback) or occasionally a 2-pin if it's a simpler brushed DC variant in older units. Photograph everything before disconnecting. The connector housing can look identical to adjacent connectors on the board.
Diagnosing the Motor vs. the Board — Don't Skip This
This is where you save yourself money and time. Before ordering parts, do this:
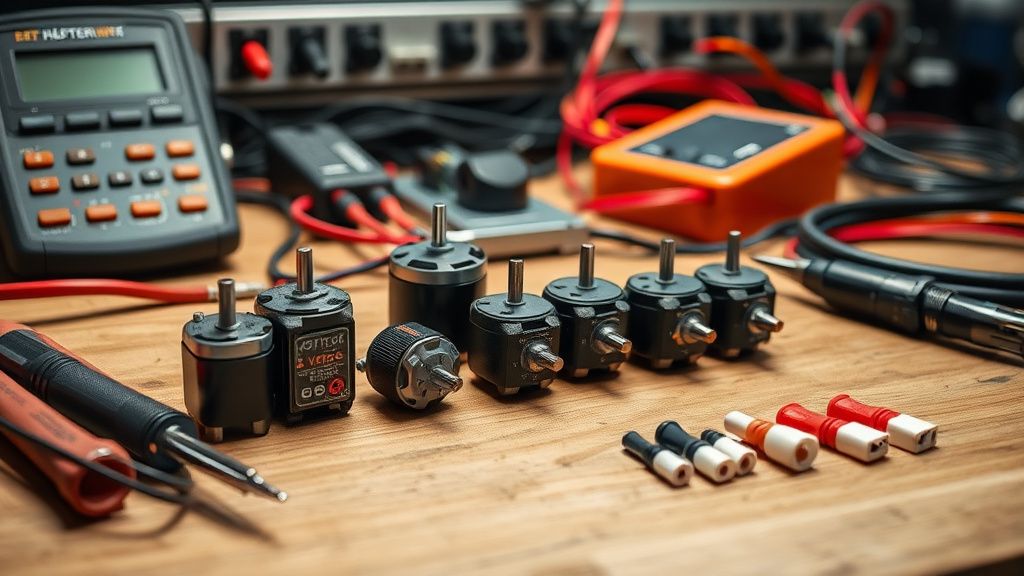
Motor resistance test: With the motor disconnected from the board, use a multimeter set to resistance (Ohms). On a brushless motor, you should see roughly equal resistance between any two of the three winding leads (the specific value varies by motor specification — you're looking for symmetry and continuity, not a specific number). A winding with significantly different resistance or open circuit indicates motor failure.
Shaft spin test: With power disconnected and the motor removed, attempt to spin the shaft by hand. It should rotate smoothly with minimal resistance. Any grinding, roughness, or inability to spin indicates bearing failure. If the shaft spins freely and the electrical test looks good, your motor is probably fine.
Board output test: If you have a bench power supply or can use a known-good power source, you can verify whether the motor driver circuit on the board is actually outputting voltage to the motor connector during startup. This requires a multimeter and some care — you're probing a live circuit. If the board isn't outputting voltage, the board is the problem, not the motor.
The community thread on Reddit (r/InstantPot, "Fan error - replaced motor still broken") from early 2023 documented multiple users discovering this the hard way. The pattern: board-side driver IC failure producing identical symptoms to motor failure. Motor replacement didn't fix it. Board replacement did.
The Replacement Motor Question — Parts Sourcing in 2024
Here's the uncomfortable operational reality of sourcing replacement parts for Instant Vortex Plus units: Instant Brands does not sell individual components to end consumers. Their post-2023 restructuring further degraded what limited parts availability existed. You're functionally on your own.
Your actual sourcing options:
Option 1: Salvage units. eBay and Facebook Marketplace regularly have Instant Vortex Plus units sold as "parts only" or "for repair" — often with unrelated faults like cracked baskets or dead displays. These are your best source for OEM-spec motors at reasonable cost. The motor is identical as long as the chassis variant matches.
Option 2: Cross-reference compatible motors. The motor specifications (shaft diameter, mounting hole pattern, voltage rating, RPM range) can be matched to third-party brushless DC motors from suppliers like Mouser, Digi-Key, or AliExpress industrial motor listings. This requires knowing the original specs, which means either measuring the original motor or finding community documentation. The iFixit teardown comments section and the r/appliancerepair subreddit have some of this data but it's fragmented and not systematically maintained.
Option 3: Instant Brands warranty/support. If your unit is under the limited warranty (one year for most Vortex Plus models), file a claim. Their support line quality has been inconsistent since the corporate restructuring, with documented reports of long hold times and claim processing delays, but replacement units have been issued for documented fan faults within warranty period.
Real Field Reports — What Actually Happens
Let me give you a grounded picture from the repair side and from the user community, because the theoretical failure modes are one thing and the actual population of broken units is another.
Case type 1 — The "barely used it" failure: Unit is 14-18 months old, used maybe twice a week. No obvious grease buildup. Motor shaft spins freely. Error code persists. In these cases, the failure almost always traces to the Hall sensor failing or the connector developing intermittent contact. Reseating the motor connector clears the fault in some of these units. Cleaning the connector pins with isopropyl alcohol and a contact cleaner spray resolves others permanently.
Case type 2 — The heavy-use failure: Unit cooked chicken thighs four nights a week for two years. Fan blade is visibly coated in brown-black polymerized grease. Shaft will not spin by hand. Bearing is dead. Motor requires replacement. This is the canonical failure mode and the one the error code is actually designed to catch. Cleaning is not sufficient at this stage — the bearing is mechanically destroyed.
Case type 3 — The post-cleaning failure: User cleaned the interior with a wet cloth or ran it through a cycle with water in the base. Moisture ingress. Error appears the next cook. Drying the unit completely (72 hours with the lid open in a warm environment, or gentle heat from a hair dryer on low directed at the motor housing) often resolves this without any parts replacement. The community has documented this pattern repeatedly; it's not rare.
Case type 4 — The random-update failure: This one is weirder. Instant Vortex Plus units with Wi-Fi connectivity (the "Smart" variants) receive OTA firmware updates. There are documented cases — including a thread on the Instant Community forums that got quietly archived — where a firmware update changed the motor feedback threshold parameters, causing previously functional units to suddenly throw fan errors on motors that were operating within their actual physical spec. The motors were fine. The firmware was more conservative than the hardware warranted. Instant Brands didn't publicly acknowledge this pattern.
Counter-Criticism: Should You Even Bother Repairing It?
This is where the debate gets real, and I want to be honest with you rather than cheerleading for DIY repair as an ideology.
The economic argument against repair: A replacement Instant Vortex Plus 6-quart unit retails for roughly the same price as the labor you'll spend diagnosing and sourcing parts for a repair — especially if you factor in your time honestly. If you're a professional or experienced hobbyist, the math is different. If this is your first appliance teardown, you might spend four hours, buy a motor, discover the board is the real problem, and still have a broken machine.
The environmental argument for repair: Tossing a unit because the motor failed is genuinely wasteful. The chassis, the basket, the display, the power supply — all of that is functionally fine. If you can replace a single $15-30 motor and restore a working appliance, that's a real win by any waste reduction metric.
The skill transfer argument: Learning to disassemble and diagnose this machine teaches you principles that apply to every brushless DC motor device you'll ever own — robot vacuums, range hood fans, bathroom exhaust fans. The diagnostic approach is transferable.
The counterargument: Instant Brands' decision to make these units non-serviceable (no published service documentation, no parts sales, snap-fit panels designed for assembly not disassembly) is a deliberate design choice that externalizes repair costs onto consumers. The "replace convection motor" error message is almost darkly ironic — the machine tells you what to replace but the manufacturer provides no legitimate path to do it.
Some critics in the right-to-repair community (particularly advocates associated with the Repair Association) have specifically called out Instant Brands' appliance lineup as exemplifying the worst practices in consumer appliance repairability design. The company's response to these criticisms has been, to put it diplomatically, absent.
The Motor Cleaning Path — When It's Worth Trying First
Before you commit to full disassembly and motor replacement, there is a legitimate intermediate step that resolves probably 30-40% of these faults (that number is my field estimate, not a documented statistic — I don't have survey data to cite).
Fan blade cleaning procedure:
- Remove the cooking basket and any accessories
- Allow the unit to cool completely
- Using a flashlight, inspect the fan blade through the top of the cooking chamber — you may be able to see the blade through the upper vent area
- If accessible, wipe the blade with a cloth dampened with warm soapy water or a degreaser (diluted dish soap works; avoid harsh chemical degreasers that can attack plastic components)
- On some Vortex Plus variants, the inner top panel (the ceiling of the cooking chamber) is user-removable with a quarter-turn release — check your specific model
The goal is reducing rotational drag enough that the motor can achieve the RPM threshold the control board needs to see. If the motor bearing is still functional but the blade is just heavily loaded with grease, cleaning can restore operation.
What cleaning cannot fix:
- A seized bearing
- A burned motor winding
- A failed Hall sensor
- A damaged control board driver circuit
If cleaning doesn't resolve the error after one or two cycles, you're past the cleaning solution and into parts territory.
Firmware, Software, and the Connectivity Problem
For the Wi-Fi enabled Vortex Plus variants: the Instant app (iOS and Android) has had a historically turbulent relationship with the appliance's actual firmware. There have been documented reports of the app triggering motor diagnostic cycles that behave differently than manual operation, and of failed OTA updates leaving units in error states that required factory resets.
If you have a connected unit that suddenly developed a fan error after an app update or OTA firmware push:
- Try a factory reset first. Hold the appropriate button combination (model-dependent; check the physical manual or the Instant Community forums for your specific variant) to restore the unit to factory firmware defaults.
- Disable automatic OTA updates if your firmware version allows it. The app's update prompts are persistent and sometimes misleading about what the update actually changes.
- Check the Instant Community forums for reports of other users experiencing the same error after the same firmware version.