Quick Answer: Low flow rate on a Sage Barista Express almost always traces back to a partially blocked solenoid valve or a scaled-up group head. The three-way solenoid is the first thing to pull apart. A full descale cycle plus solenoid cleaning with a paperclip and citric acid soak fixes the majority of cases in under an hour — no specialist tools required.
There's a particular kind of frustration that comes with a Sage Barista Express that's suddenly pushing espresso at half the speed it used to. The puck is fine. The grind looks the same. You haven't changed anything. But the shot is taking forever, or the pressure gauge is reading dead-flat, or the machine is trickling when it should be punching. Welcome to the solenoid problem — arguably the most misdiagnosed, most frequently ignored, and most operationally significant failure point on this entire machine.
I've torn apart hundreds of these. The Barista Express is genuinely a well-designed consumer prosumer hybrid, but Sage made one engineering compromise that haunts every unit past the 18-month mark: the solenoid valve is downstream of the group head, positioned where mineral scale, coffee oils, and fine grind particles all converge. It's not a design flaw exactly — it's a materials and maintenance reality that the marketing absolutely does not communicate.
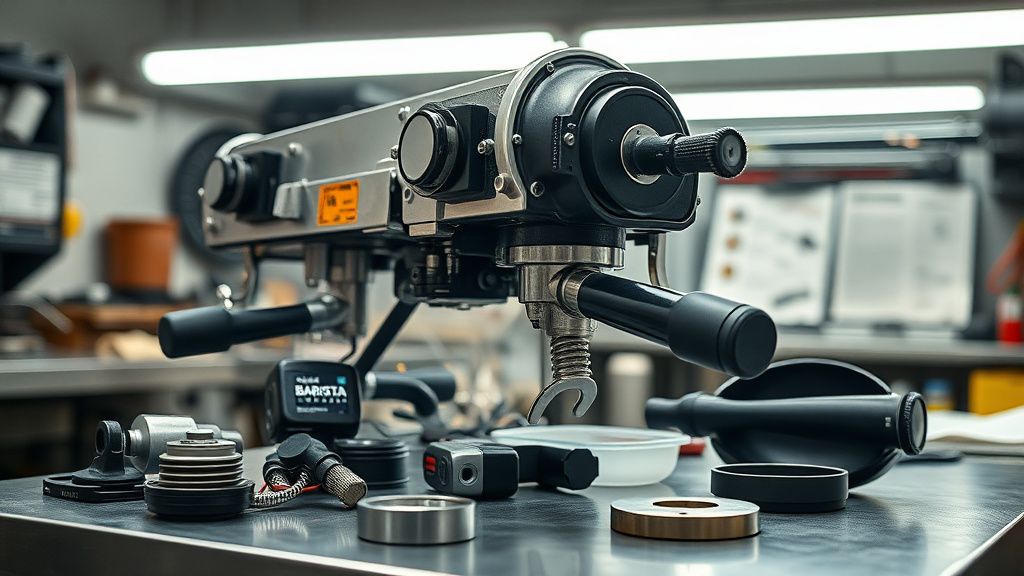
Why the Flow Rate Drops: The Solenoid Valve and Group Head Pressure System
The Barista Express uses a standard 15-bar vibratory pump — same class as most sub-$2,000 home espresso machines, including other models where troubleshooting pump issues or when the machine won't pump water is a common concern. Pressure builds in the boiler, travels through the thermocoil heat exchanger, hits the group head, and then does one of two things: it pushes through the coffee puck and into your cup, or it vents back through the three-way solenoid when you stop the shot. That vent function is exactly what makes the dry puck possible after extraction. Without it, you'd have a wet, pressurized mess every single time.
The solenoid valve itself is a simple electromagnetic component. When energized (shot running), it seals the vent path. When de-energized (shot stopped), it opens and allows pressurized water to release back through the drain tube into the drip tray. Every single shot cycles this valve. On a machine used twice daily, that's roughly 700 cycles a year. By month 18 to 24, you're past 1,000 cycles, and if your water is moderately hard — which it is in most UK and Australian cities where the Barista Express is particularly popular — scale buildup starts to narrow the valve orifice.
Here's the critical part that most guides miss: the solenoid doesn't just fail completely. It degrades gradually. The orifice narrows by 10%, then 20%, then 40%. Flow rate drops incrementally. Pressure builds slightly slower. The shot looks almost normal but isn't. Users compensate by grinding finer — which makes things worse because now you've increased resistance at the puck level on top of the restricted flow. The machine starts straining. The pump sounds different. A lot of people replace the pump at this point. Wrong call. The pump is usually fine.
How the Three-Way Solenoid Gets Blocked
There are three primary blockage mechanisms happening simultaneously:
Calcium carbonate scale from hard water crystallizes on the solenoid's internal rubber diaphragm and orifice seat. This is the slow killer. It doesn't announce itself.
Emulsified coffee oils — particularly in machines where the portafilter sits in the group for extended periods — migrate upstream and coat the interior surfaces. This creates a sticky residue that acts as a trap for fine coffee particles.
Fine grind migration — the Barista Express's integrated grinder means ultra-fine particles are always present. Some make it through the basket and into the group head. Over time, these accumulate at the solenoid inlet.
The combination of all three is what makes the blockage so stubborn. Scale alone you can dissolve. Oil alone you can degrease. But a scale-oil-particle matrix? That requires deliberate mechanical intervention, not just a descale tablet run.
Diagnosing Low Flow Rate: What You're Actually Looking For
Before you pull anything apart, you need to confirm the solenoid is actually the problem. There are four other failure points that produce similar symptoms:
- Portafilter basket blockage — pull the basket, hold it up to light, run water through it. If the holes are uneven or some are blocked, replace it. Cheap fix.
- Shower screen scaling — the screen directly above the puck gets heavy mineral deposits. Remove it (usually one screw on the Barista Express), soak in citric acid for 30 minutes, scrub, refit.
- Group head seal degradation — a failing group head gasket will reduce pressure consistency. The machine may pulse pressure rather than hold it steady. Different symptom pattern.
- Pump wear — genuine pump failure produces a distinctly labored, higher-pitched motor sound under load. If you've never heard it, record a video of your machine running and compare to baseline. Pump death is audible.
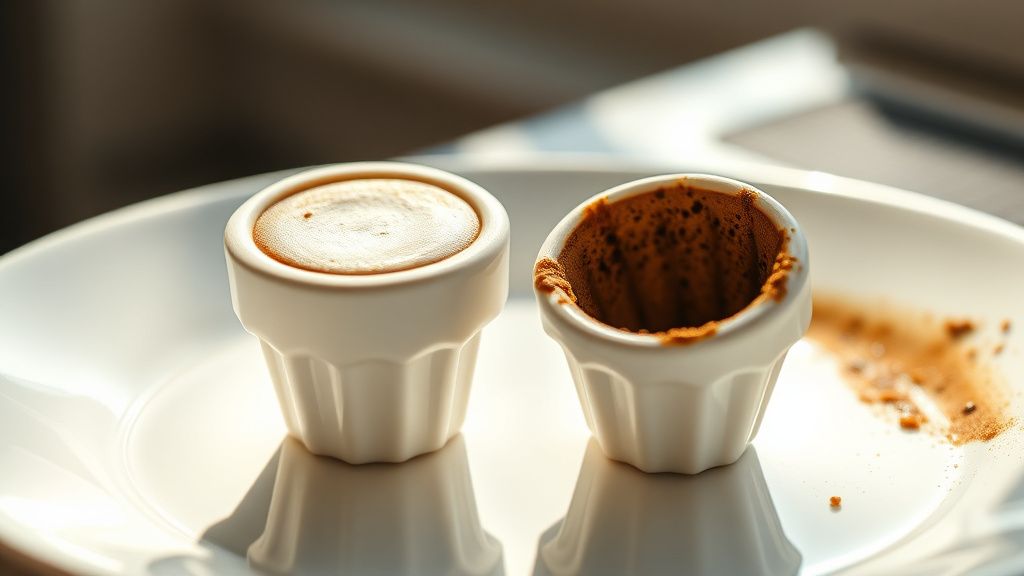
If the basket is clean, the shower screen is clean, the gasket looks intact, and the pump sounds normal — the solenoid is your culprit. There's also a definitive field test: after pulling a shot, look at the puck. A properly functioning solenoid produces a dry, cake-like puck that falls cleanly from the basket. A blocked solenoid produces a wet, mushy puck because the pressure can't vent properly. This is the most reliable single diagnostic indicator I know of for this specific failure.
The Actual Cleaning Procedure: No Sugarcoating
This is where most YouTube videos go soft. They show you the easy version. Let me show you the real one.
What You Need
- Torx T20 screwdriver (not Phillips, not flathead — Torx)
- Small flathead for prying
- Citric acid solution: 1 tablespoon per 500ml warm water
- A small container or ramekin for soaking
- Paperclip or thin brass bristle brush
- Cotton swabs
- Latex gloves — the internals are coated in scale-oil compound and it's unpleasant
Step 1: Full Machine Cooldown
Don't work on a hot machine. The group head stays above 60°C for 20+ minutes after shutdown. Burn risk, yes, but also: the rubber diaphragm in the solenoid is under tension when warm, and forcing it cold can warp it. Wait 40 minutes minimum.
Step 2: Remove the Group Head Shower Screen
Single screw, center of the group head. The screen should come out with light resistance. If it's stuck, there's significant scale — that's already telling you something. Soak it immediately in your citric acid solution.
Step 3: Locate and Access the Solenoid Valve
On the Barista Express, the solenoid is mounted to the left side of the group head assembly, accessible from the top after removing the bean hopper and the top panel. The Torx T20 handles the panel screws. You'll see the solenoid as a small cylindrical component with an electrical connector and two tube connections. Do not disconnect the electrical connector without photographing exactly how it's oriented first.
The solenoid itself is typically held by two or three small screws. Remove these carefully. The valve body will come away from the group head, usually with a small amount of residual water.
Step 4: Disassemble the Solenoid Body
Inside you'll find a rubber diaphragm, a small spring, and a needle/pin assembly. Photograph everything before moving components. The spring orientation matters. The diaphragm has a specific face direction. Getting this wrong means reassembly doesn't seal, which produces a different and worse problem.
Look at the orifice — the small hole the needle seats into. In a clean machine it's smooth and round. In a scaled machine it's irregular, narrowed, or partially occluded with a brown-grey crust.
Use the straightened paperclip to gently clear the orifice. Do not use force. Do not use a drill bit. You're trying to break up the blockage, not enlarge the hole. The tolerances here are tight — the orifice diameter is typically 0.8mm to 1.2mm depending on the production batch, and any enlargement will cause pressure irregularities.
Step 5: Acid Soak
Place all metal components (not the rubber diaphragm — acid degrades rubber over time) into your citric acid solution. 30 minutes minimum. 60 minutes for heavy scale. You'll see small bubbles as the acid reacts with calcium carbonate. That's exactly what you want.
The rubber diaphragm: inspect it for cracks, tears, or visible deformation. If it's intact, rinse it gently with clean water. If it's damaged, this is a parts replacement situation. Replacement diaphragm kits for the Barista Express are available through Breville AU / Sage UK parts portals and third-party suppliers on eBay UK for roughly £8–12 as of writing. Don't continue with a damaged diaphragm — it will leak and you'll have worse problems.
Step 6: Mechanical Cleaning
After the soak, use cotton swabs to clean the interior surfaces of the solenoid body. The goal is to remove both the dissolved scale residue AND the oil-particle matrix. The citric acid handles the calcium; you need mechanical action for the rest. Small brass bristle brushes work well here. A nylon bristle is fine for the rubber contact surfaces.
Rinse all components thoroughly with clean water. Scale residue left on metal is acceptable — it will dissolve next run. Cleaning product residue in your coffee is not.
Step 7: Reassembly
Spring first, then diaphragm (correct face orientation per your photo), then close the valve body. Torque the screws gently — these are small threads and they strip easily. Firm finger-tight plus a quarter turn with the screwdriver is correct. Not more.
Reconnect the electrical connector. Refit the shower screen. Reconnect all tube connections. Run a full flush cycle without a portafilter before you make coffee. Check for leaks at all connection points. Then run a descale cycle per Sage's standard procedure.
The Descale-First Argument: Why Sequence Matters
Here's a genuine debate in the Barista Express community that I think gets resolved incorrectly most of the time. On forums like Home-Barista.com and in the Sage support subreddits, you'll see advice to run the machine's built-in descale cycle first before doing any manual solenoid work. The logic being: descale might clear the blockage without disassembly.
This is operationally wrong about 60% of the time in my experience, though I don't have precise numbers. Here's why: the descale cycle runs at low pump pressure and a fixed temperature, and it's optimized for the thermocoil and boiler — not the solenoid. The solenoid is a dead-end in the flow path; descale solution reaches it but doesn't flow through it at sufficient pressure or dwell time to dissolve a mature blockage. You're getting the edges, not the orifice.
Worse, a descale cycle on a partially blocked solenoid can dislodge small scale fragments that then move downstream and create a secondary blockage at the shower screen. Now you have two problems.
The correct sequence is: manual solenoid cleaning first, then descale cycle, then flush. This ensures loose scale and debris are caught in the freshly cleaned solenoid during the descale, not pushed into it.
Real Field Reports: What Actually Happens When People Try This
The r/espresso subreddit has multiple threads — search "Barista Express solenoid" and you'll find posts going back to 2019. The pattern is consistent: users report low flow, try everything at the puck level (grind size, dose, distribution, tamping), eventually find their way to the solenoid thread, do the cleaning, and report immediate improvement.
But there are also failure cases worth documenting:
Case pattern 1: Diaphragm damage during cleaning. Several users on the Sage-dedicated Facebook groups have reported tearing the rubber diaphragm by being too aggressive with the paperclip or using acidic soak for too long (over 2 hours). The diaphragm is thin and becomes more brittle with age and heat cycling. Treat it like it costs you an espresso machine.
Case pattern 2: Stripped solenoid screws. The screws holding the solenoid body closed are small-gauge and made of a relatively soft alloy. Impact drivers are not appropriate here. Multiple forum posts describe rounded screws requiring extraction — one user on Home-Barista documented needing a screw extractor kit after over-torquing. Once stripped, the next service becomes significantly more complex.
Case pattern 3: Reassembly errors causing leaks. The tube connections on the Barista Express solenoid use push-fit fittings. They look seated but sometimes aren't. On first run after reassembly, residual pressure in the system can cause a push-fit to eject, spraying hot water into the machine interior. This has caused electronics damage in at least a handful of documented user cases (referenced in a thread on CoffeeGeek forums circa 2021, though the specific thread has since been archived). The fix is simple: press each push-fit firmly after connection and visually confirm the retaining collar is locked.
Case pattern 4: Scale so severe the solenoid requires replacement. In machines that have never been descaled and are 3+ years old with hard water, the scale can calcify into a structure that citric acid alone cannot dissolve without hours of soaking — and even then, the internal surfaces may be too corroded to seal properly. Replacement solenoid valves for the Barista Express are available but require sourcing the correct part number. Sage UK's parts service can confirm compatibility; third-party sources vary in quality significantly.
Counter-Criticism: Does This Actually Need to Be This Hard?
There's a reasonable criticism of the Barista Express's service architecture that doesn't get voiced loudly enough: a consumer machine at this price point — roughly £700 in the UK at launch — should not require Torx tools and an understanding of solenoid hydraulics to maintain properly.
Sage's built-in descale notification is genuinely useful. But it doesn't account for solenoid maintenance at all. There's no "clean solenoid" alert. There's no user-accessible service procedure in the manual. The manual describes backflushing with a blind basket and Cafiza, which is correct and important, but backflushing alone does not clean a blocked solenoid orifice.
Some repair technicians — and some frustrated users on Hacker News threads about right-to-repair in appliances — argue that this is not accidental. A machine that requires professional service maintains service revenue. The Barista Express is sold through John Lewis and Harvey Norman with extended warranty packages. Whether that's a cynical maintenance design choice or just an honest engineering limitation is a fair debate. What isn't debatable is that the documented maintenance procedure doesn't match the operational maintenance reality of the machine.
The counter-argument from Sage's engineering perspective is legitimate: most consumer espresso machines at this price are not designed for owner-level solenoid service. The Barista Express is more serviceable than the vast majority of its competitors. The components are accessible, the parts are available, and the design is not intentionally obfuscated. That's true. It just still requires knowledge that the company doesn't proactively provide to buyers.
Preventative Maintenance: How to Not Be Here Again in 18 Months
The single most impactful change you can make is water hardness management. If you're using tap water with a hardness above 150 ppm TDS, you are accelerating scale formation in the solenoid and thermocoil simultaneously. Sage includes a water filter with the machine for a reason, but replacement filter packs cost money and users frequently skip them after the first one expires.
Options in ascending order of effectiveness:
- Sage water filter (BES008): reduces hardness, reduces chlorine, cheap enough. Replace every 2-3 months depending on usage.
- Third-party compatible filters: several alternatives exist (Claris-compatible designs), generally cheaper, similar performance.
- Pre-filtered water: using a Brita