If your Tower Vortx air fryer sounds like a jet engine preparing for takeoff or a bag of marbles inside a blender, or if your Cosori Pro II is making loud grinding noises, you aren’t alone. That noise is usually caused by a loose convection fan blade, a worn-out motor bushing, or debris trapped in the airflow path. To fix it, you’ll need to open the unit, inspect the fan housing for obstructions, and verify the motor shaft’s stability. Most fixes involve cleaning, tightening fasteners, or replacing the cooling fan assembly, similar to troubleshooting an Instant Pot Vortex Plus E3 Fan Error.
The Mechanics of the Vortx: Why These Fans Actually Fail
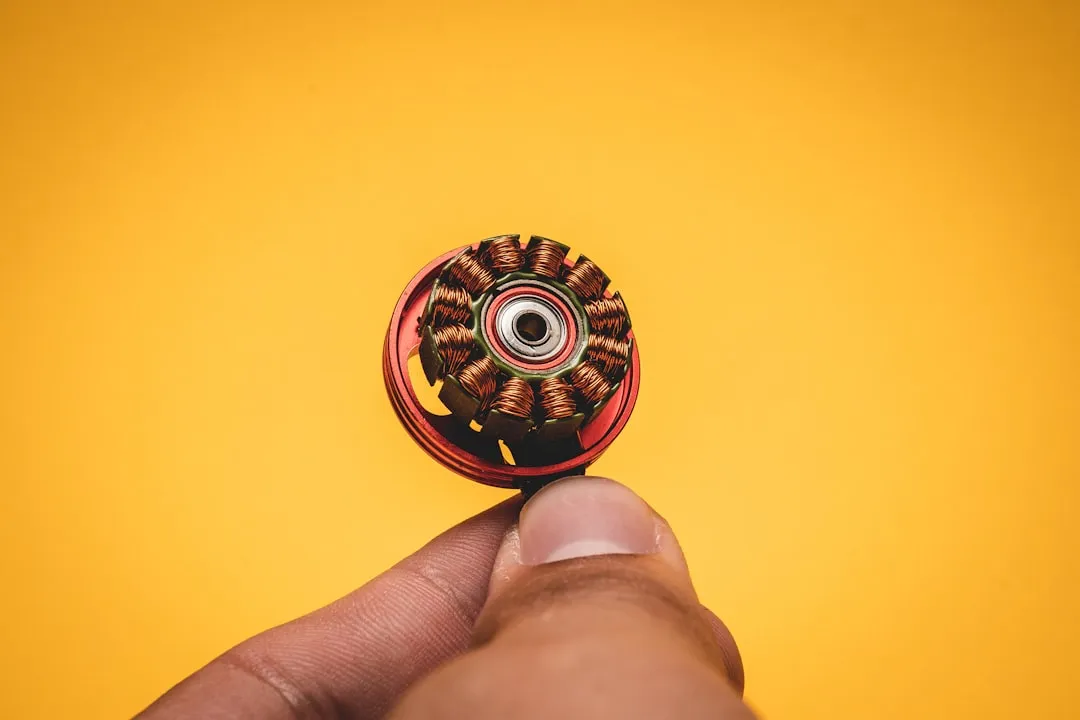
When you strip down a Tower Vortx to its chassis, you realize it’s not the high-precision aerospace engineering the marketing fluff suggests. It is, at its core, a simple heating element paired with a high-RPM shaded-pole motor. These motors are designed for cost-efficiency, not for longevity in high-heat environments.
The primary culprit behind that grinding or screeching noise is thermal expansion fatigue. Over months of use, the rapid cycling between ambient temperature and 200°C causes the plastic fan blades—often held to the motor shaft with a simple friction-fit or a cheap grub screw—to loosen. Once that centrifugal imbalance starts, the motor’s internal bushings begin to experience "wobble," leading to the infamous "rattling" sound that users complain about on every subreddit from r/AirFryer to dedicated appliance forums.
Operational Reality: The "Planned Obsolescence" Design
The reality of repairing a mass-market appliance like a Tower Vortx, or troubleshooting common issues like a Chefman TurboFry not heating, is that the manufacturer never intended for you to take it apart. You’ll find security screws—often "tri-wing" or "tamper-proof torx"—scattered throughout the chassis. This is a deliberate barrier to entry. From an industry perspective, if a fan motor fails, the cost of labor to fix it exceeds the cost of a new unit.
I’ve spent 15 years peering into the guts of these machines, and I can tell you that the "quiet operation" advertised on the box is a feature that degrades by design. As the lubrication inside the motor housing dries out due to intense heat, the friction increases. By the time you notice the noise, the motor is already operating outside of its intended tolerance.
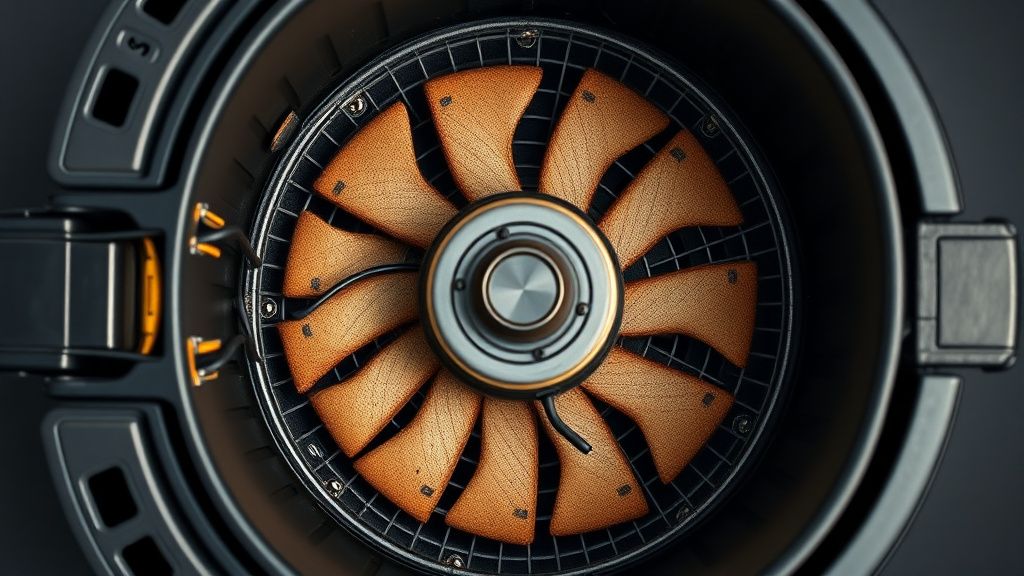
Troubleshooting the Airflow Path: Identifying Debris and Obstructions
Before you reach for a screwdriver, do a "shake test." If you hear a clunking, it’s not the motor; it’s likely a piece of food debris (a burnt crumb or a charred piece of bacon) that has slipped through the guard and is currently acting as a speed bump for your fan blade.
- The Airway Inspection: Check the top intake vent. This is where most issues start.
- The Basket Seal: Sometimes the noise isn't the motor at all. If the basket isn't locking perfectly, air turbulence at the seal can create a whistling sound that mimics a dying bearing.
- The Fan Guard: If the guard is dented, the blade will clip it on every rotation. This is a tell-tale, rhythmic "tink-tink-tink" sound.
Step-by-Step Motor Disassembly and Diagnostic Protocols
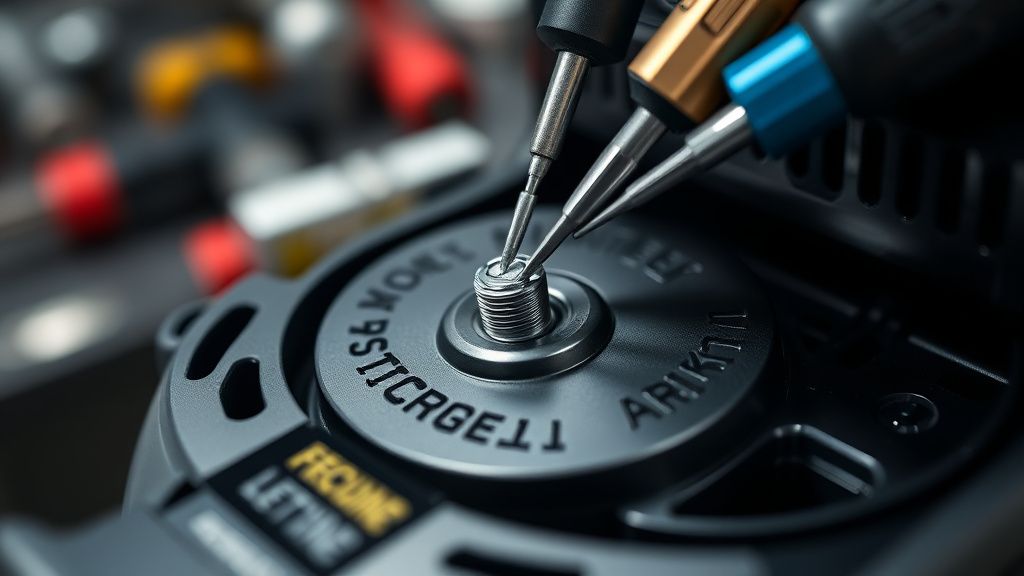
If you are confident that the noise is internal, you’ll need to perform a teardown. Note: Unplug the unit for at least two hours before attempting this. The capacitors in these units can hold a residual charge that will give you a nasty surprise.
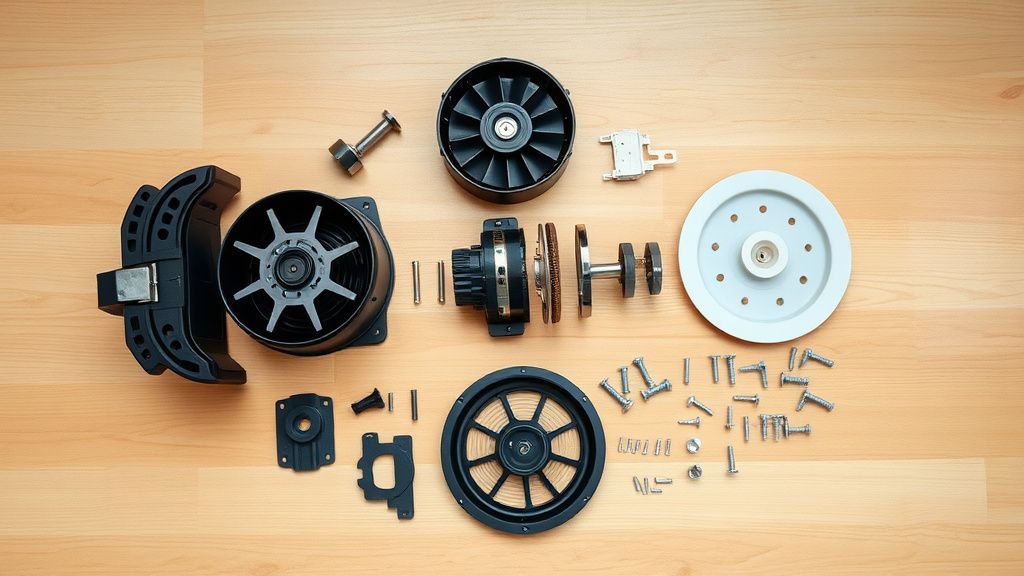
- Step 1: The Shell Breach. Most models require removing the feet and the hidden screws behind the rubber grommets. Don't force the plastic clips; they are brittle and will snap if you pry them too hard.
- Step 2: Accessing the Motor Mounts. The motor is usually bolted to a stamped steel bracket. Check these bolts for vibration loosening. A drop of thread-locker (Loctite Blue) can save a unit that otherwise sounds like a tractor.
- Step 3: Evaluating the Shaft Play. With the unit open, try to wiggle the fan shaft. If there is more than 0.5mm of "play," the internal bearings are gone. You can attempt to relubricate with high-temperature synthetic grease, but this is a temporary patch.
Real Field Reports: The Community "Workaround" Culture
If you browse through GitHub Issues or Discord tech support channels, you’ll find a massive "workaround" culture. Users are tired of "unrepairable" status. I’ve seen community members 3D-printing their own fan blades or modifying the housing to allow for better airflow, effectively bypassing the factory cooling limitations.
However, there is a dangerous side to this. I once reviewed a DIY repair where the user replaced a failing fan motor with a generic PC chassis fan. It lasted exactly three minutes before the heat melted the plastic blades. The lesson here is clear: Do not substitute components unless you match the thermal rating of the original motor.
Balancing Costs: Is Repair Actually Economic?
Let’s talk money. A new Tower Vortx costs between £50 and £120 depending on the model. A replacement high-torque, high-temp motor is often hard to source because companies like Tower use proprietary mountings. If you spend three hours on a repair, add in the cost of parts and your time, are you actually winning?
- The Pro-Repair Argument: You prevent another unit from hitting a landfill. You gain mechanical literacy.
- The Pragmatic Critique: The safety risks involved in modifying a 1500W heating appliance are non-trivial. If the thermal fuse or the bimetallic strip is disturbed, you risk a fire hazard.
Debating the "Self-Repair" Movement
There is a massive debate among repair technicians regarding these appliances. Some argue that by documenting these fixes, we empower consumers. Others—the more cynical among us—argue that we are just helping companies hide their quality control failures by doing their warranty work for them.
When you look at the Tower Vortx specifically, the internal failure rate of the fan motors correlates directly with high-usage, "power user" households who cook frozen snacks every single night. The system isn't failing because it’s "bad"; it’s failing because it’s a budget-friendly consumer appliance being pushed to industrial duty cycles.
The Hidden Infrastructure of Failure: What You Don't See
The most frustrating part of these machines is the "controller board." If the motor isn't the problem, the pulse-width modulation (PWM) circuit might be failing to provide a steady voltage, causing the motor to "stutter." This is where the repair moves from mechanical to electrical engineering. If you see signs of scorching on the PCB, stop immediately. That is a failure of the power supply stage, and no amount of tightening screws will fix a fried capacitor.
Managing Expectations: The Lifecycle of a "Budget" Gadget
If you manage to fix the fan, don't expect another five years of life. These appliances have a "soft" lifespan. The internal wiring insulation hardens, the plastic casing becomes brittle, and the non-stick coating on your basket will eventually flake. My advice? Repair the noise to keep it running for a while longer, but keep an eye on the heating element’s consistency. If it starts taking longer to brown your food, the airflow efficiency has permanently dipped.