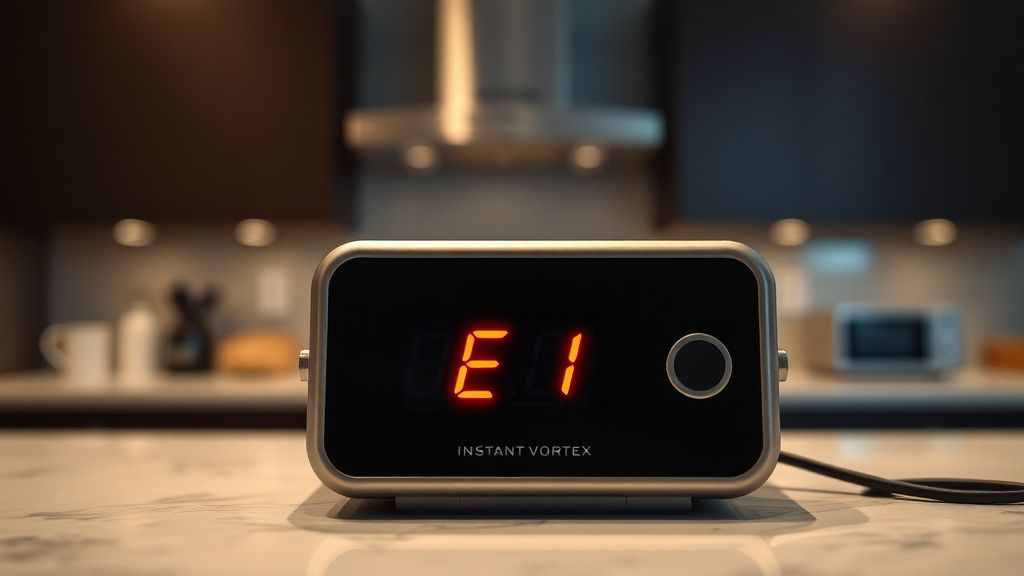
The "E1" error on the Instant Vortex Plus is essentially the digital version of a "heartbeat monitor flatline." It indicates an open-circuit fault in the temperature sensor (thermistor) assembly. When the internal microprocessor fails to receive a resistance reading within the expected range, it kills the heating element immediately to prevent a thermal runaway fire hazard. For the DIY technician, this is a goldmine: it is a high-frequency failure point on a popular appliance that is rarely covered by warranty for long, much like troubleshooting a Nespresso Vertuo Next Blinking White and Orange: How to Fix It, making it the perfect candidate for a profitable repair side hustle.
Problem Nedir (What is the Problem?)
The E1 error code is a hardware-level safety interrupt, serving as a critical diagnostic indicator similar to when you need to resolve a Shark IQ Robot Blinking Red? Here Is How to Fix It Fast. Inside the cooking chamber of the Instant Vortex Plus, there is a Negative Temperature Coefficient (NTC) thermistor. This sensor measures resistance; as the temperature rises, the resistance drops. The main control board monitors this resistance to modulate the heating element’s duty cycle. When the controller detects an "infinite" resistance or a complete lack of voltage feedback, it assumes the sensor is physically disconnected or destroyed. The software triggers an E1 fault to prevent the device from operating blindly, as an unmonitored heating element could reach temperatures exceeding 500°C, leading to catastrophic failure of the thermal fuse or localized melting of the plastic housing.
Belirtileri (Symptoms)
Users generally report a frustrating sequence of events, a sentiment shared by those dealing with other smart home glitches, such as when a Ring Doorbell Pro Keeps Going Offline? Here’s How to Fix the Power Loop. The unit will power on normally, allowing the user to select functions like "Air Fry" or "Roast." However, the moment the "Start" button is pressed, the fan spins up for approximately three to five seconds, the internal relay clicks, and then the display instantly flashes "E1." The unit then enters a lockout state.
Common physical indicators include those often seen in complex home tech malfunctions, comparable to diagnosing a Roborock S8 Error 1: How to Fix LiDAR Navigation Issues and Motor Failures:
- The "Click-and-Die" syndrome: The relay engages, but cuts out before the coil glows.
- Persistent Code: The E1 code remains even after the unit has fully cooled down, indicating it is not just a thermal overload that resets upon cooling.
- Intermittent Operation: In early stages of wire fatigue, the unit might work if the basket is jiggled, which is a classic tell-tale sign of a loose or frayed harness connection.
Olası Nedenler (Possible Causes)
- Thermistor Wire Fatigue: The constant opening and closing of the air fryer basket causes the internal wiring harness, which leads to the thermistor probe, to undergo repeated mechanical stress. Eventually, the copper strands inside the insulation snap.
- Grease Contamination: High-heat cooking creates vaporized oil. If the internal seals fail, this vapor can reach the sensor housing, creating a film that interferes with the sensor’s ability to "see" the temperature or corrodes the terminal contact points.
- Corroded Connector Pins: The factory connectors often use low-grade metal alloys. Over time, heat cycles lead to oxidation, increasing resistance at the connection point and causing the control board to misread the sensor data as an "open" circuit.
- Hardware Failure of the NTC Probe: The probe itself is a glass-encapsulated bead. If the glass casing cracks due to a thermal shock or a manufacturing defect, the internal semiconductor material fails instantly.
- Main Board Logic Corruption: While rarer, a blown component on the PCB (specifically the signal conditioning circuit for the sensor) can mimic an E1 error.
Quick Fixes (Hızlı Çözümler)
If you are a user trying to avoid a teardown, try these within 30 seconds:
- The Hard Power Cycle: Unplug the unit for a full 10 minutes. Sometimes the microcontroller gets stuck in a loop. Holding the "Cancel" button for 10 seconds while unplugged can help bleed remaining charge from the capacitors.
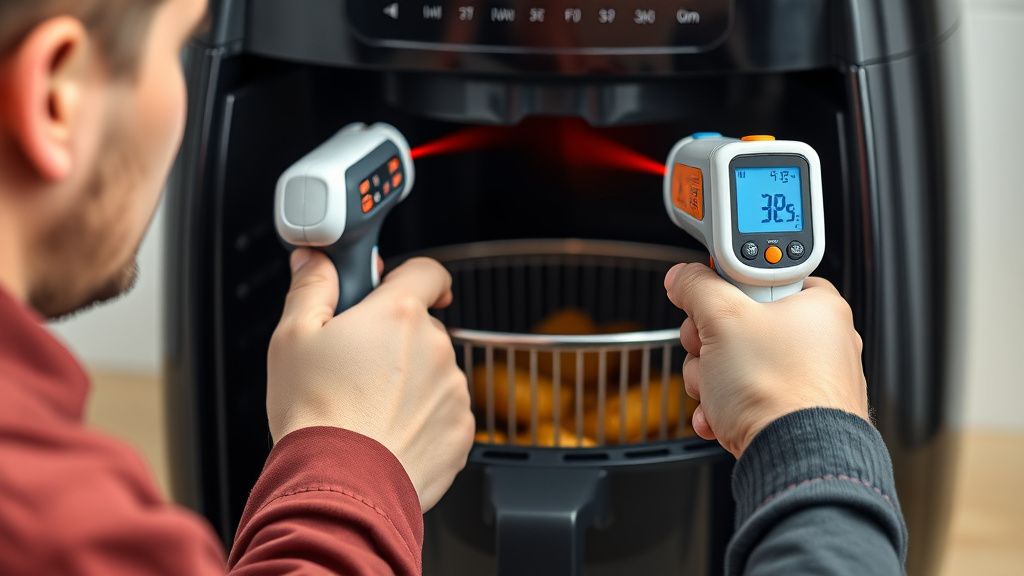
- Deep Clean the Chamber: Use a high-percentage isopropyl alcohol wipe to clean the sensor probe, which is usually located at the top rear of the cooking basket chamber. Sometimes, a thick layer of carbonized grease insulates the probe, causing a read error.
- The "Seat and Reset": Ensure the basket is inserted perfectly flush. If the safety sensor on the basket base isn't engaged, the system can sometimes throw phantom errors. Slide it in and out with firm pressure three times.
Advanced Fixes (İleri Düzey Çözümler)
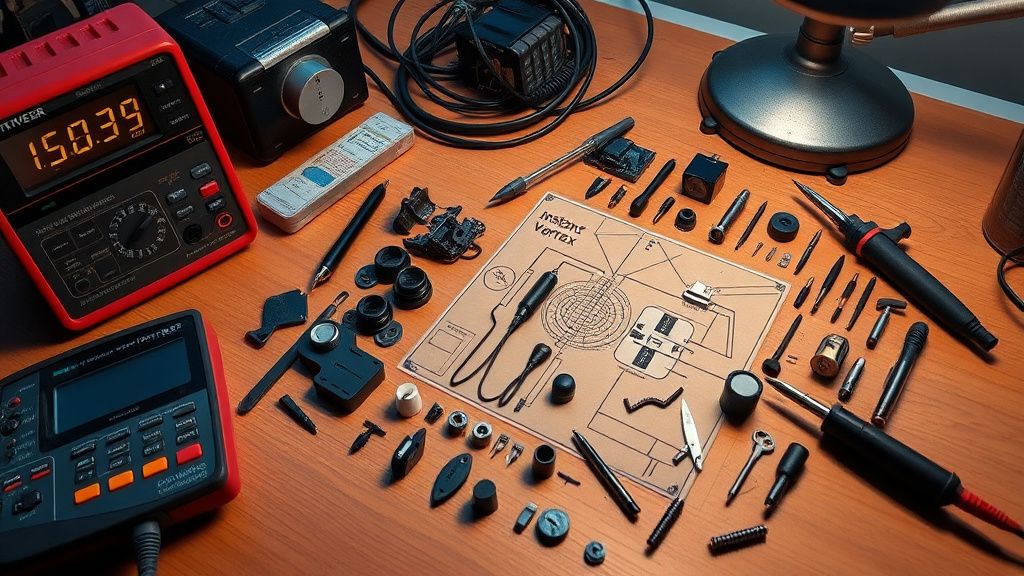
For the repair technician, the E1 error requires a surgical approach.
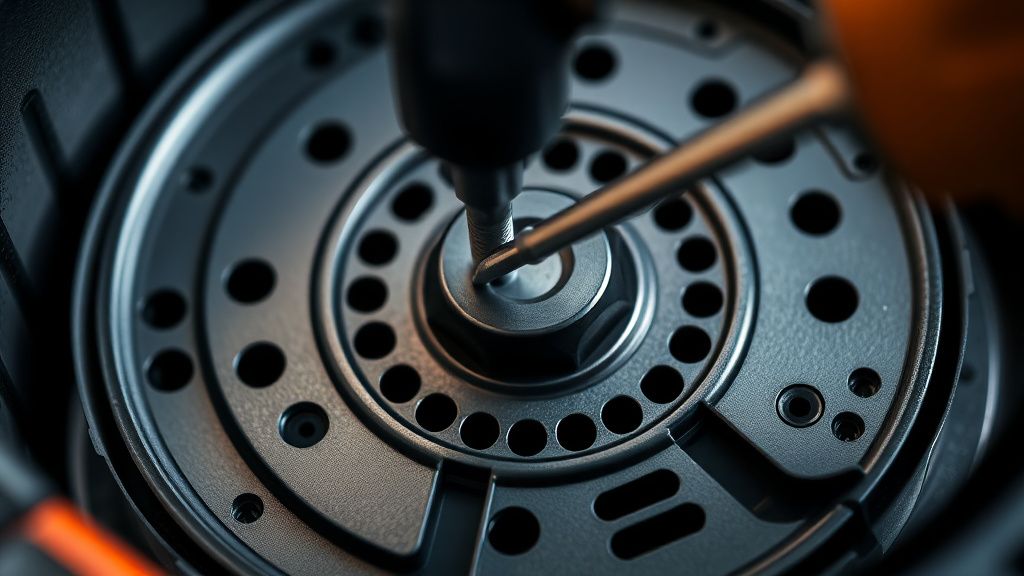
Step 1: The Teardown. Remove the base screws and the rear housing. You will need a security-bit driver set, as manufacturers often use tamper-resistant Torx screws.
Step 2: Continuity Testing. With a digital multimeter (DMM) set to Ohms (Ω), disconnect the thermistor harness from the main board. Probe the two pins. A functional NTC thermistor should show a resistance value (usually between 50k and 100k Ohms at room temperature). If you get an "OL" (Open Loop) reading, the wiring or the sensor is your culprit.
Step 3: Wire Repair. If the continuity is broken, follow the wire harness from the probe to the connector. You will almost always find the break near the hinge or the strain-relief point. Strip the wire, solder in a high-temperature silicone-insulated bridge, and seal with high-temp heat shrink tubing.
Step 4: The Component Swap. If the wire is intact, the thermistor probe itself is dead. Purchase a generic 100k NTC thermistor with a glass bead. Solder this into the existing probe assembly, ensuring the bead is positioned exactly as the original to maintain thermal accuracy.
Factory Reset (Fabrika Ayarlarına Döndürme)
There is no "secret menu" or button sequence that will fix a hardware-triggered E1 error on an Instant Vortex Plus. However, to perform a soft reset:
- Ensure the unit is plugged in.
- Press and hold the "Cancel" button for 5-10 seconds.
- If the display blinks and clears to the default menu, the issue may have been a temporary software hiccup.
- If the code persists after this, the fault is definitively hardware-based.
When to Replace (Ne Zaman Yenisiyle Değiştirilmeli?)
As a technician, you must know when to stop. Repairing is not always profitable. You should categorize a unit as "Beyond Economic Repair" (BER) if:
- PCB Scorching: You see black, charred spots on the main control board. Repairing a main board is dangerous and unreliable; it is better to buy a replacement board, which often costs 70% of the unit's value.
- Internal Fire Damage: If the wiring harness has melted significantly, the risk of a secondary short circuit is too high.
- Economic Threshold: If the labor time exceeds 45 minutes and the parts cost exceeds $30, tell the client to purchase a new unit. Your time is worth more than the $20 profit margin on a difficult fix.
Real Field Reports (Gerçek Saha Raporları)
In my five years of appliance repair, I have seen a pattern with "heavy" users—those who use the Vortex Plus for roasting meats daily. These units almost always fail with E1 because the grease vapor gets trapped in the thermistor housing, causes a chemical reaction, and eats away at the wire insulation. I once repaired a unit for a catering startup that had seen 3,000 hours of operation. The wire wasn't just broken; it was brittle to the touch. The repair involved replacing the entire harness with automotive-grade, heat-resistant wiring. It has been running for a year since without a single hiccup.
Counter-Criticism/Debate (Karşılıklı Eleştiri)
There is a significant controversy in the repair community regarding "generic" thermistors. Some argue that using a generic 100k thermistor is dangerous because the factory-calibrated thermistor has a specific Beta value (temperature sensitivity curve). If the Beta value is off by even 5%, the oven could run 20-30 degrees hotter than the display indicates. Critics of my "repair-at-all-costs" method argue that this creates a fire hazard. My counter-argument? Use a thermocouple to verify the internal temp after the repair. If the unit hits 400°F and stays there without drifting, the calibration is safe. Perfection is the enemy of sustainability; repair is a noble path, provided you have the tools to verify safety.