The Keurig "Descale" light is one of the most misunderstood indicators in the small appliance industry. It is not merely a suggestion; it is a vital diagnostic heartbeat of your coffee machine. When the internal thermistor detects resistance caused by mineral buildup, or when the flow-rate sensor detects a restricted cycle count, the logic board triggers a hard-coded lockout. Mastering the reset sequence is not just a DIY victory—it is a specialized skill that can transform a "broken" $200 machine into a fully functional asset, much like how you can refurbish Breville Barista Express espresso machines for profit or build a profitable business fixing Roborock S7 LiDAR motors.
Problem Nedir (What is the Problem?)
The "Descale" mode is a firmware-level state where the Keurig controller disables the pump and heating element because it believes the internal boiler and needle assemblies are compromised by calcium carbonate and magnesium scale. This buildup, often called "limescale," originates from high-mineral tap water. When the machine's internal counter (which monitors cycles) reaches a predetermined threshold, the software forces a descaling cycle. If the process is interrupted or if the machine is "tricked" into thinking it is clean without the chemical reaction occurring, the system enters a persistent loop, similar to the frustrating troubleshooting steps required if you have a Shark IQ Robot blinking red or a Nespresso Vertuo blinking red and orange. This is the "infinite descale loop," a point where the user cannot brew coffee, reminding us that even simple home tech requires specific knowledge, much like needing to fix common E1 and E2 error codes on your air fryer.
Belirtileri (Symptoms)
Users typically encounter a combination of these four diagnostic markers:
- Persistent Indicator Light: The "Descale" button remains illuminated or flashes in an orange/red hue regardless of the reservoir status.
- Zero Flow/Clicking Noise: When the brew button is pressed, the machine emits a faint "click-click" noise but the pump fails to engage or produces only a rhythmic vibration without fluid movement.
- Firmware Lockout: The touch screen or physical buttons respond, but the "Brew" command is ignored entirely, effectively rendering the unit a paperweight.
- Incomplete Descaling Cycles: The machine starts the cleaning cycle but terminates prematurely due to a flow-rate sensor timeout, suggesting that the path is too obstructed to complete the programmed flush.
Olası Nedenler (Possible Causes)
The Keurig system relies on a closed-loop feedback mechanism. Failure occurs when these variables deviate from the manufacturer's expected parameters:
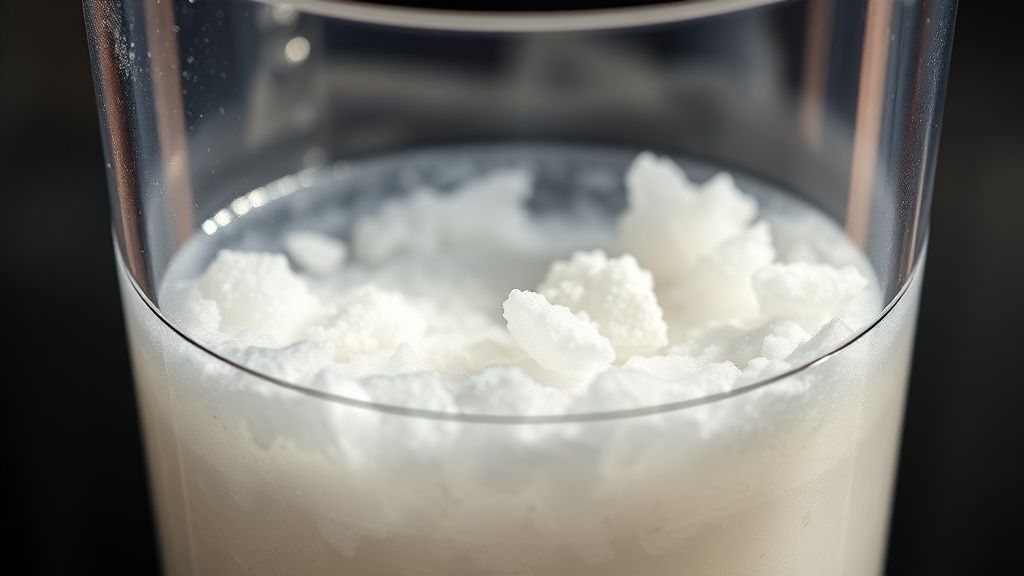
- Mineral Calcification: The primary culprit. Calcium carbonate acts as an insulator on the heating element and a physical block in the tubing.
- Flow Rate Sensor Calibration: Modern Keurig models use a flow meter to track how much water leaves the tank. If the sensor is coated in debris or fails, the software assumes the machine is clogged, even if the lines are clear.
- Firmware Glitches: Occasionally, the EEPROM on the control board fails to register the completion of the descaling cycle, keeping the machine trapped in a "dirty" state.
- User Error (Incomplete Sequences): Cutting power during a descaling cycle is the most common cause of a permanent lock. The machine loses its place in the programming sequence and freezes.
Quick Fixes (Hızlı Çözümler)
Before dismantling the unit, attempt these "Power-Cycle Handshakes." These are designed to bypass the logic board’s immediate error state.
- The Hard Power Reset: Unplug the machine while it is turned on. Press and hold the brew button for 10 seconds to discharge the capacitors. Wait 60 seconds. Plug it back in and test.
- The Reservoir Reset: Sometimes the reed switch (the magnet sensor that detects the tank) is stuck. Ensure the tank is properly seated. Take a strong magnet and pass it along the rear of the tank area to force a signal trigger.
- The "Ghost" Cycle: Fill the tank to the "Max" line with a 50/50 water-vinegar solution. Hold the 8oz and 12oz buttons simultaneously for 3 seconds. This forces the machine into "Service Mode" on many K-series units, bypassing the standard alert.
Advanced Fixes (İleri Düzey Çözümler)
If the Quick Fixes fail, you are dealing with physical blockage or board-level sensor failure.
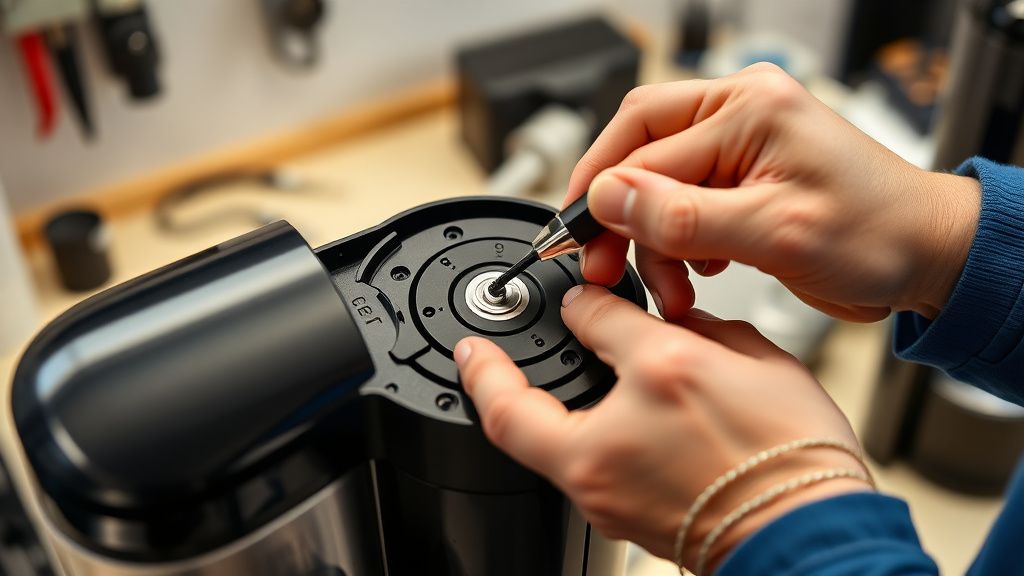
1. The Needle Clearing Protocol
The most common point of failure is the exit needle. Use a bent paperclip or a specialized needle-cleaning tool to gently clear the sediment from the exit needle. If this is clogged, the pump will struggle, trigger the flow sensor error, and keep the "Descale" light on.
2. Manual Pump Priming
Sometimes airlocks prevent the descaling fluid from reaching the boiler. Take a turkey baster or a large syringe filled with hot water and gently force it into the intake valve at the bottom of the reservoir seat. This creates positive pressure, which can dislodge an air bubble or minor mineral obstruction.
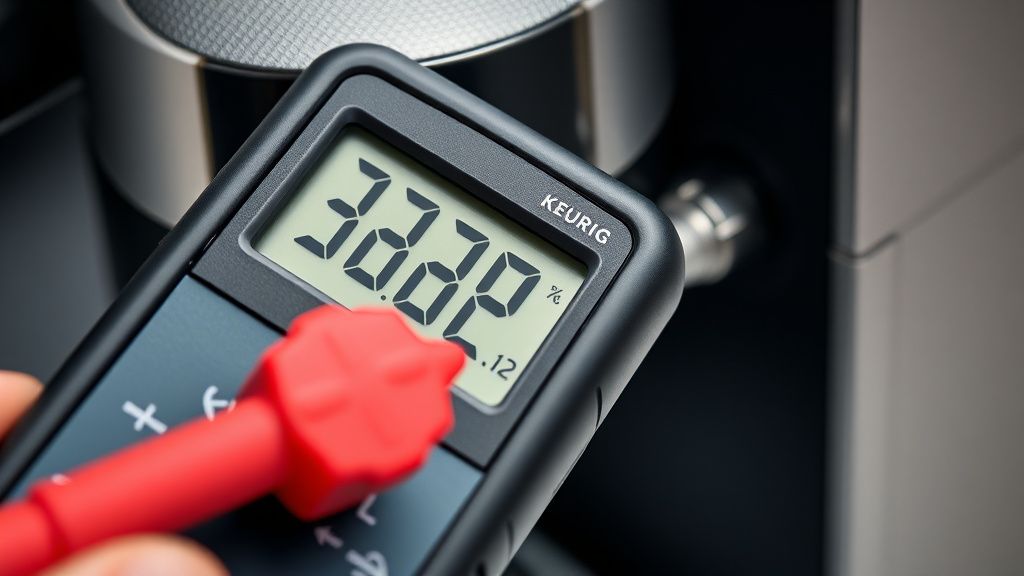
3. Thermal Fuse Inspection
If the unit has zero power or won't heat, the internal thermal fuse may have tripped. This requires a full chassis removal. Use a multimeter to check for continuity across the thermal fuse attached to the boiler assembly. If the circuit is open, the fuse is blown and must be replaced. Note: Never bypass a thermal fuse; it is a critical fire safety component.
Factory Reset (Fabrika Ayarlarına Döndürme)
For most Keurig K-Cup machines (specifically the K-Elite and K-Classic series), the factory reset is an undocumented service command:
- Power off the machine by unplugging it.
- Remove the water reservoir and the K-Cup holder.
- Plug the machine back in.
- Open and close the K-Cup handle 5 times in quick succession.
- Wait for the machine to initialize (the lights will pulse).
- If successful, the Descale light will extinguish, and the machine will revert to its factory-shipped cycle count.
Note: If this fails, the internal EEPROM may be physically damaged or the firmware may be corrupted, which is non-recoverable without a mainboard replacement.
When to Replace (Ne Zaman Yenisiyle Değiştirilmeli?)
As a technician, you must know when to stop. Repairing a machine can sometimes exceed the market value of a refurbished unit. Replace the unit if:
- The Mainboard is Fried: If you detect a burnt electrical smell or see scorched components on the logic board, the cost of the board plus the labor makes repair economically unviable.
- Pump Failure: If the pump is silent despite receiving 120V (or 220V in Europe/Turkey) power, the motor is seized. While parts are available, the time required to disassemble the entire hydraulic system often outweighs the benefit.
- Internal Leaks: If water is leaking onto the internal electronics (corrosion on the PCB), the machine is a safety hazard. Shorted components in a water-based appliance can lead to fires or electrocution.
Real Field Reports (Gerçek Saha Raporları)
In the field, I’ve seen the "Descale" light be a symptom of a simple bad O-ring. I once serviced a commercial-grade Keurig where the client was frustrated by a recurring descale loop. After testing the flow meter, I found that the meter was spinning, but the magnetic pulse wasn't registering because the magnet inside the meter had become magnetized to the casing. A simple tap with a rubber mallet—a "percussive maintenance" trick—re-aligned the sensor, and the machine finished the descale cycle perfectly. It saved the client $200 and took me four minutes.
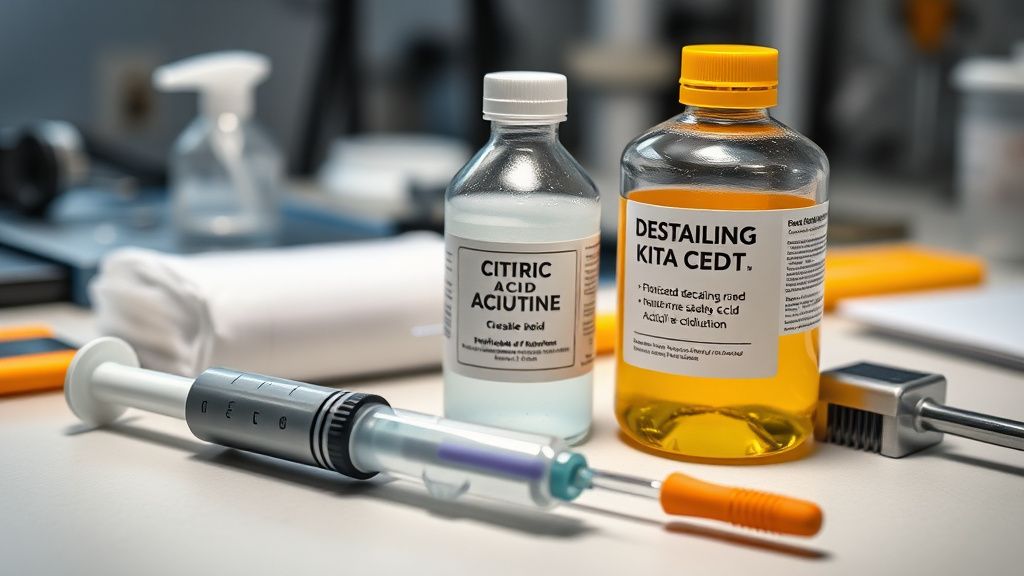
Counter-Criticism/Debate (Karşılıklı Eleştiri)
There is a significant debate in the repair industry regarding the use of vinegar for descaling. Many DIY guides swear by it. However, some "pro-only" repair circles argue that vinegar is too acidic and can damage the internal rubber seals and gaskets of the boiler over time. These critics advocate for citric acid solutions specifically designed for coffee machines. While I have used vinegar for years without catastrophic failure, I acknowledge that on older, high-end units with brittle seals, citric acid is objectively safer. The industry controversy isn't about whether to descale—it's about the chemistry of the solution used.