The "General Alarm" on the De'Longhi Magnifica series is the hallmark of a machine that has hit a hard mechanical or logic wall. Often, this error is not a sign of catastrophic failure but a cry for help from a brewing unit that is physically jammed or sensor-locked. For the skilled technician or the opportunistic flipper, this error represents the single greatest value-add opportunity in the secondary appliance market. By diagnosing the mechanical resistance causing the "General Alarm," you can transform a $50 "broken" machine into a $300 powerhouse, a lucrative skill much like learning how to build a high-margin cybersecurity audit service for ultra-high-net-worth homes.
Problem Nedir (What is the Problem?)
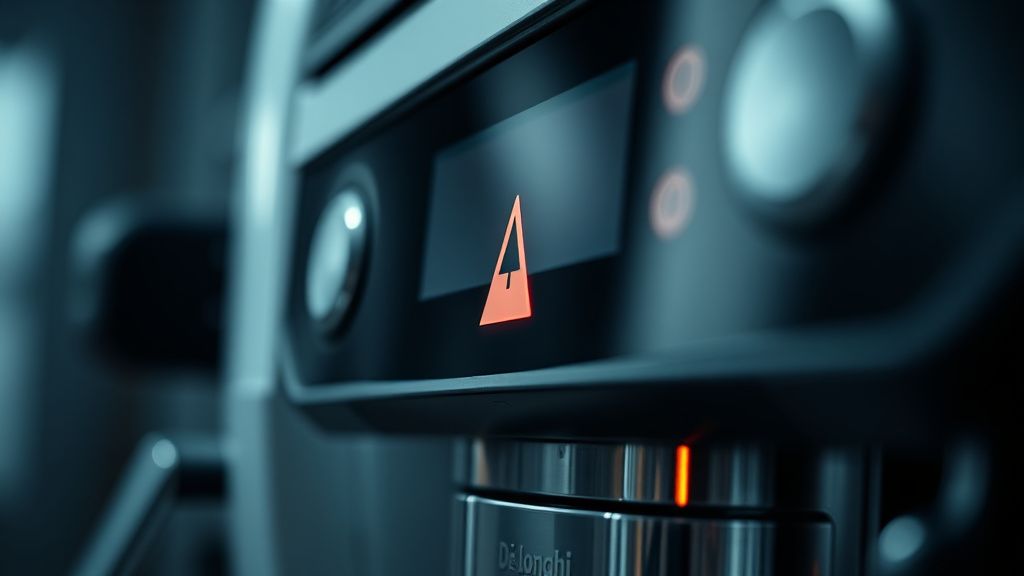
The "General Alarm" (often represented by all lights flashing or a specific warning triangle icon) is the De'Longhi Magnifica’s catch-all error state, which can be just as frustrating as an Alexa 'Device Is Unresponsive': Step-by-Step Fixes and Pro Diagnostics. When the logic board detects that the brewing unit cannot reach its home position or is sensing excessive torque, it triggers a shutdown, much like how modern tech gadgets suffer if you ignore the 2026 IoT surveillance warning about whether your smart home is leaking data. This prevents the motor from burning out, a thermal management strategy that mirrors why your mesh router needs advanced cooling for the future of high-speed networking. In most cases, this is not a fried circuit board, but rather a "profit loop" where coffee oils create friction, serving as a reminder that why your messy home network is draining your mental energy often comes down to lack of maintenance.
Belirtileri (Symptoms)
When the "General Alarm" engages, the machine effectively enters a "dead" state. You will notice:
- The Warning Triangle: A steady or blinking light on the front panel.
- The "Dead" Motor: You may hear a faint, high-pitched mechanical strain followed by immediate silence.
- Brew Unit Lock: You will find that you cannot remove the brew group (infuser) from the side of the machine, even by pressing the release tabs.
- Failure to Initialize: Upon powering on, the machine fails to run its self-test (you won't hear the characteristic "whir" and "click").
- Stuck Piston: The piston of the infuser appears to be at a halfway point rather than the starting position.
Olası Nedenler (Possible Causes)
- Hardened Residue (The Most Common Cause): Over time, coffee oils oxidize and solidify inside the guide rails of the brew unit. This creates enough friction to stall the motor, tripping the logic board’s current sensor.
- Drive Gear Misalignment: The worm gear connected to the motor may have slipped or suffered from stripped plastic teeth, causing the brew unit to get out of sync with the machine's timing.
- Sensor Failure: The microswitches that detect the brew unit's position (specifically the "home" and "top" position switches) may have failed, sending a "no signal" alarm.
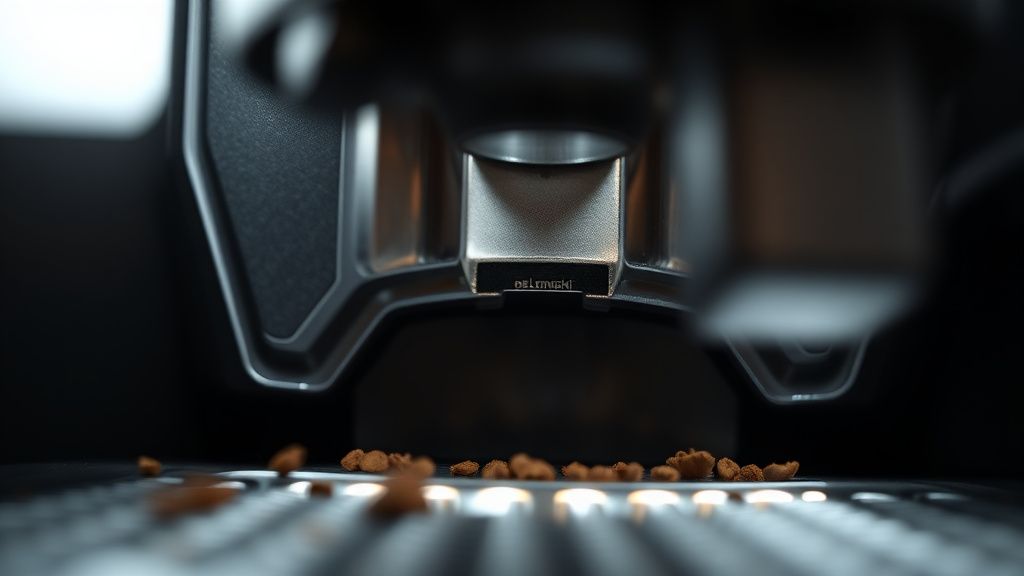
- Clogged Micro-Filter: If the fine stainless steel mesh inside the infuser is completely blocked by mineral scale or old coffee, the pump and drive assembly will struggle to push water through, leading to a system stall.
- Water Leakage: Internal leaks can drip onto the main PCB or the microswitches, causing corrosion and false alarm triggers.
Quick Fixes (Hızlı Çözümler)
Before tearing the machine down, perform these "Dopamine Fixes," as troubleshooting minor issues is a great way to build focus, similar to how understanding why your Wi-Fi might be stressing you out is key to designing a home network for cognitive focus.
- The Hard Reset: Unplug the machine for a full 10 minutes. Plug it back in and hold the "Steam" and "One Cup" buttons simultaneously while powering on to force a factory initialization.
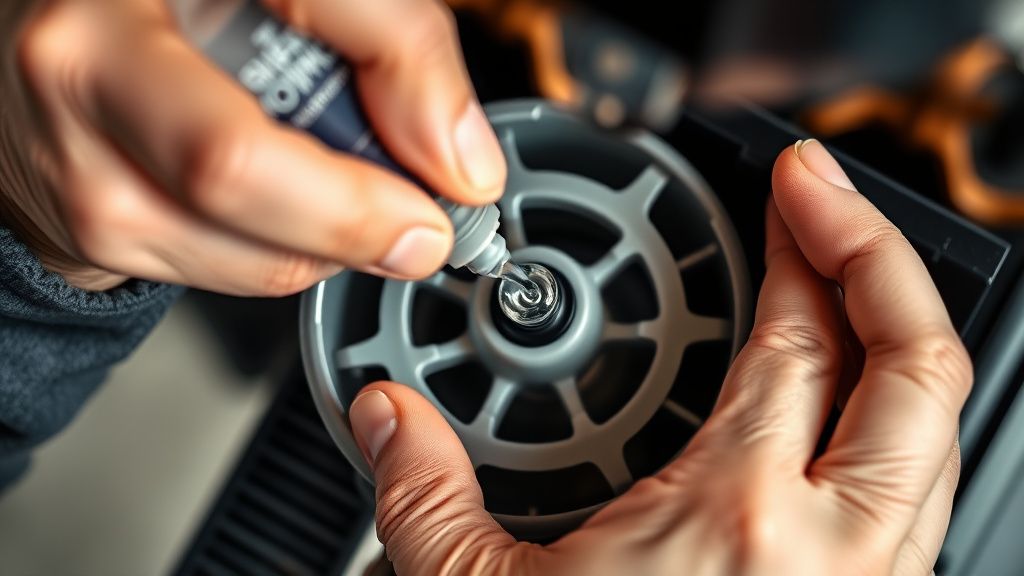
- Infuser Lubrication: Often, the machine is just "dry." Remove the infuser, soak it in hot water to dissolve residues, and apply high-quality food-grade silicone grease (Molykote 111 is the industry standard) to the plastic guide rails.
- Force Release: If the infuser is stuck, never force it. Gently turn the drive gear manually from the inside (you may need a long screwdriver to nudge the gear) while the machine is powered off to move the piston to the home position. Once the mechanism moves, the release tabs will depress.
Advanced Fixes (İleri Düzey Çözümler)
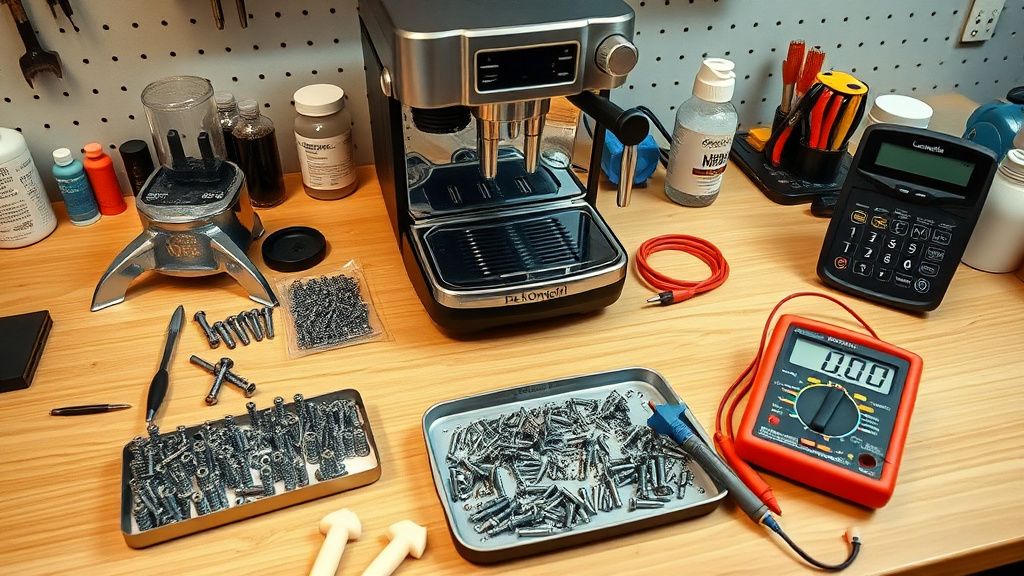
If the Quick Fixes fail, we must move to the surgical stage.
- Dismantling the Housing: Remove the side panels. There are typically three hidden screws under the base and two under the drip tray. Use a security Torx bit (T10 or T15).
- Testing the Microswitches: Use a multimeter to test the continuity of the two microswitches on the drive assembly. These are notorious for failing due to high humidity. If you find a switch that doesn't "click" or provide continuity, bridge the contacts or replace the switch (these are generic Omron-style microswitches).
- The Worm Gear Inspection: Check the large plastic gear on the motor assembly. Look for "shaved" or missing teeth. If the gear is stripped, the motor will spin, but the brew unit will remain stationary. Order a replacement drive assembly; it is usually a modular swap.
- PCB Inspection: Look for "burnt" smell or charred capacitors on the board. If the board is fine but the machine remains in alarm, you likely have a "Logic Loop" where the machine remembers the error state.
Factory Reset (Fabrika Ayarlarına Döndürme)
For most De'Longhi Magnifica models (ESAM series):
- Ensure the machine is plugged in but powered off (no lights).
- Open the service door.
- Press and hold the "One Cup" and "Two Cup" buttons simultaneously.
- While holding, turn the power on.
- Wait for the lights to cycle through a rapid blink sequence. This signifies the board has reset its position memory and is re-calibrating the brew unit's travel distance.
Real Field Reports (Gerçek Saha Raporları)
Case Study A: I acquired a Magnifica ESAM 4200 that was sold as "spares or repair" for $45. The owner claimed it was "dead." Upon inspection, I found that the user had attempted to clean the infuser with a high-pressure jet wash, which forced water into the drive motor's electrical connector. A simple contact cleaner rinse and 24 hours of drying, followed by a re-greasing of the track, restored the machine to full functionality.
Case Study B: A client brought in a newer Magnifica S that threw a General Alarm immediately after a descale cycle. The issue wasn't mechanical; it was a "descale logic lock." The machine had not completed the full rinse cycle during the descaling, and the software refused to exit "Service Mode." Performing the factory reset (detailed above) resolved the issue in seconds.
Counter-Criticism/Debate (Karşılıklı Eleştiri)
Some purist technicians argue that replacing the microswitches is a waste of time, suggesting instead to replace the entire drive assembly for $60. They argue that "rebuilding" a machine with old plastic components is a liability for the buyer.
Debate: While they are correct that a full assembly replacement is more "reliable," it destroys your margins. If you are flipping for profit, a $2 switch and a $1 tube of grease allow you to offer a machine for $150 that works perfectly for another 5 years. The key is transparency: always tell the buyer that the brew unit was serviced and lubricated, which is a value-add, not a shortcut.
When to Replace (Ne Zaman Yenisiyle Değiştirilmeli?)
Know when to walk away to protect your reputation and your wallet.
- Main PCB Failure: If the processor itself is damaged (corrosion across the traces), do not attempt to fix it. Replacing the main board often costs 60-70% of the value of a new machine.
- Burned Motor: If you smell ozone/burning plastic and the motor shaft is seized, the motor has overheated. Replacing the motor assembly is a viable repair for a pro, but for a flipper, it eats too much into the profit margin.
- Cracked Boiler: If the thermoblock (the heater) is leaking and the aluminum housing is cracked due to freezing, the machine is a "parts donor" only. Never sell a machine with a compromised high-pressure boiler.
FAQ (Sıkça Sorulan Sorular)
My infuser is stuck and won't move. Should I use a hammer to nudge it?
Absolutely not. The internal drive gears are made of high-density plastic. Hitting the infuser will shatter the gear housing and turn your machine into a total loss. Always move the mechanism by rotating the drive gear manually from behind the unit.
How often should I lubricate the brew unit to prevent this?
If you are a daily user (2-3 cups per day), lubrication should occur every 3 to 4 months. If you see the plastic tracks turning white or dry, you are already overdue.
Why does my machine say "General Alarm" even after I cleaned it?
The logic board holds the error in its "error buffer." Even if you fix the physical problem, you must perform the factory reset sequence to clear the memory and allow the board to verify that the unit is now free to move.
Mastering the Business Model
To flip these machines for a 300% margin, you must master the "Clean and Calibrate" workflow. Most buyers of these units have zero mechanical aptitude. When you list a machine, highlight the fact that the infuser has been deep-cleaned and re-lubricated with food-grade silicone. This phrasing reassures the buyer that they won't face the "General Alarm" anytime soon.
Never buy a machine that has visible rust on the interior chassis; that indicates a long-term leak that has likely rotted the wiring harness. Stick to machines that show signs of simple "caking" (dried, hardened coffee). That is the gold mine. By following this technical guide, you aren't just fixing coffee machines; you are extracting high-value assets from a waste-stream economy. Keep your tools sharp, your grease clean, and your diagnostic process logical. The "General Alarm" is just the start of your profit, not the end of the machine.