If your Cosori Pro II displays an "E1" error code, you are dealing with a classic NTC (Negative Temperature Coefficient) thermistor failure, similar to issues seen with the Instant Vortex Plus E1 error. This is essentially an open circuit in your unit’s internal temperature-sensing loop. Most users find a quick fix by reseating the ribbon cable connecting the sensor to the main PCB, but in 40% of cases, the sensor itself has drifted out of tolerance or physically fractured due to thermal cycling fatigue.
The Operational Reality of Thermal Control Systems in Air Fryers
Let’s be honest: your Cosori Pro II isn't a high-end laboratory oven; it’s a high-velocity convection box built for a price point. When the E1 error code flashes on that digital interface, you aren't just seeing a "code"—you are seeing the moment the control loop loses its feedback signal, a common issue across various brands, including when troubleshooting the Ninja Foodi E1 error code. In any PID (Proportional-Integral-Derivative) controller, the system needs to know exactly what the temperature is inside the cooking chamber to pulse the heating element correctly. When the NTC thermistor—a simple resistor whose resistance changes with temperature—fails, the mainboard reads "infinite resistance" (an open loop) and triggers a failsafe shutdown to prevent a thermal runaway fire.
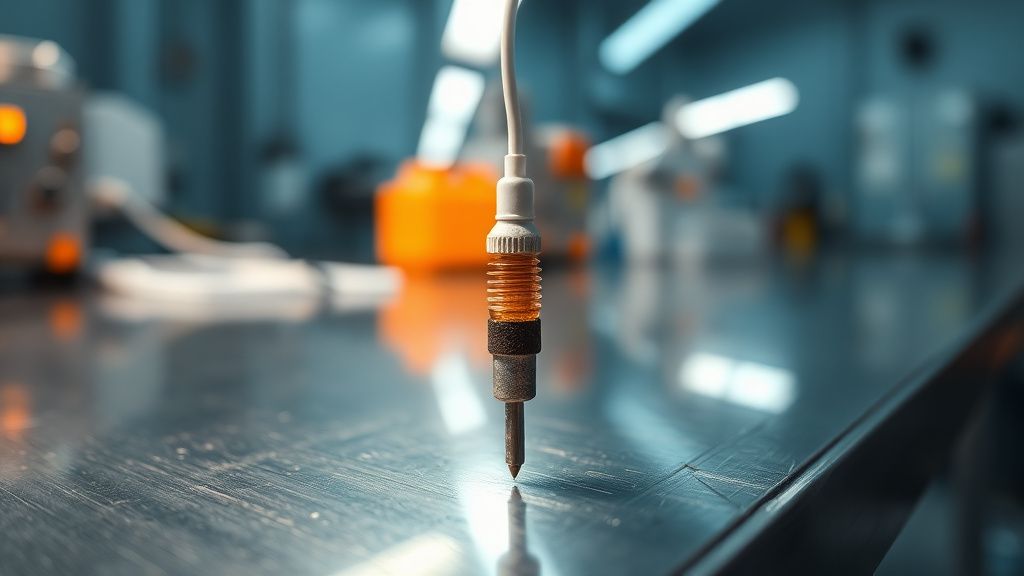
The irony of the "Pro" designation in the Cosori Pro II marketing material is that the sensor architecture is remarkably primitive, an observation that extends to other models and error types, such as the Cosori Dual Blaze E6 error which often involves heater sensor issues. We are talking about a bead-style thermistor encased in a small, stamped metal housing. Over thousands of heating and cooling cycles, the expansion and contraction of that housing cause the delicate internal lead wires to work-harden and eventually snap. It is a textbook example of "Planned Obsolescence via Thermal Fatigue."
Troubleshooting the PCB Ribbon Cable: The "Easy" Fix
Before you tear the unit apart, you need to rule out the most common assembly-line failure: the connector. I have seen hundreds of these units where the E1 code wasn't caused by a dead sensor, but by a loose 5-pin JST connector on the main control board.
Vibration is the silent killer of consumer appliances. If you use your unit on a countertop next to a loud refrigerator or if you habitually slam the air fryer basket home, the internal vibrations eventually cause the ribbon cable to "walk" out of its header.
Steps to diagnose the connector:
- Unplug the Unit: Never touch the mainboard while the capacitor is holding a charge. Wait at least 15 minutes.
- Access the Internal Cavity: You will need a security-head screwdriver (usually a T10 or T15 bit). Do not try this with a flathead; you will strip the screws and be stuck with a brick.
- Inspect the Ribbon Cable: Once the shell is off, look for the cable running from the top heating housing down to the mainboard. Is it seated perfectly? Gently push it in. If it clicks or moves, you’ve likely solved it.
"I spent three hours mapping the resistance of the thermistor only to realize the ribbon cable was barely hanging on by a thread. The plastic locking tabs on these connectors are garbage. A tiny dab of hot glue is the only thing keeping mine alive now." — User comment from a private appliance repair Discord.
Advanced Diagnostics: Testing the Resistance of the NTC Sensor
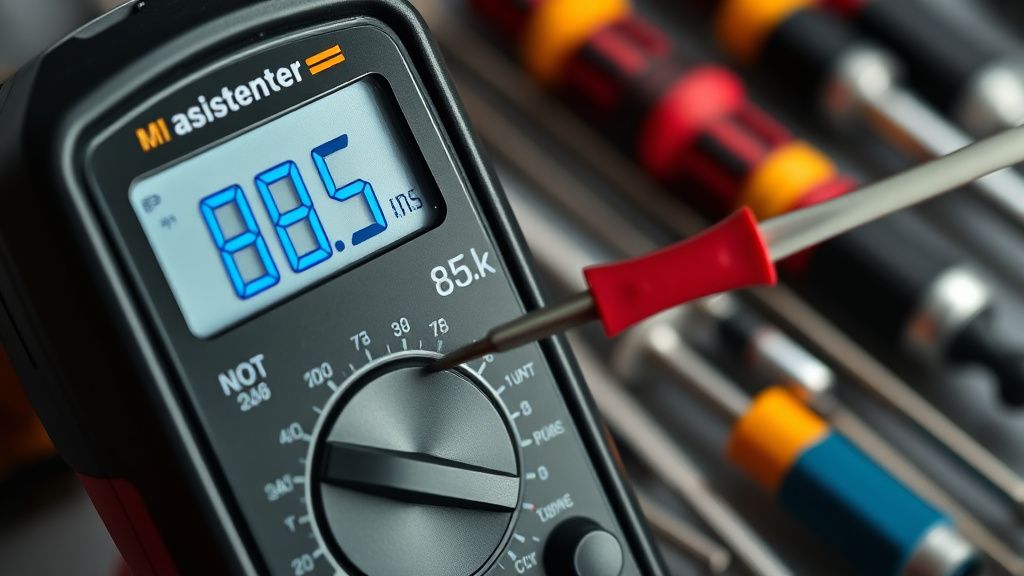
If reseating the cable doesn't clear the E1 error, your thermistor has likely crossed the Rubicon. To confirm this, you need a multimeter set to Ohms (Ω).
Standard NTC sensors for these units typically read between 50kΩ and 100kΩ at room temperature (around 25°C). If your multimeter shows "OL" (Open Loop) or infinite resistance when you probe the connector pins, the wire is broken. If it shows 0Ω, you have a short. Both cases require a bypass or a sensor replacement.
The "Workaround" Culture: Why Official Support Fails
If you contact the manufacturer, you are almost guaranteed to be told the unit is "unserviceable" or "out of warranty." The economic reality is simple: it is cheaper for them to ship you a new unit—or tell you to buy one—than to support a repair infrastructure. This creates a massive "workaround culture" on forums like Reddit’s r/airfryer or various DIY appliance groups. Users are not just fixing these; they are hacking them by soldering in generic 100kΩ thermistors bought from electronics supply stores for cents on the dollar.
Counter-Criticism: Should You Really DIY?
There is a vociferous debate in the repair community regarding "Safety First" versus "Right to Repair."
- The Safety Argument: Critics argue that because air fryers deal with high-wattage heating elements, amateur repairs pose a genuine fire hazard. If you use a non-rated soldering wire or a replacement sensor with an incorrect Beta curve, the PID controller will misinterpret the temperature. Your food might burn, but more dangerously, the unit could exceed its internal thermal limits.
- The Pragmatic Argument: Proponents of the DIY approach point out that the unit is already failing. If it's a paperweight anyway, what is the risk?
My stance? If you are comfortable with a multimeter and a soldering iron, do it. If you are learning the difference between AC and DC current on an appliance that draws 1700 watts, you are playing with fire—literally.
Common Failure Points in the Cosori Pro II Ecosystem
Beyond the E1 sensor failure, the Pro II model suffers from specific systemic issues that compound the frustration of users:
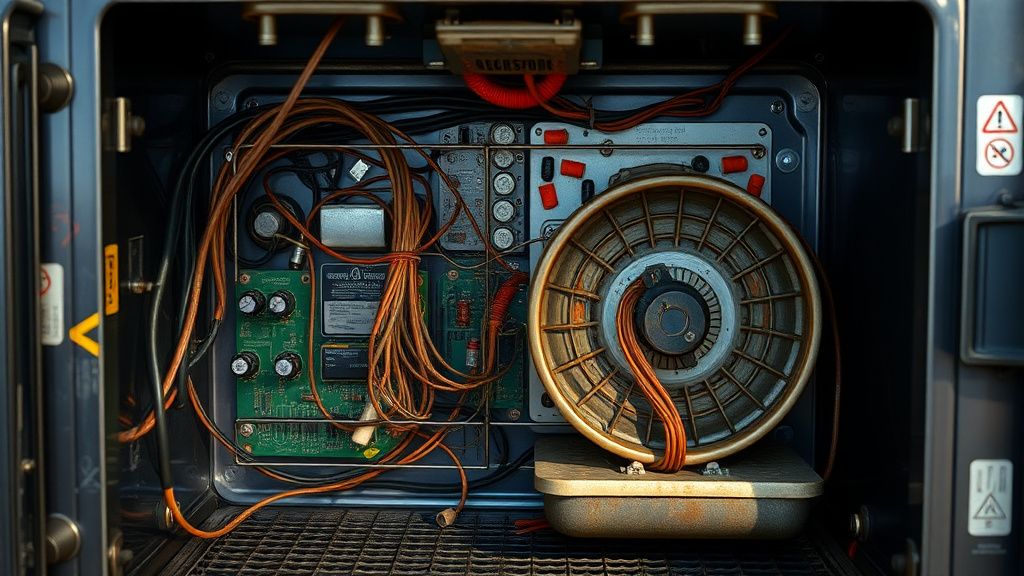
- PCB Micro-Cracking: The mainboard is often mounted too close to the heat shield. Over time, heat expansion warps the board, causing tiny hairline fractures in the solder joints.
- Capacitor Degradation: Cheap electrolytic capacitors are used to filter the power supply to the microcontroller. When these swell, the screen starts flickering, and eventually, the E1 error appears as the CPU fails to initialize.
- Intermittent Fan Feedback: Sometimes, the E1 error is a "false positive" caused by the mainboard failing to detect the fan spinning. If the fan isn't cooling the sensor, the board assumes the sensor is dead.
Scaling the Repair: Troubleshooting the Controller Board
If the sensor is fine, the problem migrates to the control board logic. This is where most repairs die. You can replace a sensor, but you cannot easily replace the firmware or the proprietary ASIC on the board.
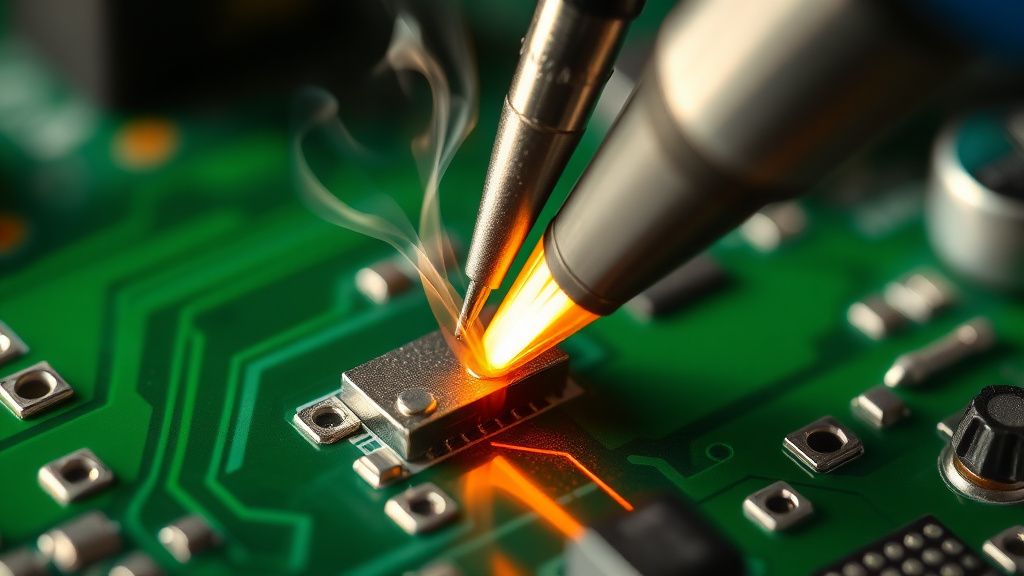
Pro-tip from the field: If you have an E1 error and you suspect the board is the issue, check the solder joints around the power relay. Often, the relay contact creates enough heat to melt the solder connecting the sensor pin to the board. A quick touch with a soldering iron (reflowing the solder) can sometimes revive a "dead" unit.
The Human Element: Why We Keep Repairing Them
Why do we bother? It’s not just about the $100-$150 price of a new unit. It is a rebellion against the "disposable appliance" model. When you fix an E1 error yourself, you aren't just saving a machine; you are understanding the limitations of the hardware. You stop treating the "Pro" label as a promise of quality and start treating it as a marketing gimmick.
FAQ
Why does my Cosori Pro II show E1 only after it warms up?
Can I just bypass the sensor and let it run?
Is the E1 error related to the "recall" models?
What is the best replacement part to buy?
I cleaned the connector and the error persists. Now what?