Quick Answer: The Sage Barista Express pressure problem is almost always one of three things: a clogged shower screen, a failing OPV (over-pressure valve) set too high, or a partially blocked group head solenoid. Real fix requires mechanical intervention — not just a descale cycle. Expect 45–90 minutes of hands-on work if you know what you're doing.
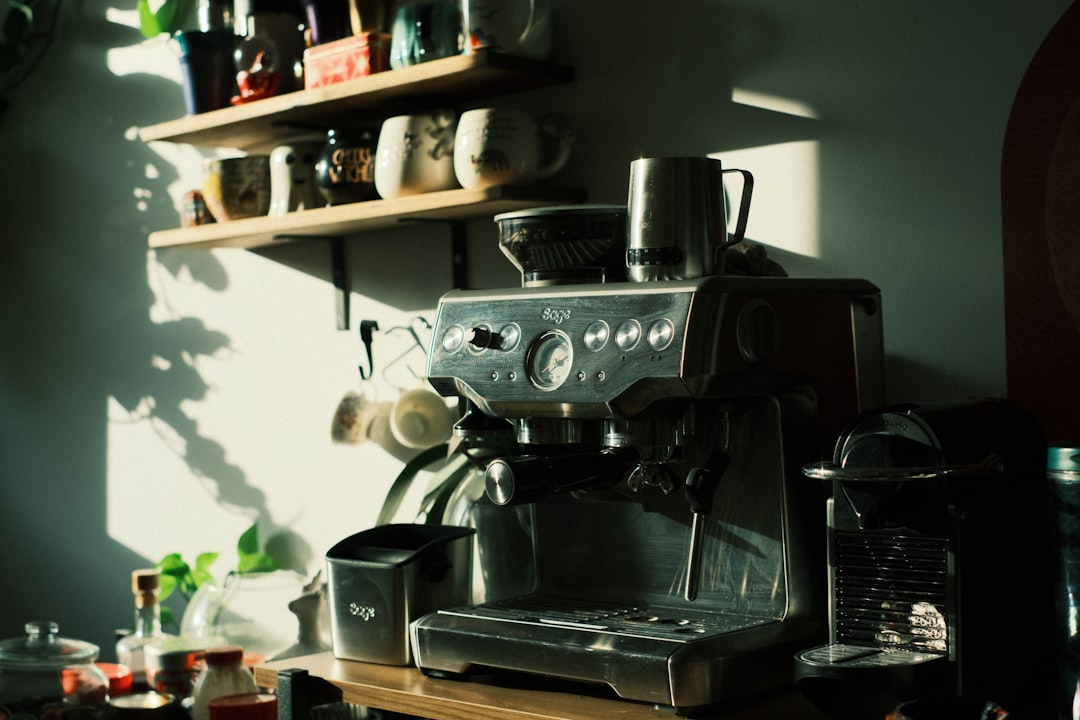
There's a particular kind of frustration that comes with a Sage Barista Express that won't pull a proper shot, a feeling akin to troubleshooting a PS5 Pro Error CE-108255-1 or dealing with unexpected Sony Bravia XR screen glitches. The machine looks fine. The display says nothing's wrong. The grinder sounds normal. But the puck comes out soupy, or the pressure gauge swings past 12 bar and just sits there, or worse — nothing comes through at all for the first five seconds and then it all blows through in a rush. You've been here before. Or maybe this is your first time and you're standing in a kitchen at 7am wondering why a $700 machine is behaving like a gas station espresso dispenser.
Let me be direct with you: the Barista Express is a reasonably well-engineered machine that Sage/Breville designed for the prosumer-adjacent home market, though like any complex device—from fixing Wi-Fi 7 packet loss to resolving Hue Bridge sync errors—it requires occasional maintenance. It's not a commercial-grade machine, and while it doesn't suffer from Ryobi pressure washer pulsing issues or common Nintendo Switch Joy-Con drift, it still requires mechanical care. It also isn't garbage. Its pressure regulation system has quirks the manual ignores, much like how a Fire TV Stick 4K Max black screen or QuickBooks Online sync errors require specialized community knowledge to resolve.
This guide covers the mechanical reality of the group head, similar to how one might replace a PS5 CMOS battery, troubleshoot Dreame L20 Ultra Error 14, or repair a Windows 11 boot loop.
Understanding the Espresso Extraction Pressure System in the Barista Express
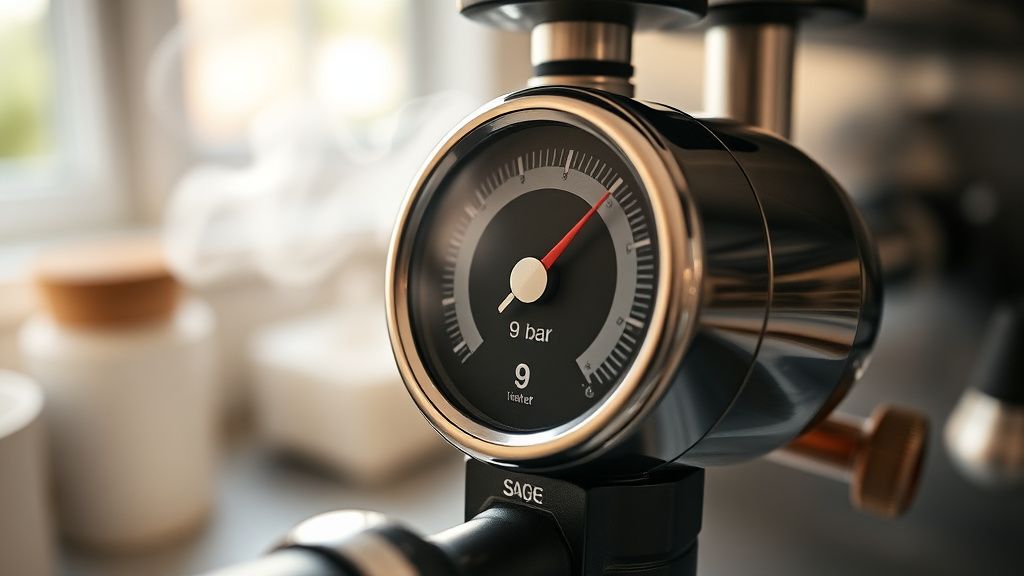
The Barista Express uses a standard vibratory pump; while reliable, it is just as susceptible to performance degradation as an Instant Vortex Plus fan error or TP-Link Archer BE800 Wi-Fi 7 connection drops. This is intentional. The actual target extraction pressure for espresso is 9 bar, and the machine relies on its Over Pressure Valve (OPV) to regulate down from the pump's maximum output to that 9-bar working range.
This is where the first big misunderstanding happens. A lot of users assume the pressure problem is the pump. Almost never. The pump is a dumb, reliable component. It either works or it doesn't. When you're seeing pressure anomalies — spiking high, dropping low mid-shot, surging — the pump is usually fine. The problem is downstream.
The OPV: Where Most Pressure Problems Actually Live
The OPV is a spring-loaded bypass valve. When pressure in the group circuit exceeds the set point, it opens and routes excess water back to the tank. Simple concept. The engineering problem is that the factory set point on Barista Express machines from production batches over roughly 2018–2022 has been documented (repeatedly, in community threads going back to at least 2019 on Home-Barista.com) as running too high — often 11–13 bar rather than the 9 bar that most specialty espresso practitioners and the Specialty Coffee Association recommend.
Nobody at Sage officially confirms this. Their documentation says the machine is calibrated to 9 bar. What the gauge shows during actual shots frequently disagrees. The home barista espresso pressure guide community has been logging this for years.
The OPV is accessible. It sits behind the right side panel (when facing the machine). You'll need a Torx T20 and a flat screwdriver. The adjustment is a small brass nut with a locknut. Do not turn it blindly. Half a turn on these valves changes the set point by roughly 1–1.5 bar depending on spring tension and wear state. If you've never done this, watch at least one full teardown video before touching it.
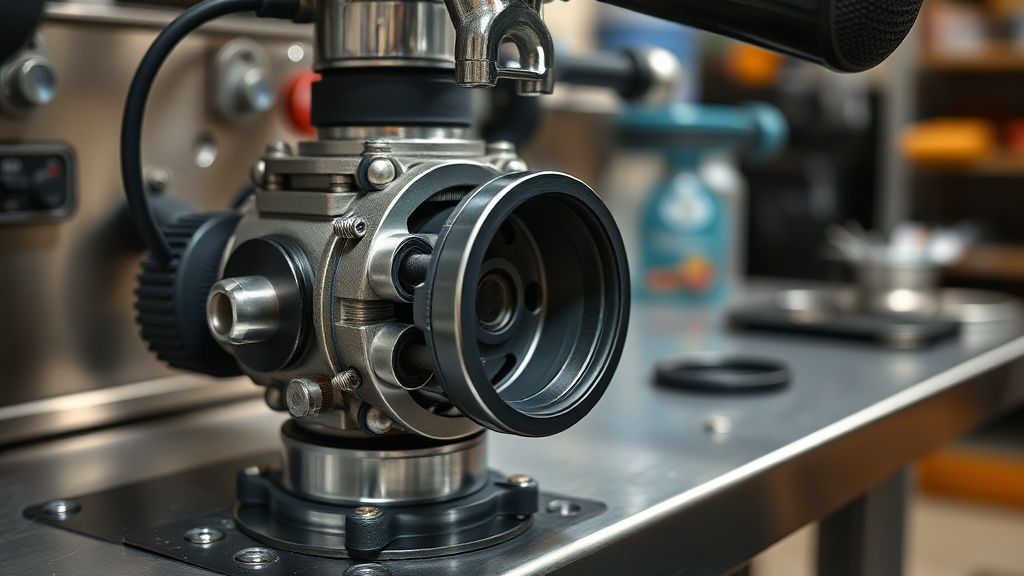
The Shower Screen: The Invisible Restriction Problem
Here's what kills me about how people diagnose this machine. They go straight to OPV adjustment when the real culprit is sitting right there, eight screws away from them: the shower screen and the dispersion mesh behind it.
The Barista Express has a two-layer system — the outer screen you can see, and a distribution plate behind it. Coffee oils and fine grounds accumulate in the small perforation holes over time. In machines that haven't been backflushed regularly (and let's be honest, most home users either don't know backflushing is necessary or do it once every six months), this accumulation creates what is functionally a partial restriction.
When you have a partial restriction here, what do you see on the gauge? Pressure builds slower at the start of the shot, peaks higher than normal as the pump fights the restriction, then drops suddenly if the puck channels. The user interprets this as a pump problem or an OPV problem. It's neither. It's a dirty group head.
Cleaning procedure:
- Remove the portafilter. Run a blank shot (no basket) for 10 seconds to check flow rate is reasonable.
- Remove the shower screen screw (center Torx T20).
- Lift out the screen and the mesh plate behind it.
- Soak both in a solution of Cafiza or Puly Caff for 15–20 minutes.
- Use a stiff nylon brush — not metal — to clear the perforations.
- Inspect the brass dispersion plate while you're in there. If there's scale buildup on the internal face, you've got a descaling problem compounding the mechanical one.
I've had machines come in where the shower screen holes were 60-70% blocked. The owner had been grinding finer and finer trying to compensate for what they thought was under-extraction, making the restriction progressively worse. Classic feedback loop.
The Solenoid Valve: The Component Nobody Talks About Until It Fails
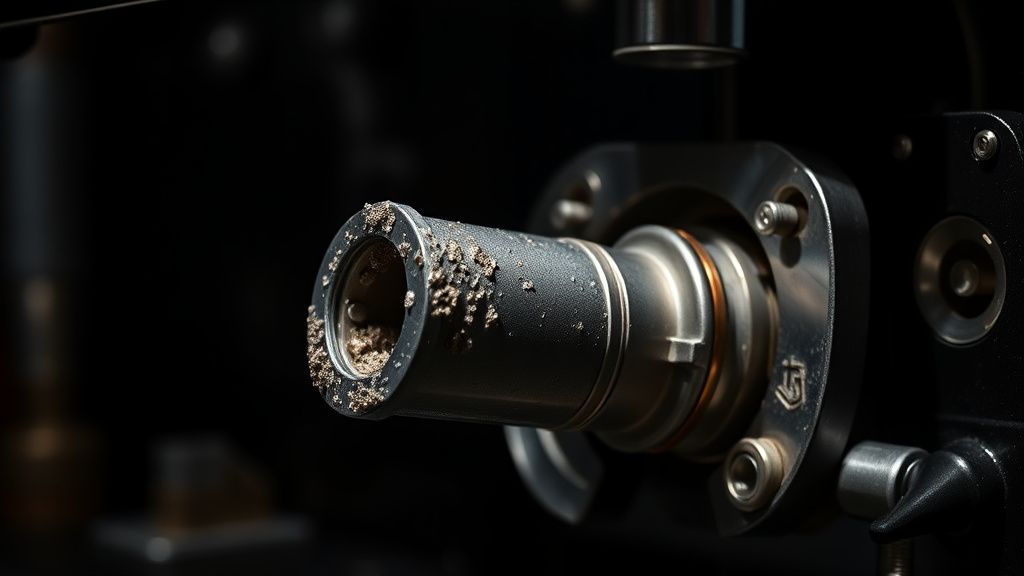
The three-way solenoid valve in the Barista Express is what releases pressure from the group head after a shot — that satisfying "click-hiss" sound when you stop extraction. It also controls pre-infusion behavior in machines with that feature enabled.
When scale builds up on the solenoid plunger or valve seat, it can cause:
- Slow pressure buildup at shot start (valve isn't sealing properly, water partially bypassing)
- Pressure dropping mid-shot without cause
- No pressure drop after shot ends (valve stuck closed, wet puck when you remove portafilter)
- Inconsistent flow that looks a lot like channeling but isn't
This is the component that gets replaced most often in my experience with these machines. Sage sells it as a spare. The part number varies by production run (BES870 vs BES875 vs BES878 have different solenoid configurations), so verify your serial number before ordering. As of my last check, community members on the /r/espresso subreddit and the Breville/Sage repair threads on Coffee Forums UK were finding compatible parts from third-party suppliers for substantially less than OEM pricing — but I'd be cautious with no-name suppliers on a component that handles 9-bar water.
Solenoid cleaning before replacement is worth attempting. Remove it (three screws, two water line fittings — have a towel ready, there's always residual water), disassemble the body, and inspect the rubber seal and plunger. Mineral deposits on the plunger are almost universal in hard water areas. A 30-minute soak in descaling solution followed by careful mechanical cleaning can restore function. But if the rubber seal is deformed or cracked, replacement is the only answer.
Real Field Reports: What Actually Comes Through the Door
Let me be specific about what I actually see in practice, because there's a wide gap between theory and the machines people bring in.
Case 1 — The High-Pressure Spike Machine: Customer had a BES870 purchased 2020. Pressure was reading 13+ bar consistently. They'd tried adjusting the grind coarser (correct instinct, wrong diagnosis). OPV was set to factory spec which, on this unit, was measurably above 9 bar. Adjusted OPV down a quarter turn at a time while running shots through a portafilter with a pressure gauge adapter. Landed at 9 bar. Shots improved immediately. Nothing else was wrong. Total repair time: 35 minutes. Cost: zero, beyond time.
Case 2 — The Dead Flow Machine: Different BES870, 2021 production. Customer complained of "no pressure — nothing comes out." Actually, some water came out, just extremely slowly. Pump was running fine (audible, current draw normal). Shower screen was so blocked it was basically a solid plate. Solenoid was partially scaled. Cleaned both. Ran a full descale cycle after reassembly. Machine returned to normal. The customer had never backflushed in two years of daily use. Two years, once a day, no maintenance. It's remarkable it worked as long as it did.
Case 3 — The Intermittent Channeling Nightmare: BES875. Customer was convinced the machine was faulty because shots were wildly inconsistent. Some shots 8 bar, some 11 bar, no apparent pattern. Grind was fine, dose was consistent, tamping was reasonable. Turned out the shower screen gasket — the rubber seal that sits between the screen assembly and the group head body — had partially deformed and was allowing bypass flow around the screen rather than through it. Water was finding the path of least resistance. Replaced the gasket ($4 part). Consistent 9 bar from that point forward.
The gasket failure is genuinely underdiagnosed. Nobody talks about it in the beginner guides. The gasket on the Barista Express group head is a consumable that probably should be replaced every 18–24 months under regular use, more often in hard water areas. Sage doesn't tell you this. The machine doesn't tell you this.
The OPV Adjustment Debate: 9 Bar or Not?
Here's where the community gets into legitimate argument territory. The "9 bar is correct" position is the SCA standard and the default recommendation. But there's a meaningful contingent — including some people who work with espresso professionally — who argue that 9 bar is not universally optimal and that Sage's factory setting, while high, isn't necessarily wrong depending on your coffee and workflow.
The counterargument goes something like this: with lighter roasts, which extract differently from dark roasts, lower pressure (some advocate as low as 6 bar for certain filter-style espresso techniques) produces cleaner flavor. Meanwhile, dark roasts with oilier, more porous beans can handle higher pressure without the over-extraction artifacts you'd expect. The Barista Express's higher factory pressure might actually be somewhat intentional for the commodity coffee market the machine primarily serves — supermarket espresso blends that are typically darker roasted and benefit from slightly more aggressive extraction pressure.
This is a real tension. The specialty coffee community reflexively targets 9 bar because that's the established standard. Actual extraction physics are more nuanced. For a home user pulling commercial Italian blends, running at 10-11 bar might genuinely produce better results than the "correct" 9 bar setting. This isn't heresy — it's just context-dependent.
What I'd recommend: get a portafilter pressure gauge adapter (widely available for under $30, fits the 58mm group head), run a few shots, and see what you're actually working with. Then adjust — or don't — based on what your taste tells you, not just what the theory says.
Counter-Criticism: Is the OPV Adjustment Worth the Risk?
There's also a fair counter-position from the "don't touch what you don't understand" camp. Adjusting the OPV incorrectly can create genuinely dangerous pressure scenarios. Over-pressurizing the group head repeatedly can accelerate wear on the portafilter gasket, stress the group head casting, and eventually (in extreme cases) create a dangerous failure mode. These machines are not rated for continuous operation above their design pressure.
Community members on the Sage support forums have documented cases where aggressive OPV adjustments by inexperienced users created leaks at the group head fitting that required professional repair. If you're not comfortable with iterative pressure testing and you don't have a gauge adapter, don't adjust the OPV. Cleaning the shower screen, solenoid, and group head gasket will resolve most pressure complaints without touching the OPV at all.
Descaling vs. Mechanical Cleaning: The Confusion That Costs People Time
This is genuinely one of the most common misunderstandings in home espresso maintenance. Descaling and mechanical cleaning are not the same thing. They address different problems.
Descaling removes calcium carbonate buildup (scale) from water-contact surfaces using an acid — typically citric acid or a proprietary descaling solution. It's primarily effective on the boiler, heating elements, and water path components. It's largely ineffective on the coffee oil deposits that clog the shower screen, distribution plate, and group head channels.
Backflushing with a cleaning tablet (Cafiza, Puly Caff) removes coffee oils and fine grounds from the group head circuit. This is the maintenance procedure that actually prevents most of the flow and pressure problems described in this guide.
The Barista Express has a three-way valve that enables proper backflushing. The procedure:
- Insert the blind filter basket (the solid one, no holes) into the portafilter.
- Place approximately 1g of espresso machine cleaner powder into the basket.
- Lock the portafilter in.
- Run a standard shot cycle. Pressure builds, cleaner solution is forced back through the solenoid and group head, breaking down coffee oils.
- Repeat 5–6 times, alternating between running the cycle and stopping it.
- Finish with several cycles using only water (no cleaner) to flush.
This should be done weekly under regular use — daily use, once per day. Most people do it never, then wonder why their machine developed pressure issues at the 18-month mark. The machine isn't defective. It's just dirty in ways that aren't visible without disassembly.
Pump Failure: When It Actually Is the Pump
I said earlier the pump is almost never the problem. Almost. ULKA EP5 pumps do fail, and when they do the failure mode is usually one of two things:
Gradual pressure loss: The pump's internal check valve wears, allowing some backflow. Pressure never quite reaches the target. This can look identical to an OPV set too low. Differential diagnosis: disconnect the OPV circuit entirely and cap the outlet, run the pump, and measure maximum static pressure. If you're not getting at least 12 bar maximum static pressure, the pump is suspect.
Sudden complete failure: ULKA pumps can fail catastrophically — usually the capacitor or the solenoid coil inside the pump itself. The machine attempts to run, you can hear the attempt, but nothing moves. This is occasionally preceded by a period of intermittent operation, buzzing sounds that are louder or different pitch than normal, or the pump running but producing very little flow.
Pump replacement is a real repair option. ULKA EP5 pumps are available from multiple suppliers in the $25–50 range. The replacement is accessible but requires comfort with electrical connections — there are 230V live connections in that machine if you're in the UK/EU, 120V in North America. If you're not comfortable working around mains voltage, this is the point where you take the machine to someone who is.
The Scale Problem in Hard Water Areas: The Slow Killer
If you're in a hard water area — London, Phoenix, Dubai, large swaths of Germany — and you haven't been descaling regularly, you may have scale deposits affecting not just the boiler but the group head internal water paths. Scale in the group head is harder to address than scale in the boiler because it requires physical access, not just running a descaling solution through the machine's normal water circuit.
Scale in the pre-infusion chamber (on machines with that feature) creates specifically weird pressure behavior — the pre-infusion pressure curve becomes erratic because the chamber volume is effectively reduced. This shows up as shots that feel "sharp" at the start, almost shocking the puck, rather than the gentle pre-wet that pre-infusion is meant to provide.
If you suspect significant scale accumulation in the group head itself, the correct approach is:
- Full mechanical disassembly of the group head
- Physical inspection for white/grey scale deposits on brass components
- Targeted acid soak of affected parts (keep rubber gaskets and seals out of strong acid solutions — they will degrade)
- Reassembly with new group head gasket
This is a deeper repair than most people want to attempt at home. Not technically difficult, but it requires organization