
Quick Answer: The Cosori Pro II Air Fryer E1 error is a thermistor (temperature sensor) fault code. It fires when the internal NTC sensor circuit reads an open or shorted condition — usually caused by a failed sensor, a loose connector pin, or thermal runaway protection triggering. You can often resolve it by power cycling, reseating the sensor harness, or replacing the thermistor.
So you've got an E1 staring back at you from the display panel of your Cosori Pro II. The basket's loaded, the kitchen smells like anticipation, and the machine just decided to throw a tantrum. Welcome to the club. This error code is one of the most common failure modes I see on Cosori units — and also one of the most misdiagnosed.
Let me tell you what this actually is, what's really happening inside the chassis, and how to fix it without spending $130 on a replacement unit that might show you the same error six months later.
What the E1 Error Code Actually Means in Air Fryer Control Architecture
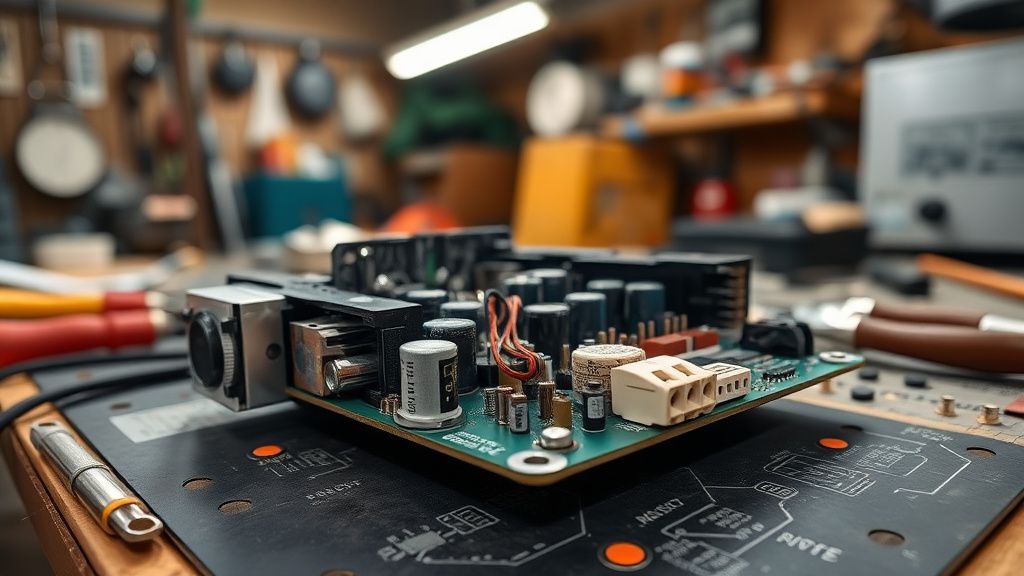
The Cosori Pro II uses a fairly standard embedded MCU-based control board — nothing exotic. The temperature regulation loop depends entirely on a 10kΩ NTC thermistor (Negative Temperature Coefficient resistor) seated near the heating element chamber. This sensor feeds real-time resistance readings back to the microcontroller, which converts them to temperature values using a lookup table burned into firmware.
When the MCU polls the thermistor and gets a reading that falls outside the expected resistance window — either too high (open circuit) or too low (shorted) — it throws E1 and shuts everything down. This is intentional. The unit is protecting itself from running the heating element blind, which could result in overheating, fire, or damage to the thermal fuse downstream.
That's the clean version. The messy operational reality is a bit different.
In practice, E1 doesn't always mean the sensor is dead. It can mean:
- The sensor harness connector has vibrated loose from its socket on the control board (extremely common after heavy daily use)
- Grease and moisture contamination on the connector pins has increased contact resistance past the MCU's threshold
- The thermal fuse has blown and the MCU is misreading that as a sensor failure
- Firmware is confused after a power interruption mid-cycle (rare, but documented)
- The heating element itself has partially failed, causing thermal feedback anomalies the sensor interprets incorrectly
None of these are captured in Cosori's official documentation, which is why troubleshooting common hardware faults is often as vital as learning how to resolve a Nespresso Vertuo orange light descaling error or fixing DeLonghi Magnifica S flashing lights. That's the part that drives people to forums, Reddit threads, and YouTube teardown videos.
The Thermistor in Air Fryer Design: Why This Failure Point Exists
Here's the thing nobody tells you when they're marketing these appliances: the NTC thermistor placement and harness routing in most consumer-grade air fryers — including the Cosori Pro II — is an engineering compromise driven by cost and assembly speed, not long-term reliability.
The sensor is typically positioned in the airflow channel near the upper heating element, much like how specialized components in other tech devices—such as a PS5 CMOS battery or a Jura E8 brew group motor—require precise placement to function correctly. This makes thermal sense. But it also means the sensor and its harness are:
- Directly in the hot airflow path every single cook cycle
- Exposed to grease vapor that condenses on connectors over time
- Mechanically stressed every time the basket is inserted or removed (vibration propagates up through the chassis)
- Subject to thermal cycling fatigue — the connector housing expands and contracts hundreds of times before failure
The harness itself is usually a JST-style 2-pin or 3-pin connector with crimped terminals. These terminals are fine in stable environments, but modern electronics are often pushed to their limits, whether it's an Xbox Series X stuck on the green screen or a Home Assistant Green failing to boot. They are not fine when subjected to cyclic thermal stress, a frustration as common as dealing with PS5 error CE-108255-1, Samsung QLED ghosting, or an Echo device showing a solid blue ring. The crimp contact resistance drifts upward. Eventually the MCU can misinterpret signals, causing a failure similar to when a Fidelity debit card isn't working, when 5-minute mindfulness routines fail to yield results, or when tuning Wi-Fi 7 latency proves difficult, ultimately requiring you to protect your cash through smarter maintenance.'t get a clean reading. E1.
This is a known failure pattern across the entire budget-to-midrange air fryer category. It's not unique to Cosori. But Cosori's implementation — specifically the routing path on the Pro II — leaves the harness slightly more exposed than competitors I've torn down. That's an opinion based on bench experience, not a published comparison study.
Real Field Reports: What Users Are Actually Experiencing
Across Reddit's r/airfryer, the Cosori subreddit, and multiple threads on the Home-Barista-adjacent appliance forums, the E1 pattern on the Pro II shows a consistent user profile:
Unit age at first E1: Most reports cluster around 8 to 18 months of daily or near-daily use. Units that see lighter use (3-4x per week) often make it to 24 months before the error appears.
A Reddit user in r/Cosori (thread: "E1 error literally 2 days after warranty expired, classic") described the failure pattern perfectly: "Works fine, then one day E1 on startup. Unplug, wait, plug back in, works for a week, E1 again permanently." This is the intermittent-to-permanent failure arc. The connector is making marginal contact, and thermal expansion during the first cook helps it seat temporarily — until it doesn't anymore.
Another user on the Cosori Facebook support group documented a different scenario: E1 appearing only on the first cycle after the unit has been stored cold (unheated kitchen, winter). This is classic cold-temperature thermistor behavior — NTC resistance spikes at low ambient temps, and if the sensor harness is already marginal, the MCU reads the cold-start resistance spike as an open circuit. Once the kitchen warms up, the error clears. That user had been unplugging and replugging for three months before someone explained the actual mechanism.
The Cosori support response in most documented cases is to offer a replacement unit if under warranty or to direct users to their support portal. There's no official repair path, no service manual in the public domain, and no documented thermistor replacement procedure from Cosori themselves. This is consistent across most appliance brands at this price point — the economics don't support a repair ecosystem, so they don't build one.

Step-by-Step: Diagnosing E1 Before You Touch Anything
Before you open this thing up, run through the basic triage. Not because it'll definitely fix it, but because you need to rule out the easy stuff and document where you are.
Step 1: Hard Power Cycle (Not Just the Button)
Unplug from the wall. Not standby. Unplug. Wait 60 seconds minimum. This lets any capacitors on the control board discharge and resets the MCU state machine. Plug back in. Power on. Does the E1 appear immediately on startup (before any cook cycle), or only after you try to start a cycle?
- E1 on startup immediately: Sensor circuit is reading out of bounds at room temperature. Likely a physical fault — open circuit in harness or dead thermistor.
- E1 after cycle starts: Sensor was marginally OK at room temp but fails under thermal stress. Connector degradation or thermistor starting to drift.
This distinction matters for your next steps.
Step 2: Environmental Check
Is the unit in a location with high ambient humidity? Under a cabinet that traps heat? On a surface that vibrates (next to a washer/dryer)? These factors accelerate the connector degradation timeline. Also check: has the unit ever been submerged, or has water entered the base unit from washing? Water in the control board cavity is an instant E1 and usually an instant death sentence for the board.
Step 3: Visual Inspection (Before Disassembly)
Remove the basket and the crisper plate. Shine a flashlight up into the cooking chamber toward the upper heating coil. You're looking for:
- Physical damage to the sensor or its leads
- Obvious burnt smell localized to the element area (could indicate element failure, not sensor failure)
- Debris or grease buildup on the sensor body
If the sensor looks obviously burnt, melted, or mechanically damaged, you've confirmed the failure point visually. If everything looks normal, you need to go deeper.
Disassembly Guide: Getting to the Thermistor and Control Board
Safety first, and I mean it: Unplug the unit. Wait 10 minutes. The heating element retains heat and the capacitors on the board retain charge. Do this on a non-conductive surface.
You'll need: Torx T10 screwdriver, Phillips PH1, plastic spudger, multimeter.
Removing the Base Panel
Flip the unit upside down. On the Cosori Pro II, you'll find 4-6 Torx T10 screws on the base panel — the exact count varies slightly by production batch (this is not documented anywhere officially, which is annoying). Some production runs added an additional screw under a rubber foot. Peel all rubber feet carefully if you can't find all the screw count you expect.
Once screws are out, the base panel separates with moderate plastic clip resistance. Use a spudger around the perimeter. Don't force it — the clip geometry on this unit is fragile enough that you'll snap tabs if you pry aggressively.
Locating the Control Board and Thermistor Harness
The control board on the Pro II sits in the lower cavity, typically secured with 3-4 standoff screws. The thermistor harness runs upward through a channel toward the cooking chamber. It's a small-gauge wire pair — usually white or red/white — terminating in a small connector on the board.
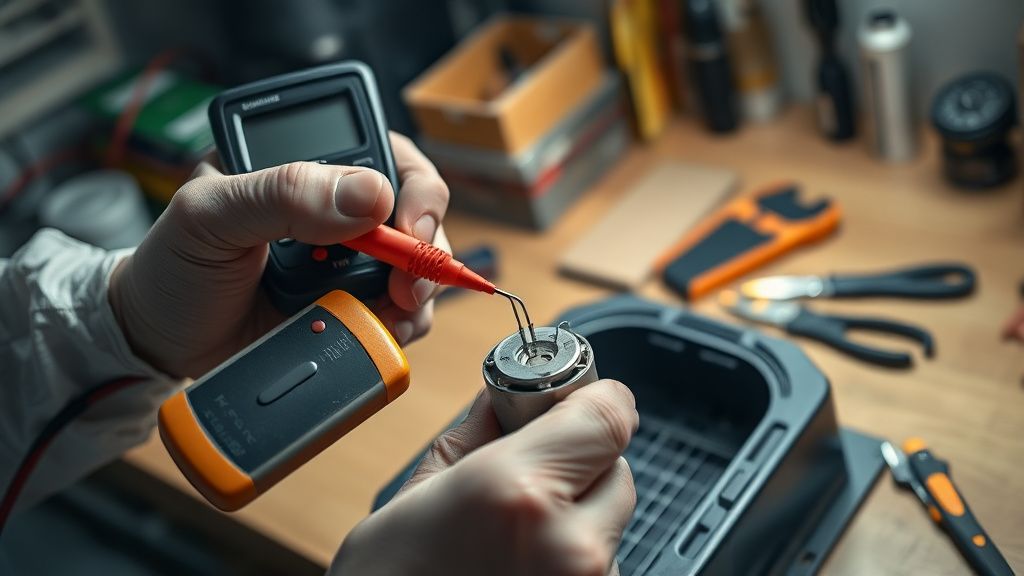
Testing the Thermistor with a Multimeter
Set your multimeter to resistance (Ω) mode. Disconnect the thermistor harness from the board connector. Probe the two thermistor leads directly.
At room temperature (~25°C), a healthy 10kΩ NTC thermistor should read approximately 8-12kΩ. This is a general NTC characteristic range — the specific resistance-temperature curve for Cosori's sensor isn't published, but this window is consistent with standard 10kΩ NTC B-value thermistors used in this application class.
| Multimeter Reading | Interpretation |
|---|---|
| 8–12kΩ at room temp | Thermistor likely OK |
| OL / Open Line | Thermistor open circuit — replace |
| 0Ω or near-zero | Thermistor shorted — replace |
| Wildly inconsistent while stationary | Failing thermistor or intermittent wire break |
If the thermistor reads OK, inspect the connector terminals on the harness side. Use a magnifying glass. Look for:
- Green corrosion on crimp contacts
- Bent or pushed-back pins
- Cracked connector housing (thermal stress cracks)
Clean corroded contacts with isopropyl alcohol (90%+) and a fine brass brush. Gently re-form any bent pins with a pick tool. Reseat the connector firmly.
The Actual Thermistor Replacement: Parts Sourcing Reality
Here's where things get operationally messy. Cosori does not sell replacement thermistors. There's no part number in the public domain. There's no authorized repair channel. You are, in the company's eyes, supposed to buy a new unit or contact support for a warranty replacement.
In practice, the thermistor used in most Cosori air fryers of this generation is a generic 10kΩ NTC thermistor with a fiberglass-wrapped lead — the type used widely in home appliance temperature sensing applications. You can source compatible units from electronics suppliers (Digi-Key, Mouser) or from AliExpress appliance parts listings if you know what you're looking for.
Search terms that tend to surface the right components: "NTC 10K B3950 air fryer thermistor" or "oven thermistor 10kΩ fiberglass lead." Expect lead times of 1-3 weeks from overseas suppliers, or ~$8-15 for domestic sourcing.
The replacement procedure is:
- Desolder the old thermistor leads from the harness (or cut and splice if the harness wire is OK)
- Route the new sensor through the same channel
- Position the sensor body in the same mounting point (usually clipped or adhesive-retained near the element)
- Reconnect to the board
Do not use a thermistor with a significantly different B-value from the original. The MCU's temperature lookup table is calibrated against a specific resistance-temperature curve. If you install a thermistor with a different B-value, your unit will cook at incorrect temperatures — potentially significantly off — without triggering any error. This is a subtle but real safety consideration that never gets mentioned in the YouTube replacement guides.
When It's Not the Thermistor: The Thermal Fuse Problem
A subset of E1 cases — based on forum documentation and my own bench experience — are actually blown thermal fuse scenarios that the MCU misidentifies or co-presents as a thermistor fault. The thermal fuse on the Cosori Pro II is a one-shot safety device that permanently opens if the internal temperature exceeds a set threshold (typically 185-230°C depending on the fuse specification used in the production batch).
A blown thermal fuse means the heating element circuit is open. Depending on how the control board monitors the element circuit versus the sensor circuit, this can manifest as E1, or as the unit powering on but never heating (which users then separately report as a different problem — and sometimes get a thermistor replacement recommendation that doesn't fix anything because the actual fault is the fuse).
Testing the thermal fuse requires access to the heating element circuit — set your multimeter to continuity mode and test across the fuse body. No continuity = blown fuse. Thermal fuses in this application are typically 10A, 240V rated and are soldered or mechanically retained in the element circuit path. They're cheap to source ($2-5) but require confident soldering skills to replace, and more importantly — if your thermal fuse blew, something made it blow. Fix the root cause before replacing the fuse, or you'll blow the new one too.
Counter-Criticism and the Repair vs. Replace Debate
Let's be real about the opposition here: there is a legitimate argument that consumer air fryers at this price point should not be repaired. The argument goes like this — the labor time to correctly diagnose, source parts, and repair a $100-130 appliance exceeds the economic value of the repair, especially given that a replacement unit comes with a new warranty period. Cosori customer support sometimes makes this case explicitly.
And honestly, for someone without soldering skills, no multimeter, and no appetite for disassembly? That argument is correct. Buying a replacement makes economic sense for that user.
But the argument collapses in a few scenarios:
Environmental cost: The Cosori Pro II weighs approximately 6kg. Sending it to landfill because a $3 sensor failed is objectively wasteful, and it's a pattern repeating millions of times across the appliance industry. The right-to-repair advocates make this point constantly, and they're correct.
The replacement unit has the same thermistor: If you buy a new Pro II, you're getting the same thermal architecture. Same sensor placement, same connector design, same failure mode timeline. You've just reset the clock on the same problem, not solved it. Users who've gone through two replacement units under warranty are starting to understand this.
Cosori warranty reality: Cosori offers a 1-year warranty on the Pro II in most markets. A significant cluster of E1 failures — per forum reports — happens at 12-18 months. Post-warranty support is essentially "buy a new one." There are active threads in r/Cosori documenting users whose units failed one to two months outside the warranty window and received no meaningful support response. The community's collective frustration around this is visible and recurring.
The Calibration Language Problem: What "Sensor Calibration Fix" Actually Means
Some guides frame E1 as a "sensor calibration" issue. This language is imprecise to the point of being misleading, and it's worth addressing directly.
There is no user-accessible calibration function on the Cosori Pro II. The thermistor's resistance-temperature relationship is a physical characteristic of the component, not a configurable parameter. The MCU's lookup table is firmware-resident and not user-adjustable. "Calibration" in the context of this error means either:
- The physical sensor has drifted outside its specification (thermistor aging or failure)